Make Dad Dinner!

iStock_steak_XXLARGE.JPG

You need to make Dad a meal on his special day.  And what does he want? MEAT!  What kind of meat?  Steak of course.  Grilling a steak may seem like the simplest thing to do, but if you add a special sauce on the side it seems fancier.  Sauce seems like it would be tricky, but this is so fast and easy you will be making it all the time.  Chimichurri sauce comes from Argentina, the land of red meat.  This recipe has a little spice to it.  If that is too much? Skip the peppers. We won't tell.  And Dad will love it and that was the point of this anyway, right?

Chimichurri Sauce

(makes about 2 cups)

  • 1 shallot, finely chopped

  • 1 Fresno chile or red jalapeño, finely chopped

  • 3–4 garlic cloves, thinly sliced or finely chopped

  • ¾ cup red wine vinegar

  • 1½ tsp. kosher salt, plus more

  • ½ cup finely chopped cilantro

  • ¼ cup finely chopped flat-leaf parsley

  • 2 Tbsp. finely chopped oregano

  • ¾ cup extra-virgin olive oil


Pairing suggestion: Oak Cliff Cellars Firebrick Zin (it holds up to the spice.)

Qorkz Kitchen - ZaZa Zin & Smokey Chipotle Chili

iStock-865801062_Chili.jpg

Our own, Jill Hoffman is making this chili in Dunphy Park in Sausalito for the city’s 40th Annual Chili Cook-off! If you are surprised by the addition of the chocolate, remember that Mexico is the origin of the cocoa plant and chili peppers! And who doesn’t love wine and chocolate?

Ingredients

  • 1 lb ground beef

  • 1/4 cup olive oil

  • 1 medium onion, diced*

  • 2 red bell peppers, roasted and diced

  • 3 large cloves garlic, minced

  • 4 15 oz. cans dark red kidney beans

  • 1 6 oz. can tomato paste

  • 1/2 cup of brown sugar

  • 2 28 oz. cans whole tomatoes

  • 2 tbsp. chili powder

  • 2 tbsp. cumin

  • 1 can chipotle peppers, diced (use to taste, these will be smokey and spicy)

  • 4-6 oz. dark chocolate

  • 1/2 cup red wine, zinfandel recommended

  • ½ cup beef broth

  • 1 tsp salt

  • Shredded cheddar cheese (optional)

  • Sour cream (optional)

Directions

Brown the ground beef over medium heat in a large Dutch oven or the bowl of a slow cooker with a sauté function. (Alternatively, complete steps one and two in a separate pan on the stove and then transfer to a slow cooker.)

Add the olive oil, onions, peppers and garlic to the browned beef, sauté until the onions become translucent.

Add all of the remaining ingredients and stir to combine. Simmer on low heat/cook on the slow cooker's low function for 4 hours, stirring occasionally. Crush the tomatoes as you go.

Serve with sour cream and cheddar cheese.

Note: This recipe makes eight 1 1/2 cup servings. 

To celebrate this recipe Calstar Cellars is offering a special sale on it’s 2014 ZaZa Zinfandel for $200 a case. Use the Promo Code: CHILI ZIN

You can also buy on the 2012 Sangiacomo Vineyard Pinot Noir, 2016 Pinot Meunier Rose and 2013 Sonoma Coast Chardonnay for $250 a case using Promo Code: CHILI

Qorkz Kitchen - Lamb Skewers

iStock-975637746_Lamb_Kebab.jpg

Lamb Skewers  -  Recipe by Chef Jayne Reichert

Serves 6

  • 2 pounds lamb sirloin
  • 4 cloves of garlic
  • 1 tablespoon Greek dried Oregano
  • 1 teaspoon dried Thyme
  • 1 cup red wine
  • ½ cup of olive oil
  • 1 or 2 oranges, zest, and juice from 1
  • Salt
  • Pepper

For Serving:

  • 1 Onion
  • Splash of vinegar
  • Fresh oregano
  • Tzatziki
  • Flatbreads

Pound 2 of the cloves of garlic into a paste with a bit of salt.  Remove all of the surface fat from the sirloin of lamb and rub the garlic paste into the lamb.  Allow this to sit for an hour or so, then cut the lamb into 1-inch cubes.  Make a spice rub for the lamb by combining the salt, pepper, thyme and Greek Oregano.   Season the lamb pieces generously with the rub and allow this to sit for an hour.  

Pound the remaining 2 cloves of garlic into a paste and in a mixing bowl combine with the olive oil, red wine, orange zest, and juice.

Pour the marinade over the lamb pieces and allow the lamb to sit for a minimum of 4 hours or overnight covered in the refrigerator.

Remove the lamb 1 hour prior to cooking so that it comes up to temperature.  Either light your grill or heat a grill pan over a medium-high flame.  Remove the lamb from the marinade and pat dry.  Oil your grill or grill pan.  You may either skewer the lamb pieces or cook them directly on the grill or pan.  If you skewer them remember to leave space between the pieces so that they brown evenly and do not steam.  Cook the skewers or pieces approximately 3 to 5 minutes per side, remove them from the pan and allow them to sit for a minute.  

Peel and slice the onion lengthwise from stem to root.  Season the onion with a bit of salt, a splash of vinegar, a drizzle of olive oil and some freshly chopped oregano.

Serve the skewers with the onions, a bit of Tzatziki on flatbreads.   Some sun-ripened tomatoes tossed with basil and roasted corn on the cob with feta and cilantro would be great side dishes.

Pair with: Schlein Vineyard 2010 Cabernet Sauvignon

Qorkz Kitchen - String Bean Salad with Shrimp

KSYhusG8QNi1FFirZe6dQA.jpg


This is a variation on my husband's Luxembourgish grandmother's summer salad.  I turned it into a complete meal with the addition of the shrimp and some additional veg.  It serves 2 as a main and 4 as a side dish.

  • 1 lb Green beans - frenched*
  • 1/2 Shrimp -cooked
  • 2 Green onions, chopped
  • 2 Celery stalks chopped
  • 1 Medium tomato diced
  • 1/2 Cucumber chopped
  • 1/4 cup Vinaigrette 
  • Salt and pepper to taste

*The green beans are the star of this dish.  In fact, it is universally referred to as "String Bean Salad" in the family.  Traditionally, you start with beans you prep yourself.  Frenching the beans requires a little device referred to as a frencher which is a couple of bucks.  Boma used to use a knife to do this.  But she was from the Old Country and survived the Nazis, so she was more hardcore than myself.  After the beans are prepped you drop them into a pan of boiling water for 3 minutes and dunk them in ice water immediately afterwards to maintain their crispness and color and then strain to remove excess water.

or

Buy a bag of frozen frenched beans and let them thaw.  The freezing and thawing creates the same effect.  Just drain them well after they are thawed.

Mix the drained beans with the other ingredients and shrimp together in a bowl.  Toss with the vinaigrette and salt and pepper to taste.  We like to let the salad marinate for at least 1/2 hour in the refrigerator to make sure the flavors blend and to cool. 

This is a perfect dish for a hot summer night.  Light and crispy.  

Qorkz Kitchen - Leg of Goat

Moroccan Spiced Lamb iStock.jpg

Greek Style Roasted Leg of Goat

Recipe by Chef Jayne Reichert

Serves 6

  • 1 leg of goat*, bone-in I use Rossotti Ranch Goat 
  • Salt
  • Pepper
  • 1 whole onion
  • 1-quart Greek style yogurt
  • 1 tablespoon fresh rosemary, chopped
  • 1 tablespoon fresh oregano, chopped
  • 1 tablespoon Summer Savory
  • 5 – 7  garlic cloves
  • Juice and zest from 2 lemons

Begin this recipe a day in advance. Make the marinade by combining the rosemary, yogurt, lemon zest and juice in a mixing bowl.  Peel the onion and carefully grate it on a box grater.  Peel and finely mince the garlic.  Add both the garlic and the onion, along with any accumulated onion water to the yogurt mixture.  Allow the marinade to sit for 30 to 45 minutes so that the flavors might mingle.  While the marinade is resting, remove any excess fat from the goat, but don’t throw it away.  Make slits in the leg of goat in random spots and slide the reserved fat pieces into those slits, you may also include slivers of garlic if you like.

Place the goat in a sealable bag and pour the yogurt marinade over the goat, making sure all sides are covered.  Place the goat in the refrigerator and allow to marinate overnight.  You’ll want to flip the bag in the refrigerator a few times during the 24-hour marinade.

Heat the oven to 450 degrees.

When you are ready to roast the leg, remove it from the refrigerator at least one hour in advance so the meat may come up to temperature.  This ensures a much more even roasting.  Remove the goat from the marinade and place it on a rack in a roasting pan or alternatively create a rack out of onions, and carrots or rosemary branches. Roast the leg for 15 to 20 minutes until nicely browned, turn the oven down to 350 degrees and continue cooking the goat until it reaches the desired doneness. 

Alternatively, you may opt to grill the leg of goat.  Set your grill up for indirect heat, with one side very hot and the other side without any flame.  Roast the goat over the flame until it is nicely browned, turning it every then move the goat to the side without the flame.  I like to lay down some large rosemary branches that were soak in water and then place the leg on top of that.  Close the grill lid and roast until the internal temperature of 130, approximately 18 minutes per pound.  Be sure to check the roast and flip it from time to time.   Once the goat is cooked do not cut into right away, the leg needs to rest a good 10 – 15 minutes to allow the juices to stabilize and redistribute.

Pair with our wine of the month, Calstar 2014 Alta Zin.


* Goat leg can be purchased at Rossotti Ranch in the Bay Area.  Can also be found in ethnic markets throughout the country.

What's Cooking in the Qorkz Kitchen - Bavette Edition

Jayne dishes March 1511.jpeg

Once again, Chef Jayn Reichert is in the Qorkz Kitchen cooking up something good!

Cumin and Coriander Rubbed Bavette

JayneCavalloredacted.jpeg

Recipe by Chef Jayne Reichert
Serves 6

  • 1 tablespoon cumin
  • 2 teaspoons coriander
  • 1 teaspoon black pepper corns 
  • 2 pounds bavette* (serves 6 people 5 ounce portions)

Toast spices in dry skillet until fragrant. Pound together in a mortar and pestle; add salt to taste.  Rub both sides of the steak with  the spice mixture; let rest 30 to 45 minutes

Grill directly over high heat a well-oiled grill or seasoned grill pan.   Steak should take 3 to 5 minutes per side for medium rare; depending on the thickness. Note if you want traditional cross-hatched grill marks; turn the steak ¼ of a turn to the right; be sure you move it a bit so it lands on a hot grate; same for turning the steak over, do not just flip it over into the same spot, you need to be sure to turn it over onto a hot part of the grill.  

Allow steak to rest for 5 -7 minutes before slicing, so juices may redistribute.  If you want you may melt butter in a hot pan and place the steak in the hot melted butter for holding.  IMPORTANT, slice this steak on a diagonal; thin and across the grain. 

*Note: Bavette is a similar to flank steak but a slightly different cut.  Enjoy either in this delicious dish.

Chef Jayne in Qorkz Kitchen - Rack of Lamb & Horseradish Tarragon Sauce

IMG_3354.JPG

Rack of Lamb

Recipe by Chef Jayne Reichert

Serves 4

  • 1 6 to 8 rib rack of lamb
  • Coriander seeds
  • Fennel seeds
  • Black Peppercorns
  • Salt
  • Olive oil

Preheat the oven to 375 degrees.

Take the racks out of the refrigerator 30 minutes to 1 hour before cooking to bring them up to room temperature. Lightly toast coriander, fennel, and black pepper in a dry skillet over medium heat until fragrant.   Using a mortar and pestle pound the spices into a coarse grind then add a bit of salt to create your seasoning rub. Generously coat the racks in oil, and season with the spice rub.

Heat a heavy bottom skillet over medium-high heat, add oil to coat bottom of the pan.  Sear the racks on all sides, allowing a nice crust to form. Place the racks in the oven and allow them to continue cooking for another 15 to 20  minutes or until the desired degree of doneness. Note they really like to be served medium rare. Remove the racks from the oven and allow them to rest for 5 to 8 minutes before slicing them into portions.     

Remember they will continue to cook during the resting period. 

Serve the racks drizzled with a bit of the tarragon horseradish sauce.

Horseradish Tarragon Sauce

Recipe by Chef Jayne Reichert 

Makes 2/3 cup

  • 1 bunch fresh tarragon, chopped
  • 2 tablespoons freshly grated horseradish **grated on the large hole of a box grater
  • ½ bunch parsley, chopped
  • Grated zest of 1 lemon
  • 1 garlic clove, chopped very fine or pounded into a purée
  • 1/2 teaspoon salt
  • 3/4 to 1 cup olive oil

Mix all the ingredients together and taste for salt. Let the sauce sit for a while to develop the flavors.

Remember when you are chopping fresh herbs, use the leaves only.  Do not smash or bruise them, but cut cleanly through them so that they do not discolor.  A nice coarse chop is preferable to “finely” mincing or chopping.

If you like, just a splash of. Lemon juice or vinegar makes the sauce zestier, but add them just before serving, as the acid will cause the herbs to discolor. (You can macerate a little chopped shallot in the vinegar or lemon before adding if you wish.)

Introducing the Qorkz Kitchen Guest Chef Jayne Reichart

You are going to love Chef Jayne!  We certainly do!  She can make even the simplest meals elegant with flavors popping!  We are proud to feature her recipes paired with Qorkz Wine.  Keep watching this space for yummy options!

Jayne Headshots 030 FB.jpg

Being raised on a farm meant fresh eggs came from the neighbor’s chicken coop, our meat was raised on my grandfather’s farm and vegetables were grown and hand-picked from our garden.  This, combined with a Mother and Grandmothers who made absolutely everything from scratch formed my deep appreciation of good food, locally sourced, and my love of the kitchen. 

Although at the age of 5 I could whip up some mean scrambled eggs, My passion for cooking really took hold at the age of 12., (although at the age of 5 I could whip up some mean scrambled eggs) anyway at 12,I was absolutely obsessed with a Mexican cookbook , a gift from my Great Aunt., I convinced my godfather to take me to the local "Mercado" to buy fresh dried peppers, masa  and other ingredients required to make  Chicken Enchiladas from scratch,. (still one of my favorite things to make). Luckily my initial effort was a huge success, (minus the mess in the kitchen,) and the seed for my lifelong passion was planted.  To this day Chicken Enchiladas is still one of my favorite things to make. 

Fast forward 30+ years: culinary school, multiple kitchens both restaurant and private, a cutlery store and for good measure sometime in the wine country with Chateau St. Jean, that same passion finally led me to Cavallo Point, where for the last 8 years I had the pleasure of being the Director and Executive Chef of the Cooking School at Cavallo Point. During my tenure, The Cooking School was named as one of the Top 10 Resort Cooking Schools in the World by Gayot and Best of the Bay for the Chronicle in 2016.   If someone had told me when I first stepped into a kitchen that my career would eventually evolve to actually teaching, and that that desire to share would further fuel my passion both for cooking and my commitment to local sustainable foods, I would’ve said “no-way”.  Funny how life turns out. 

In my kitchen, guests describe me as “ as a consummate hostess with a dash of Chicago bravado, a penchant for sharing good food and a firm belief that cooking should be fun and accessible for the home chef.  When you visit and cook with Jayne you feel as though you are sitting in the kitchen of a friend or relative, made complete by her desire to send everyone away with what she describes as ‘warm fuzzies’”.  “Her food is described as fresh, eclectic, and approachable.” 

Today, after spending some time up north taming the flames of a wood-burning oven for Chateau St. Jean, I'm thrilled to be doing my own thing.  You can find me creating recipes and pairing foods for the Qorkz Kitchen, down south consulting with a hotel group, or taking guests to the local farmer’s market for a market tour and then heading back to my kitchen for a cooking class. You can find me on Instagram @chefjayne or check out the Air BnB experience at:

Market to Chef's Kitchen

Qorkz Kitchen - Solstice Edition
I was researching customs for the solstice and actually found a recipe.  Mostly midsommer festivities involved fire, liquor and staying up all night keeping the witches away.  Witches in June?  I don't know why.  Some thing just are the way they are.  Or we have forgotten why.

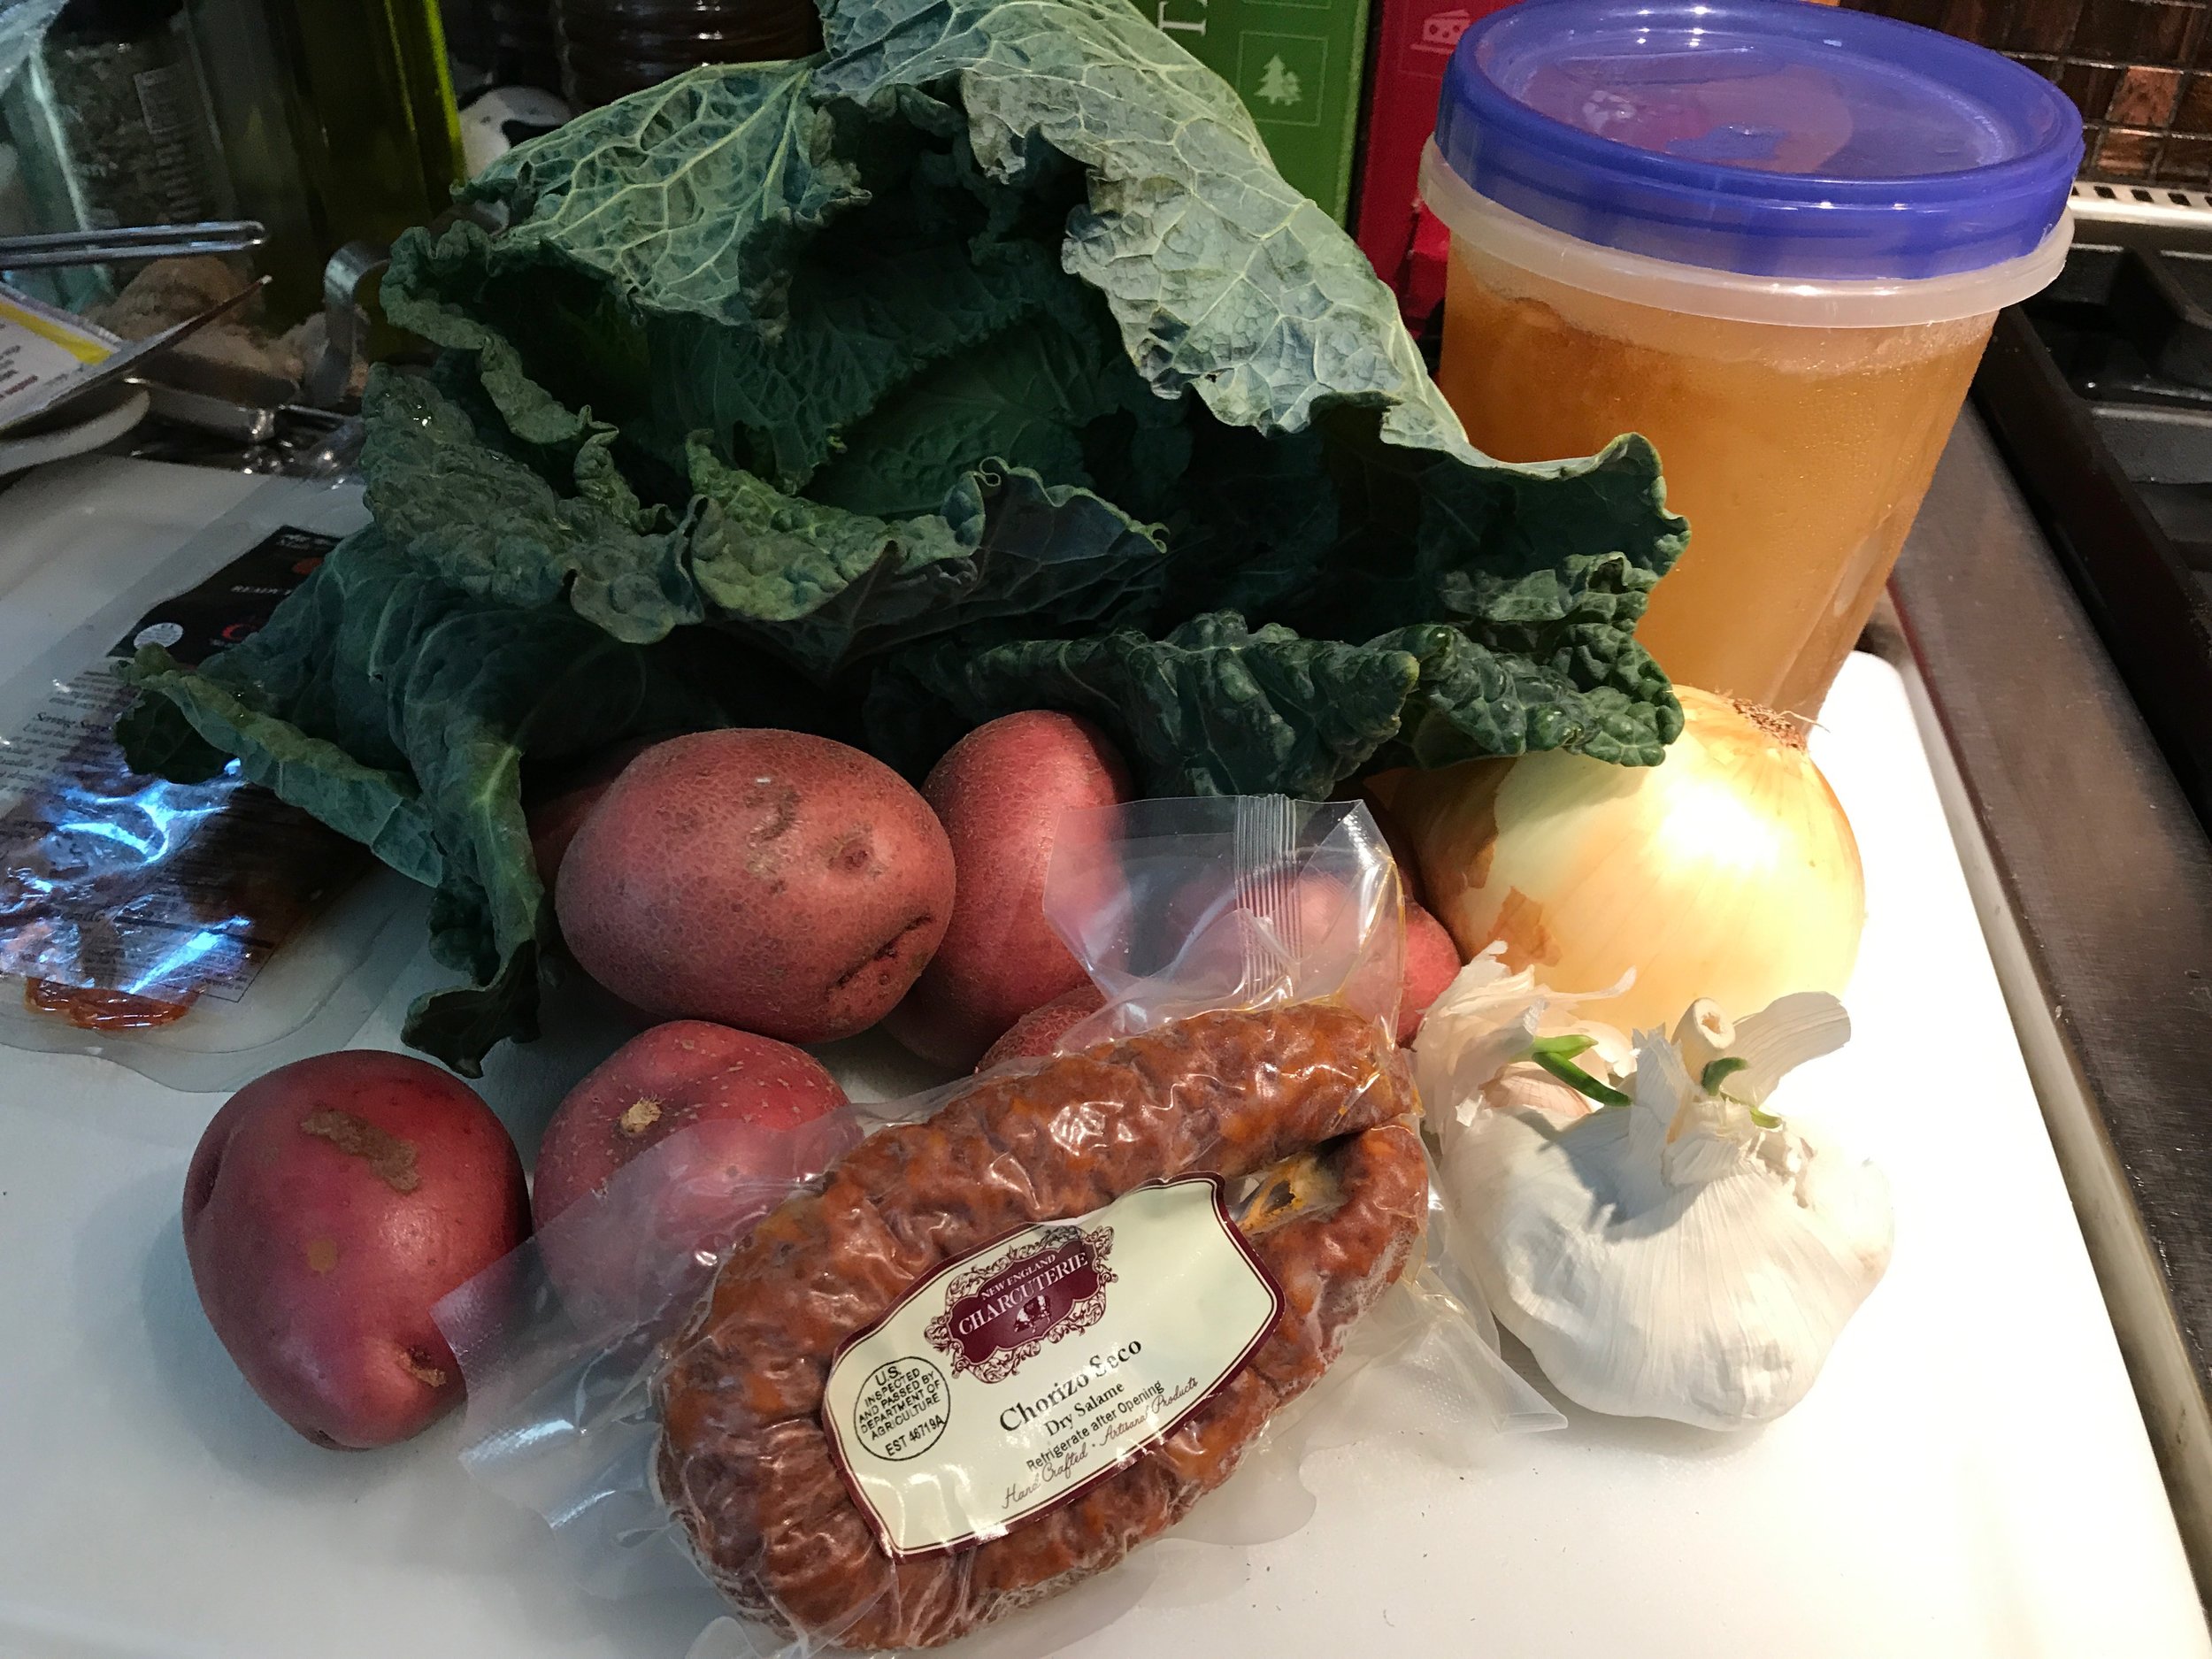
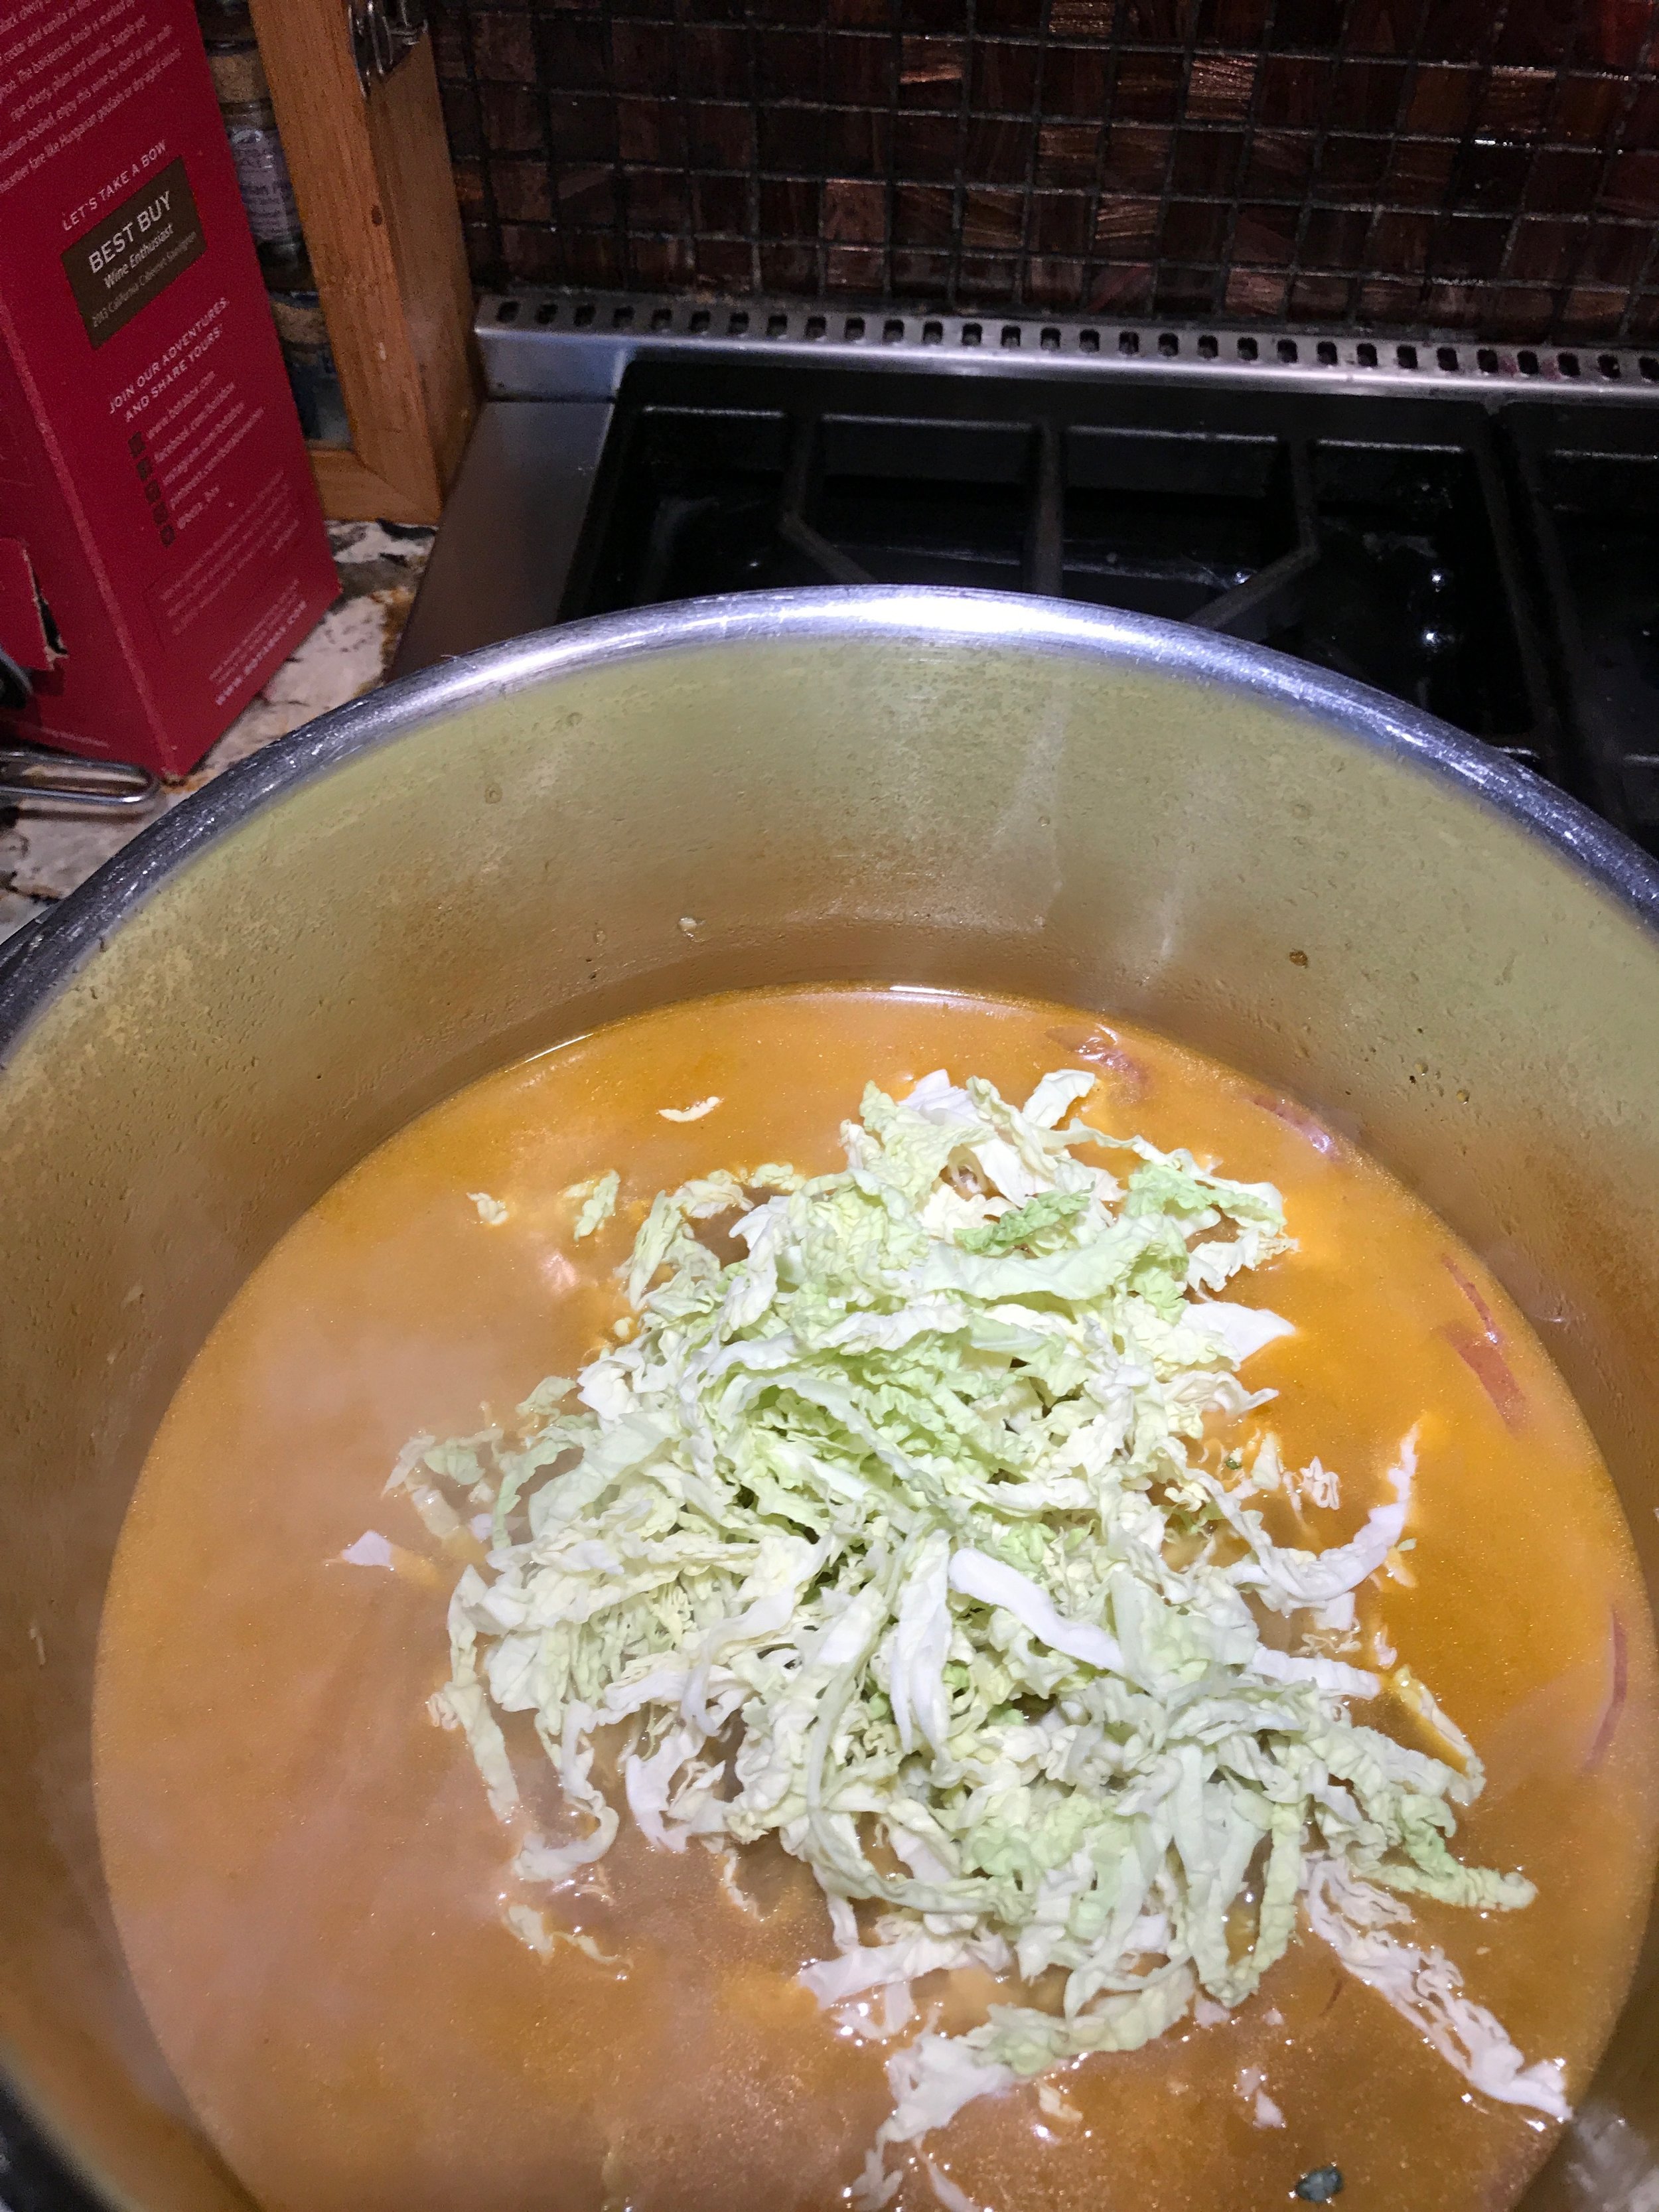
In way of keeping traditions alive, I am making Portuguese soup.  Caldo Verde.  Yes, there is a green element.  Everything that I read about the soup indicated that it was a cabbage soup.  But all the recipes that I found used kale.  Maybe I am splitting hairs, but I think I have found a way to live up to the intent of the soup without having to pay $4 a pound for Lacinato kale.  The compromise I have chosen is by means to Savoy Cabbage.  Yes, that is cabbage in the picture.  The leaves of the Savoy cabbage are bubbly like the Tuscan type of kale but it isn't as expensive because it isn't so frou-frou at the moment.

Solstice Kitchen

Here are my ingredients:

  • 1 small head of Savoy cabbage (about 1 lb if it is over that is ok.  you are going to have bits that don't go into the soup)
  • 1 large onion (diced)
  • 1 lb of new potatoes (sliced thin)
  • Chopped garlic (I have seen quantities anywhere from 1-4 cloves.  Choose at will. I have 4 in mine - you have been forewarned)
  • 1/2 pound of chorizo or linguiça (sliced thin)
  • 2 quarts chicken stock
  • 1 teaspoon salt
  • 1/2 teaspoon pepper

That doesn't seem like enough ingredients for a heart meal.  Amirite?! Well, it is.  

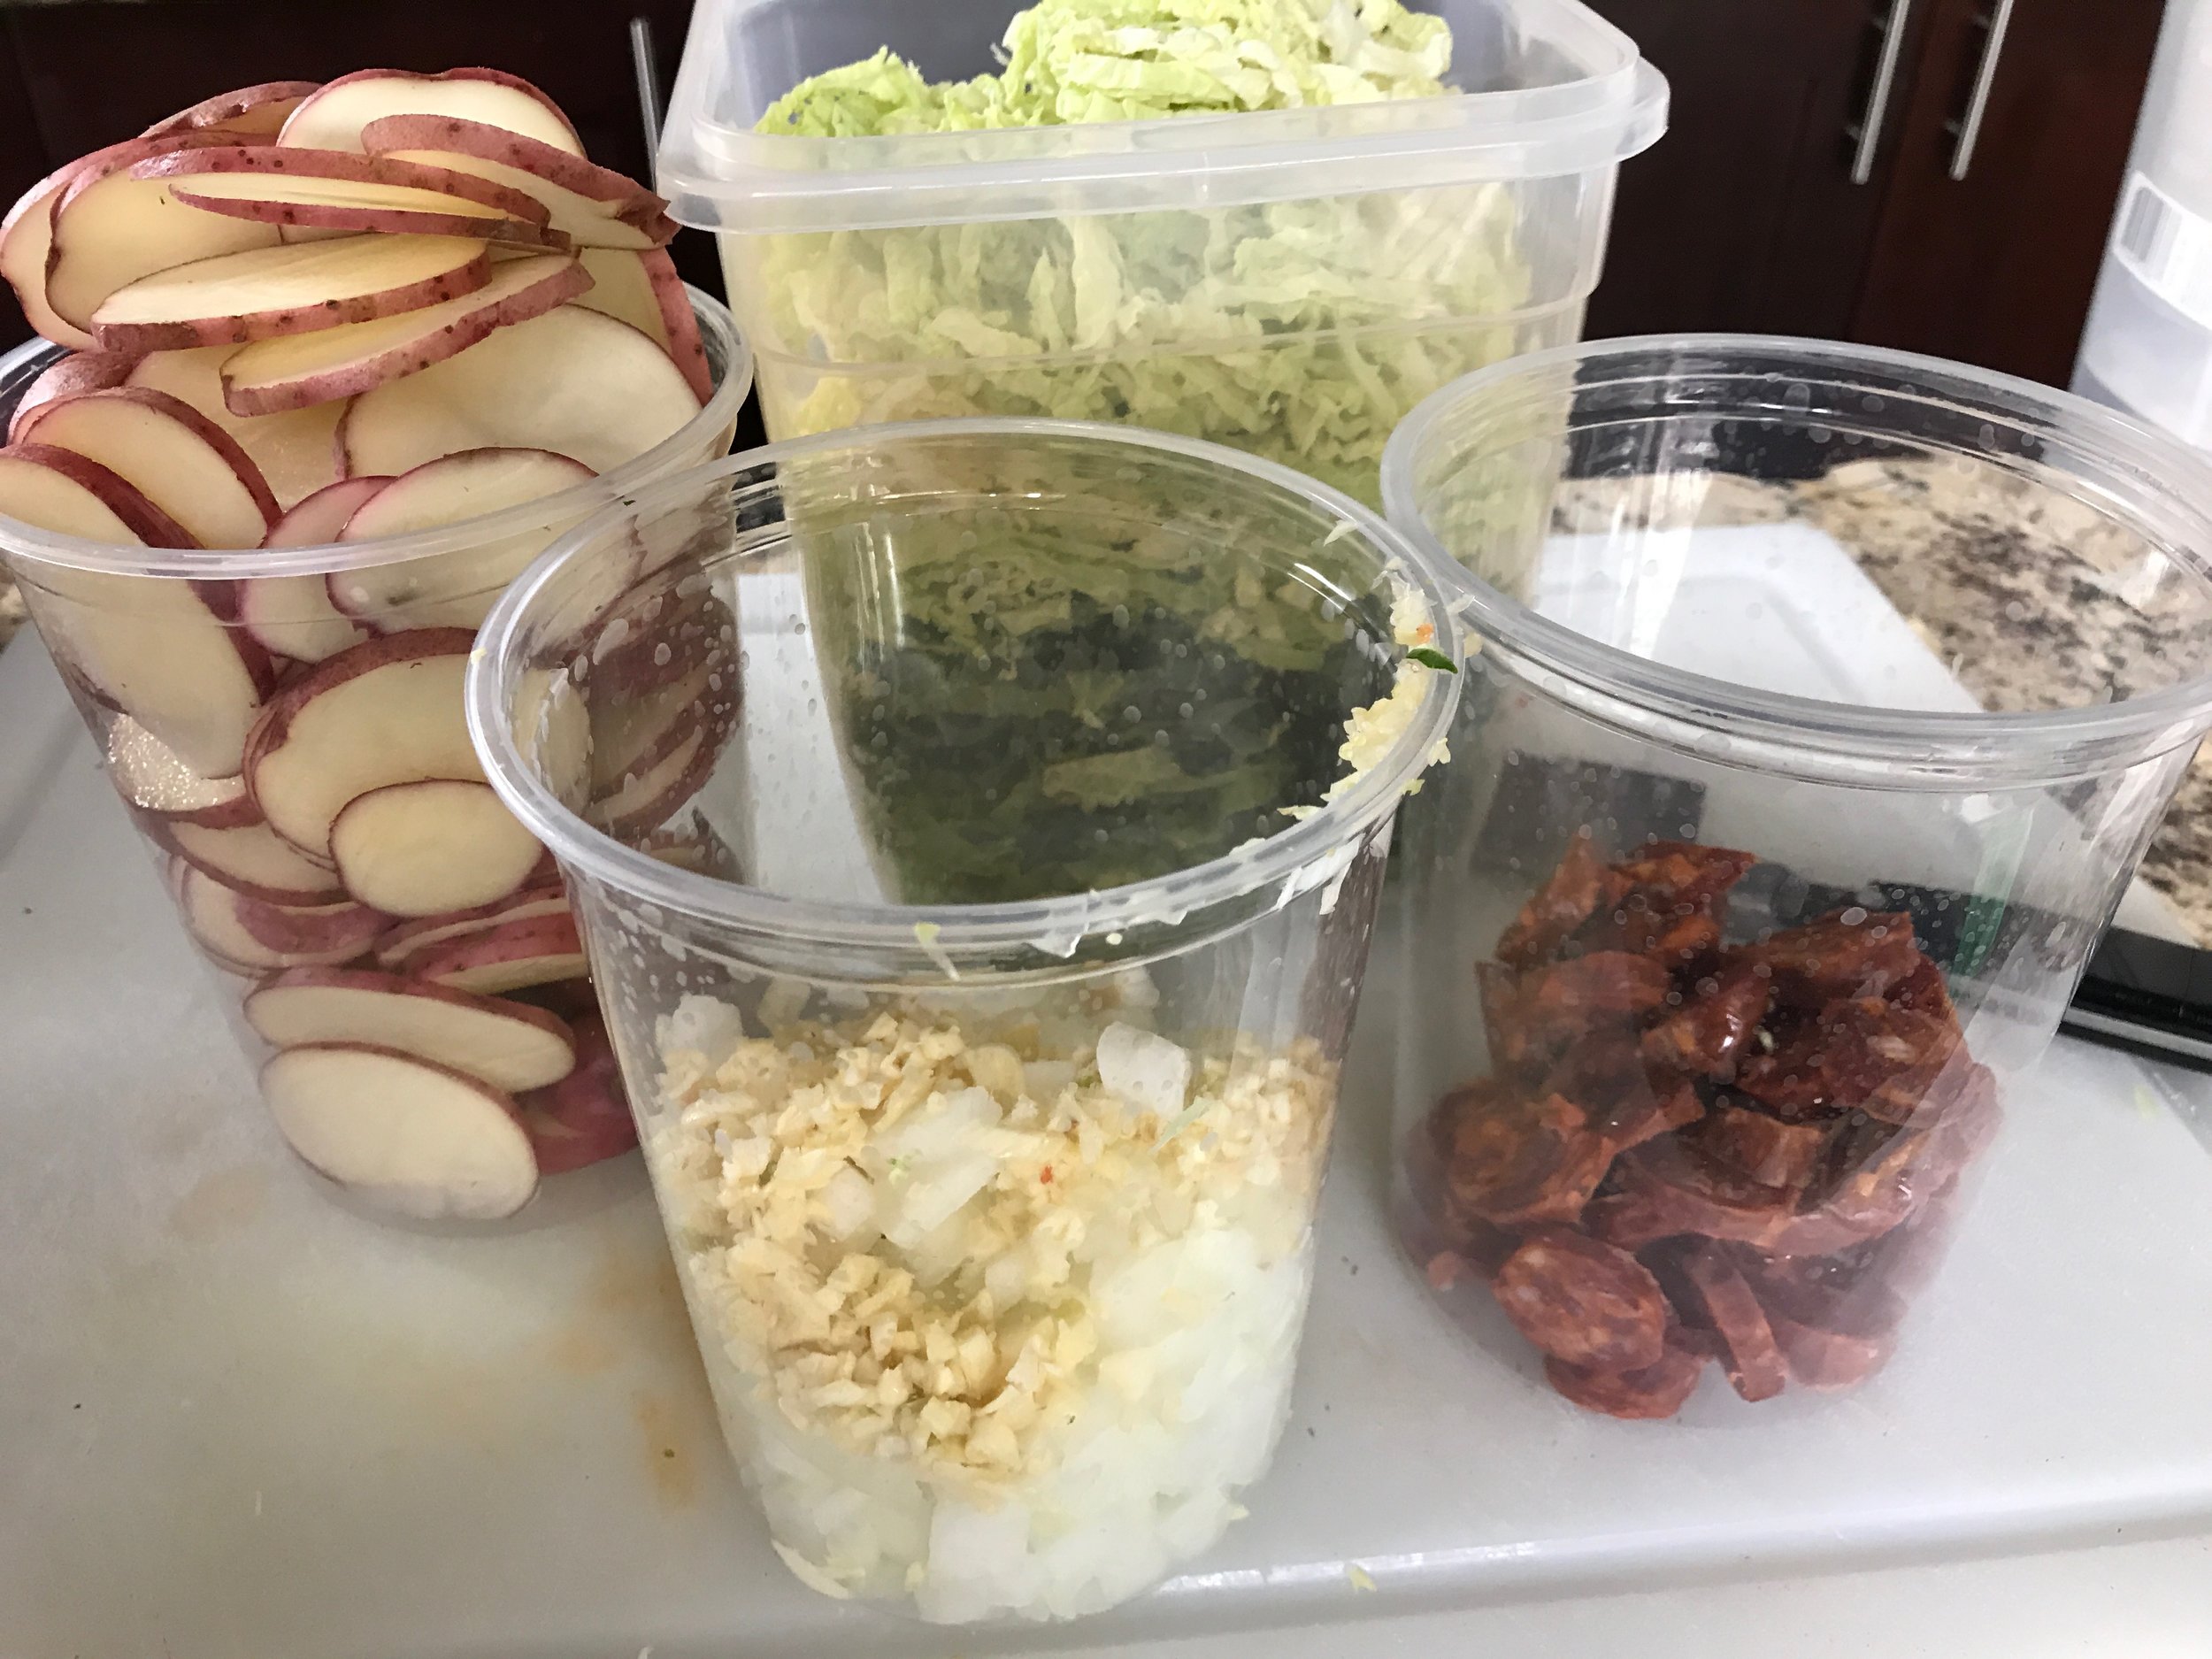
Start the process by pulling leaves off the cabbage until you get down the the really pale inner leaves.  It will start getting difficult to peel these off.  Wash the individual leaves and dry them in a piece of paper towel or an actual towel.  Separate the leaf from the hard stem in the middle of each leaf.  I ended up with 2 pieces per leaf.  Then take several leaves and roll them together like a cigar then thinly slice the cabbage.  It will look like this:

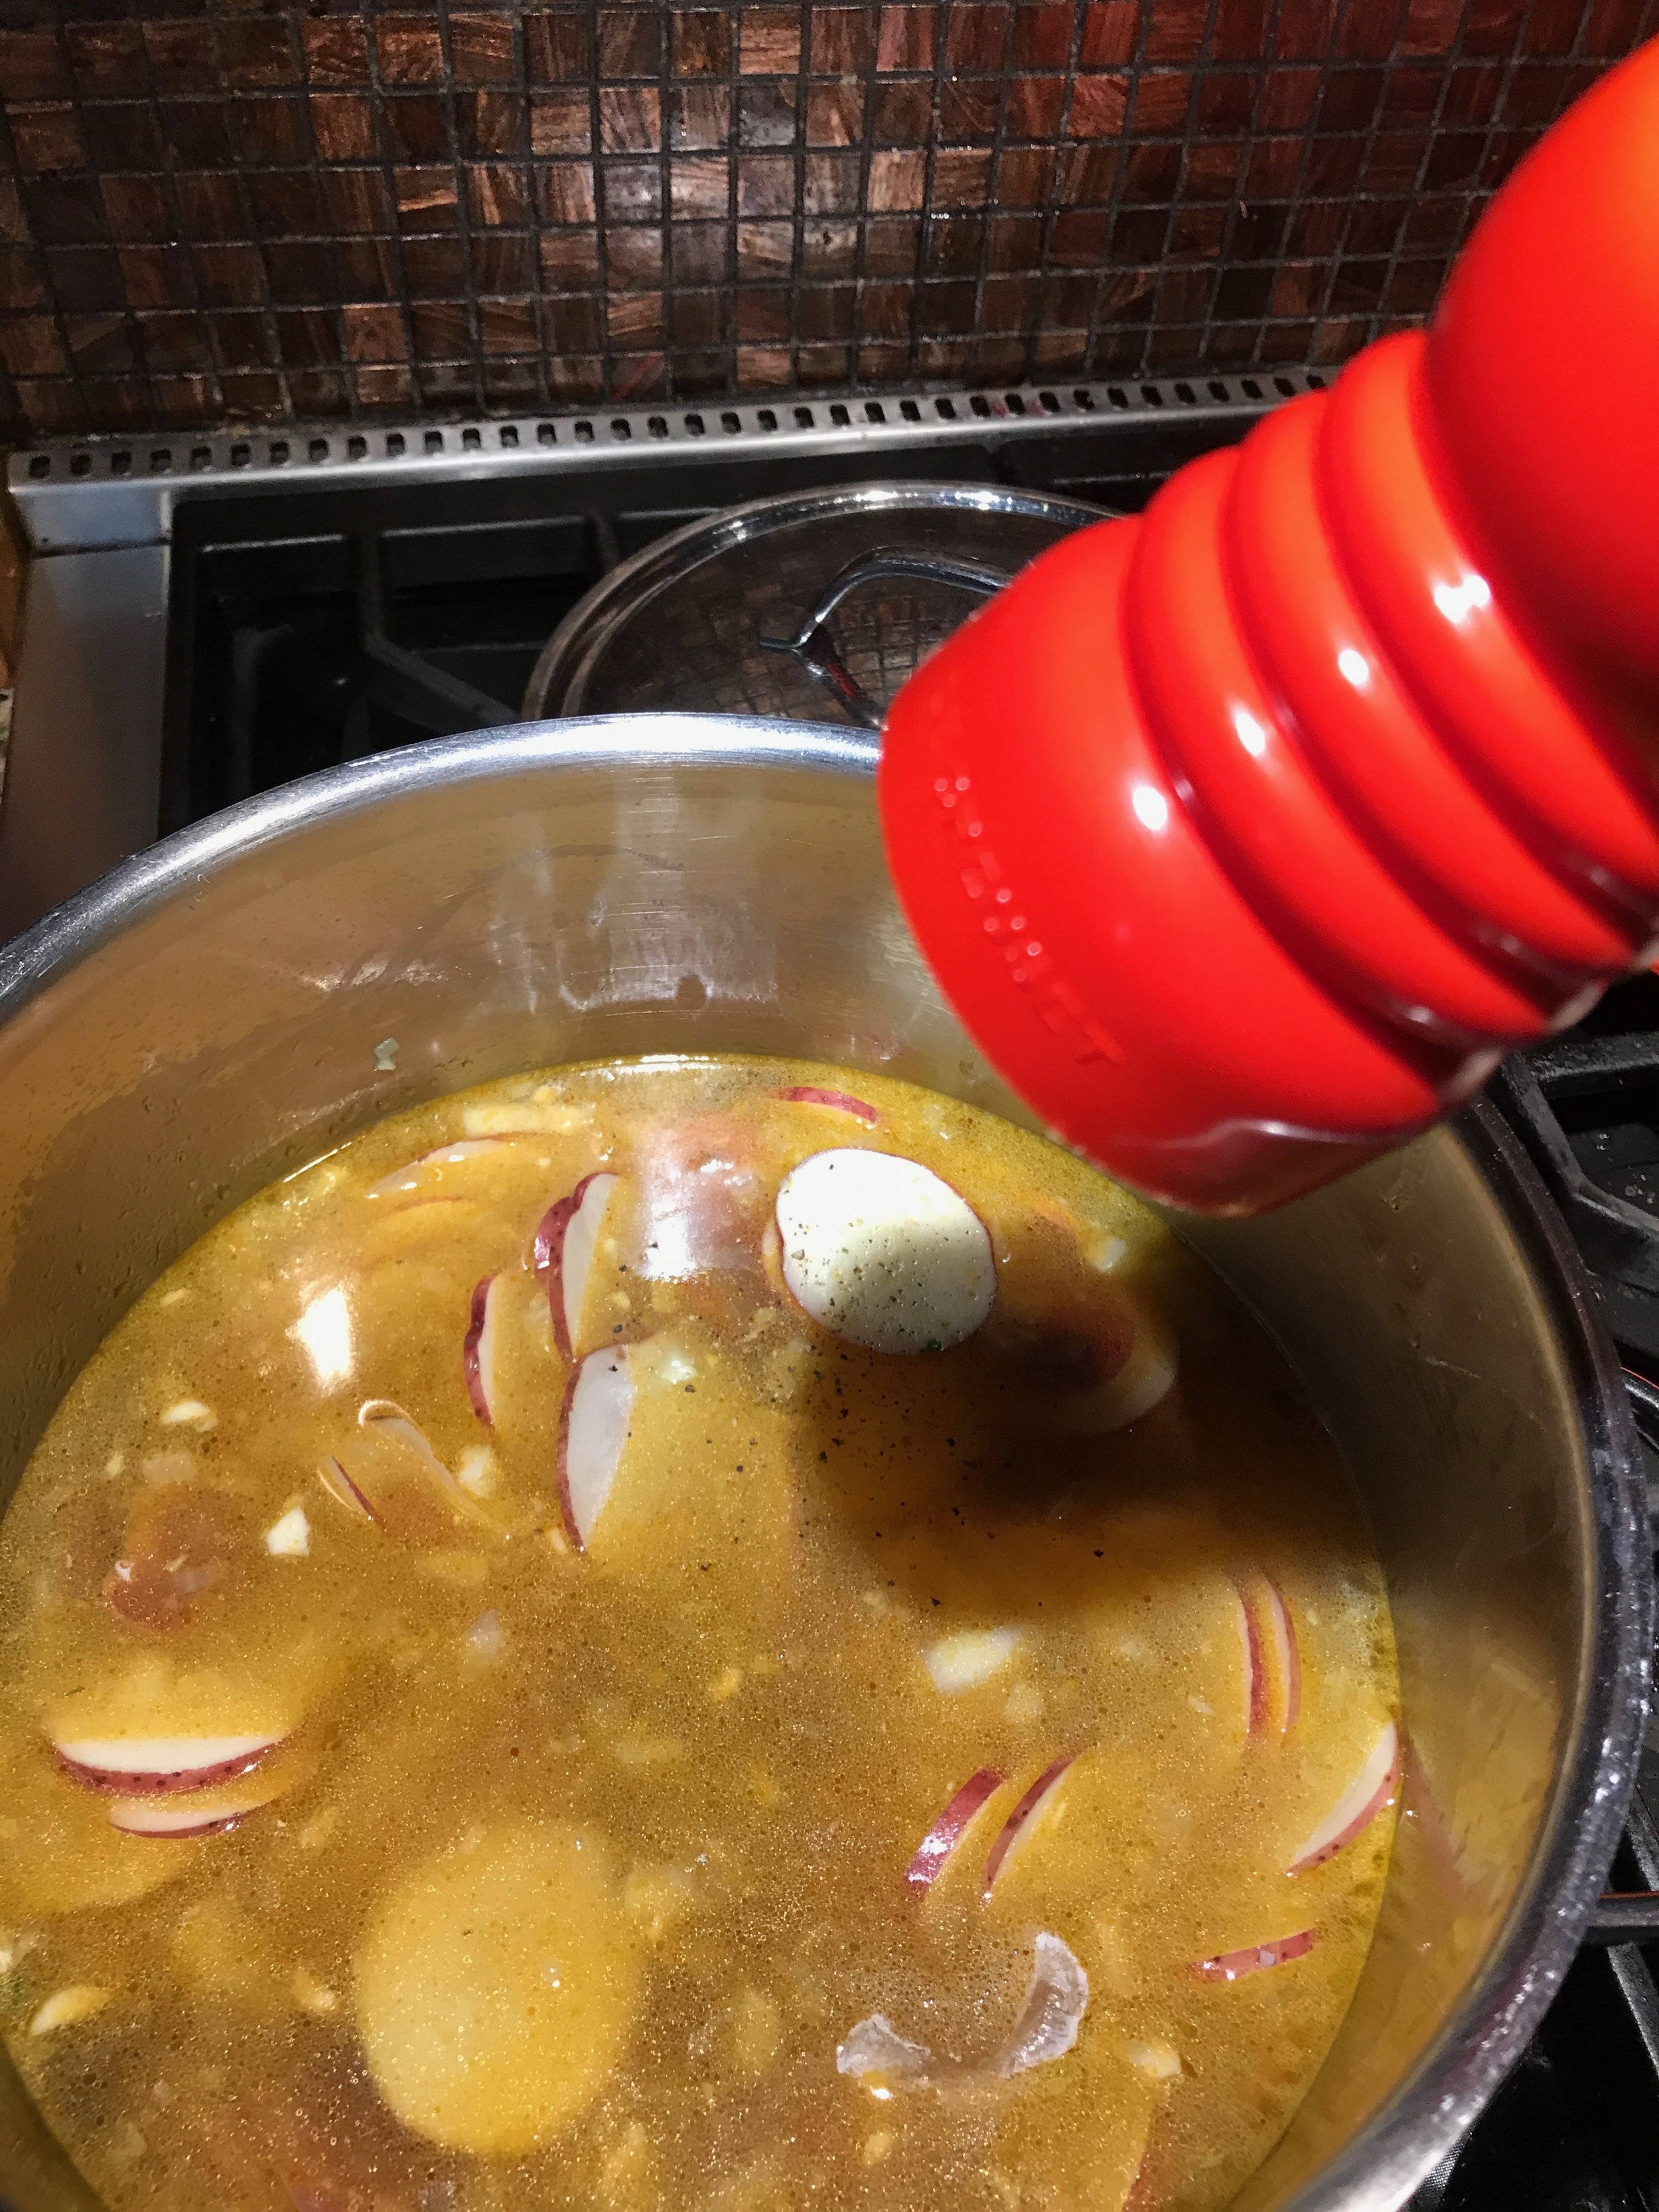
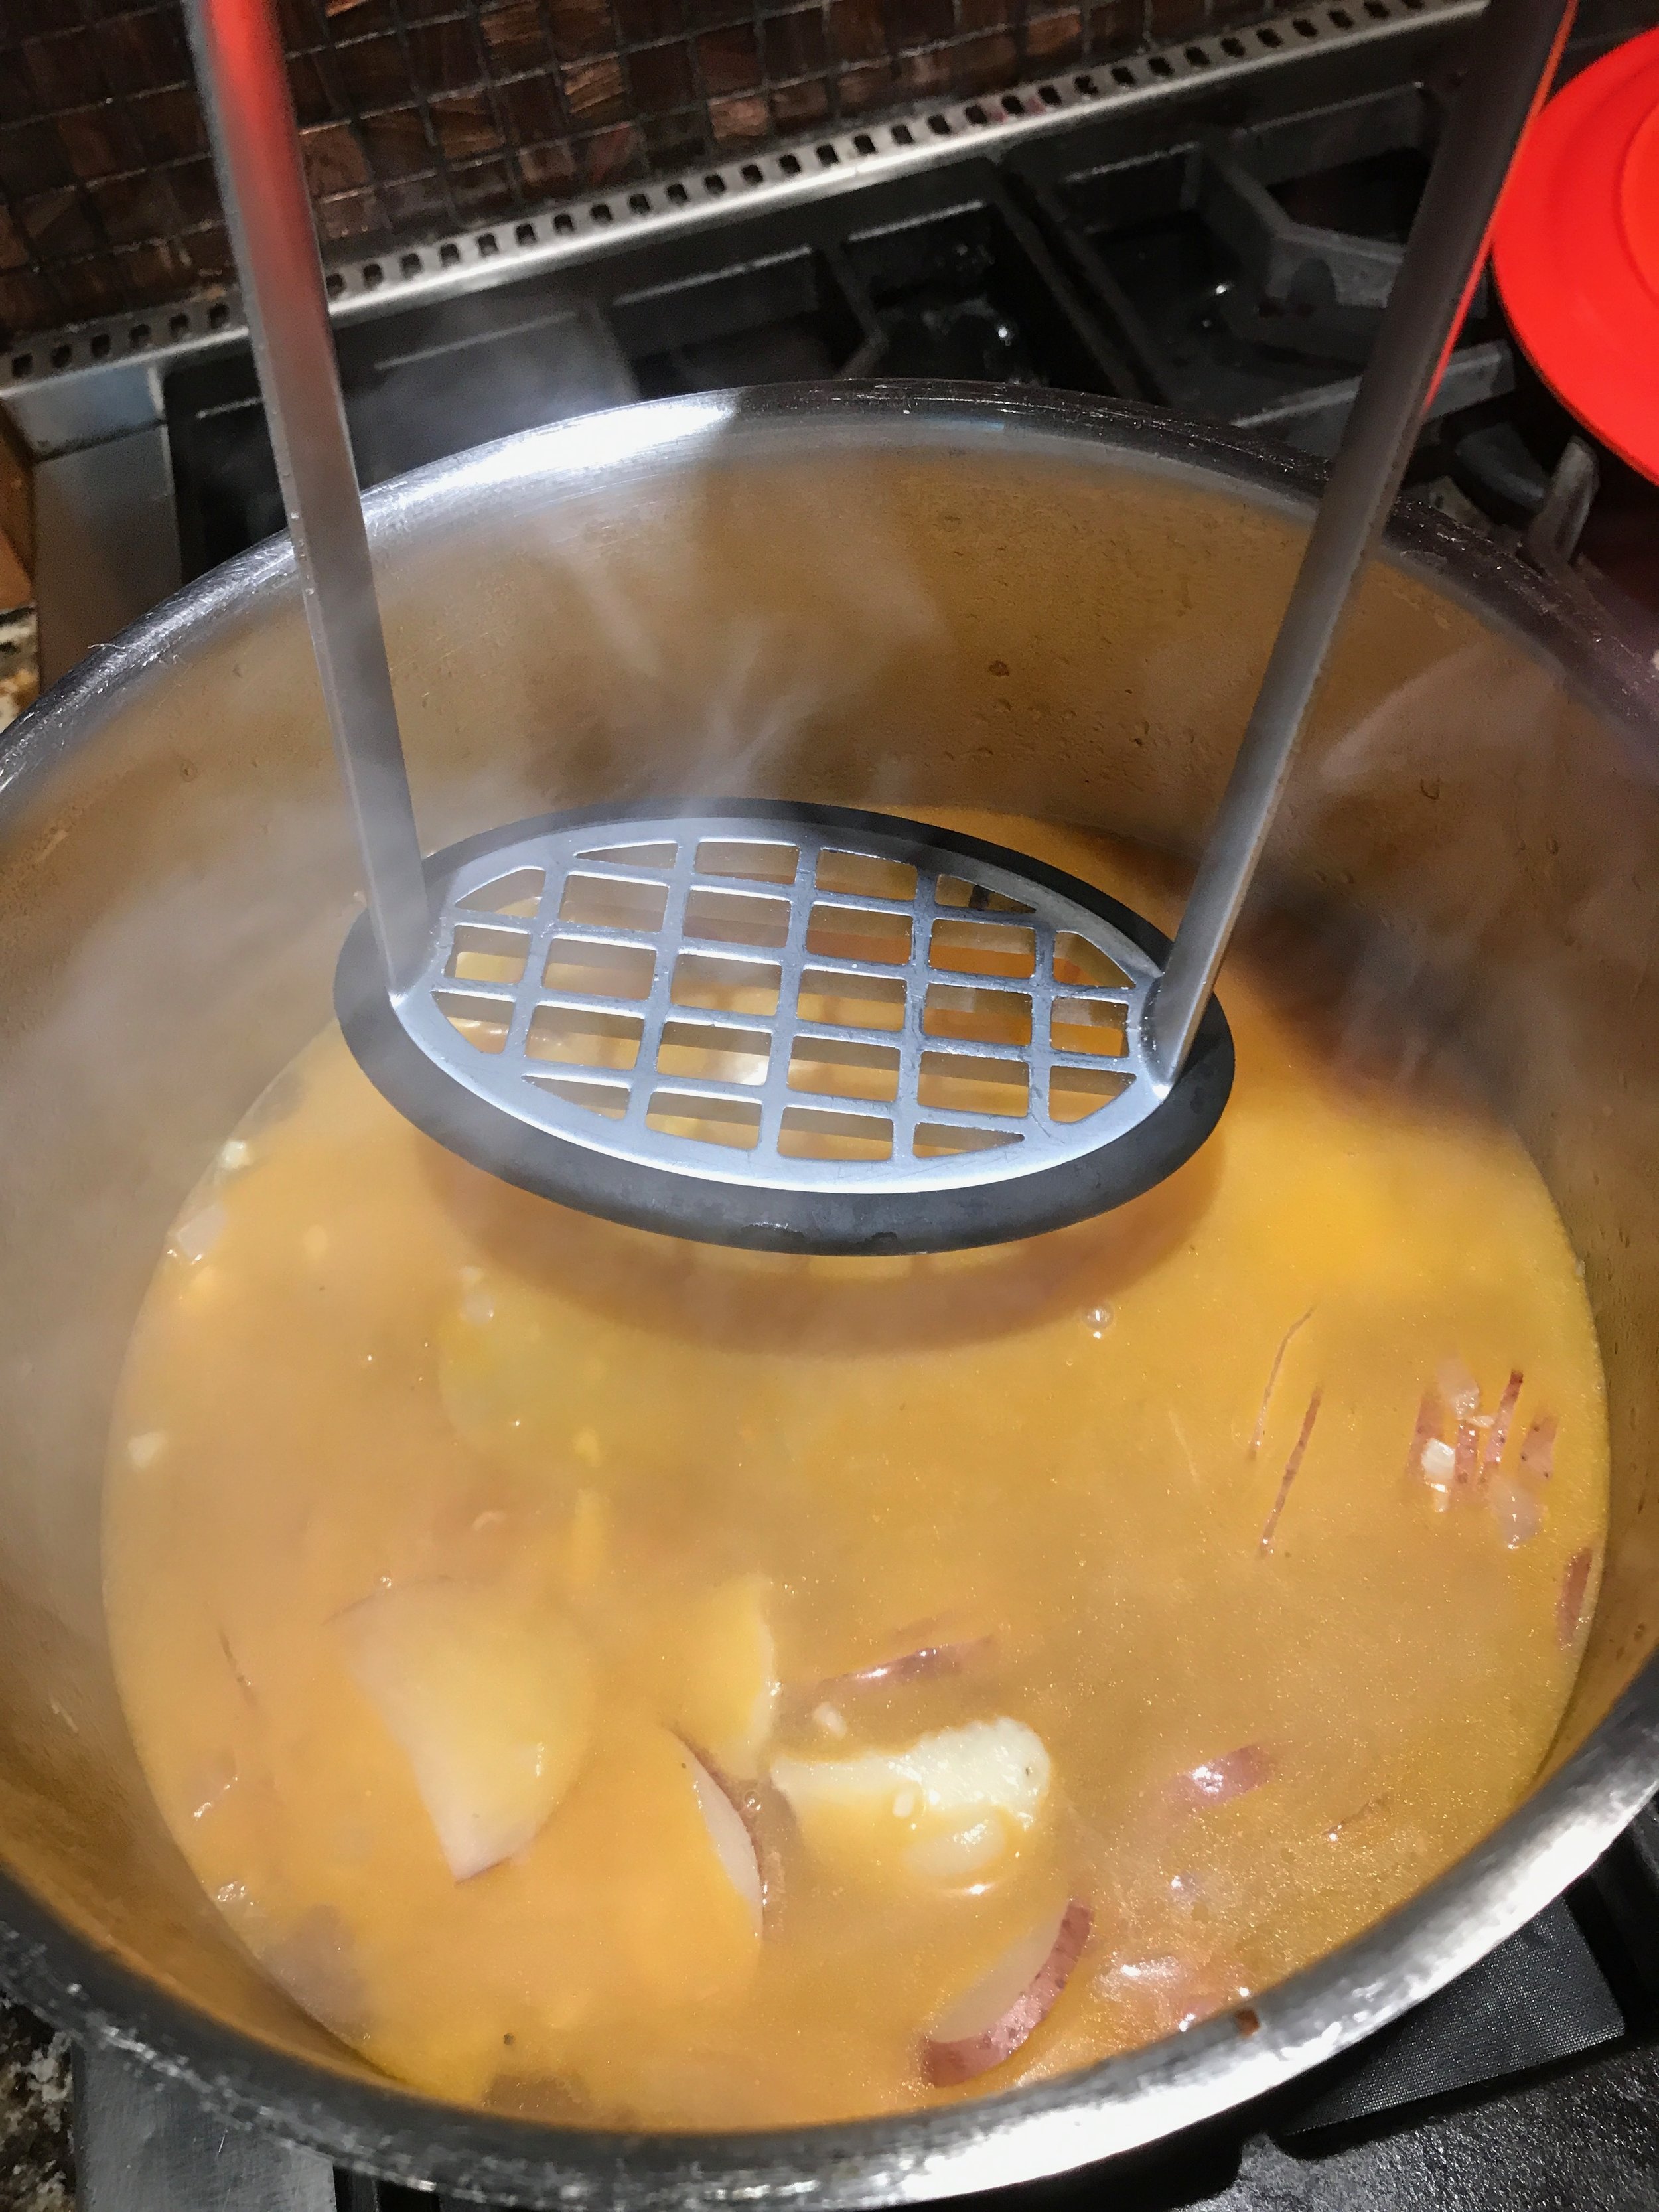
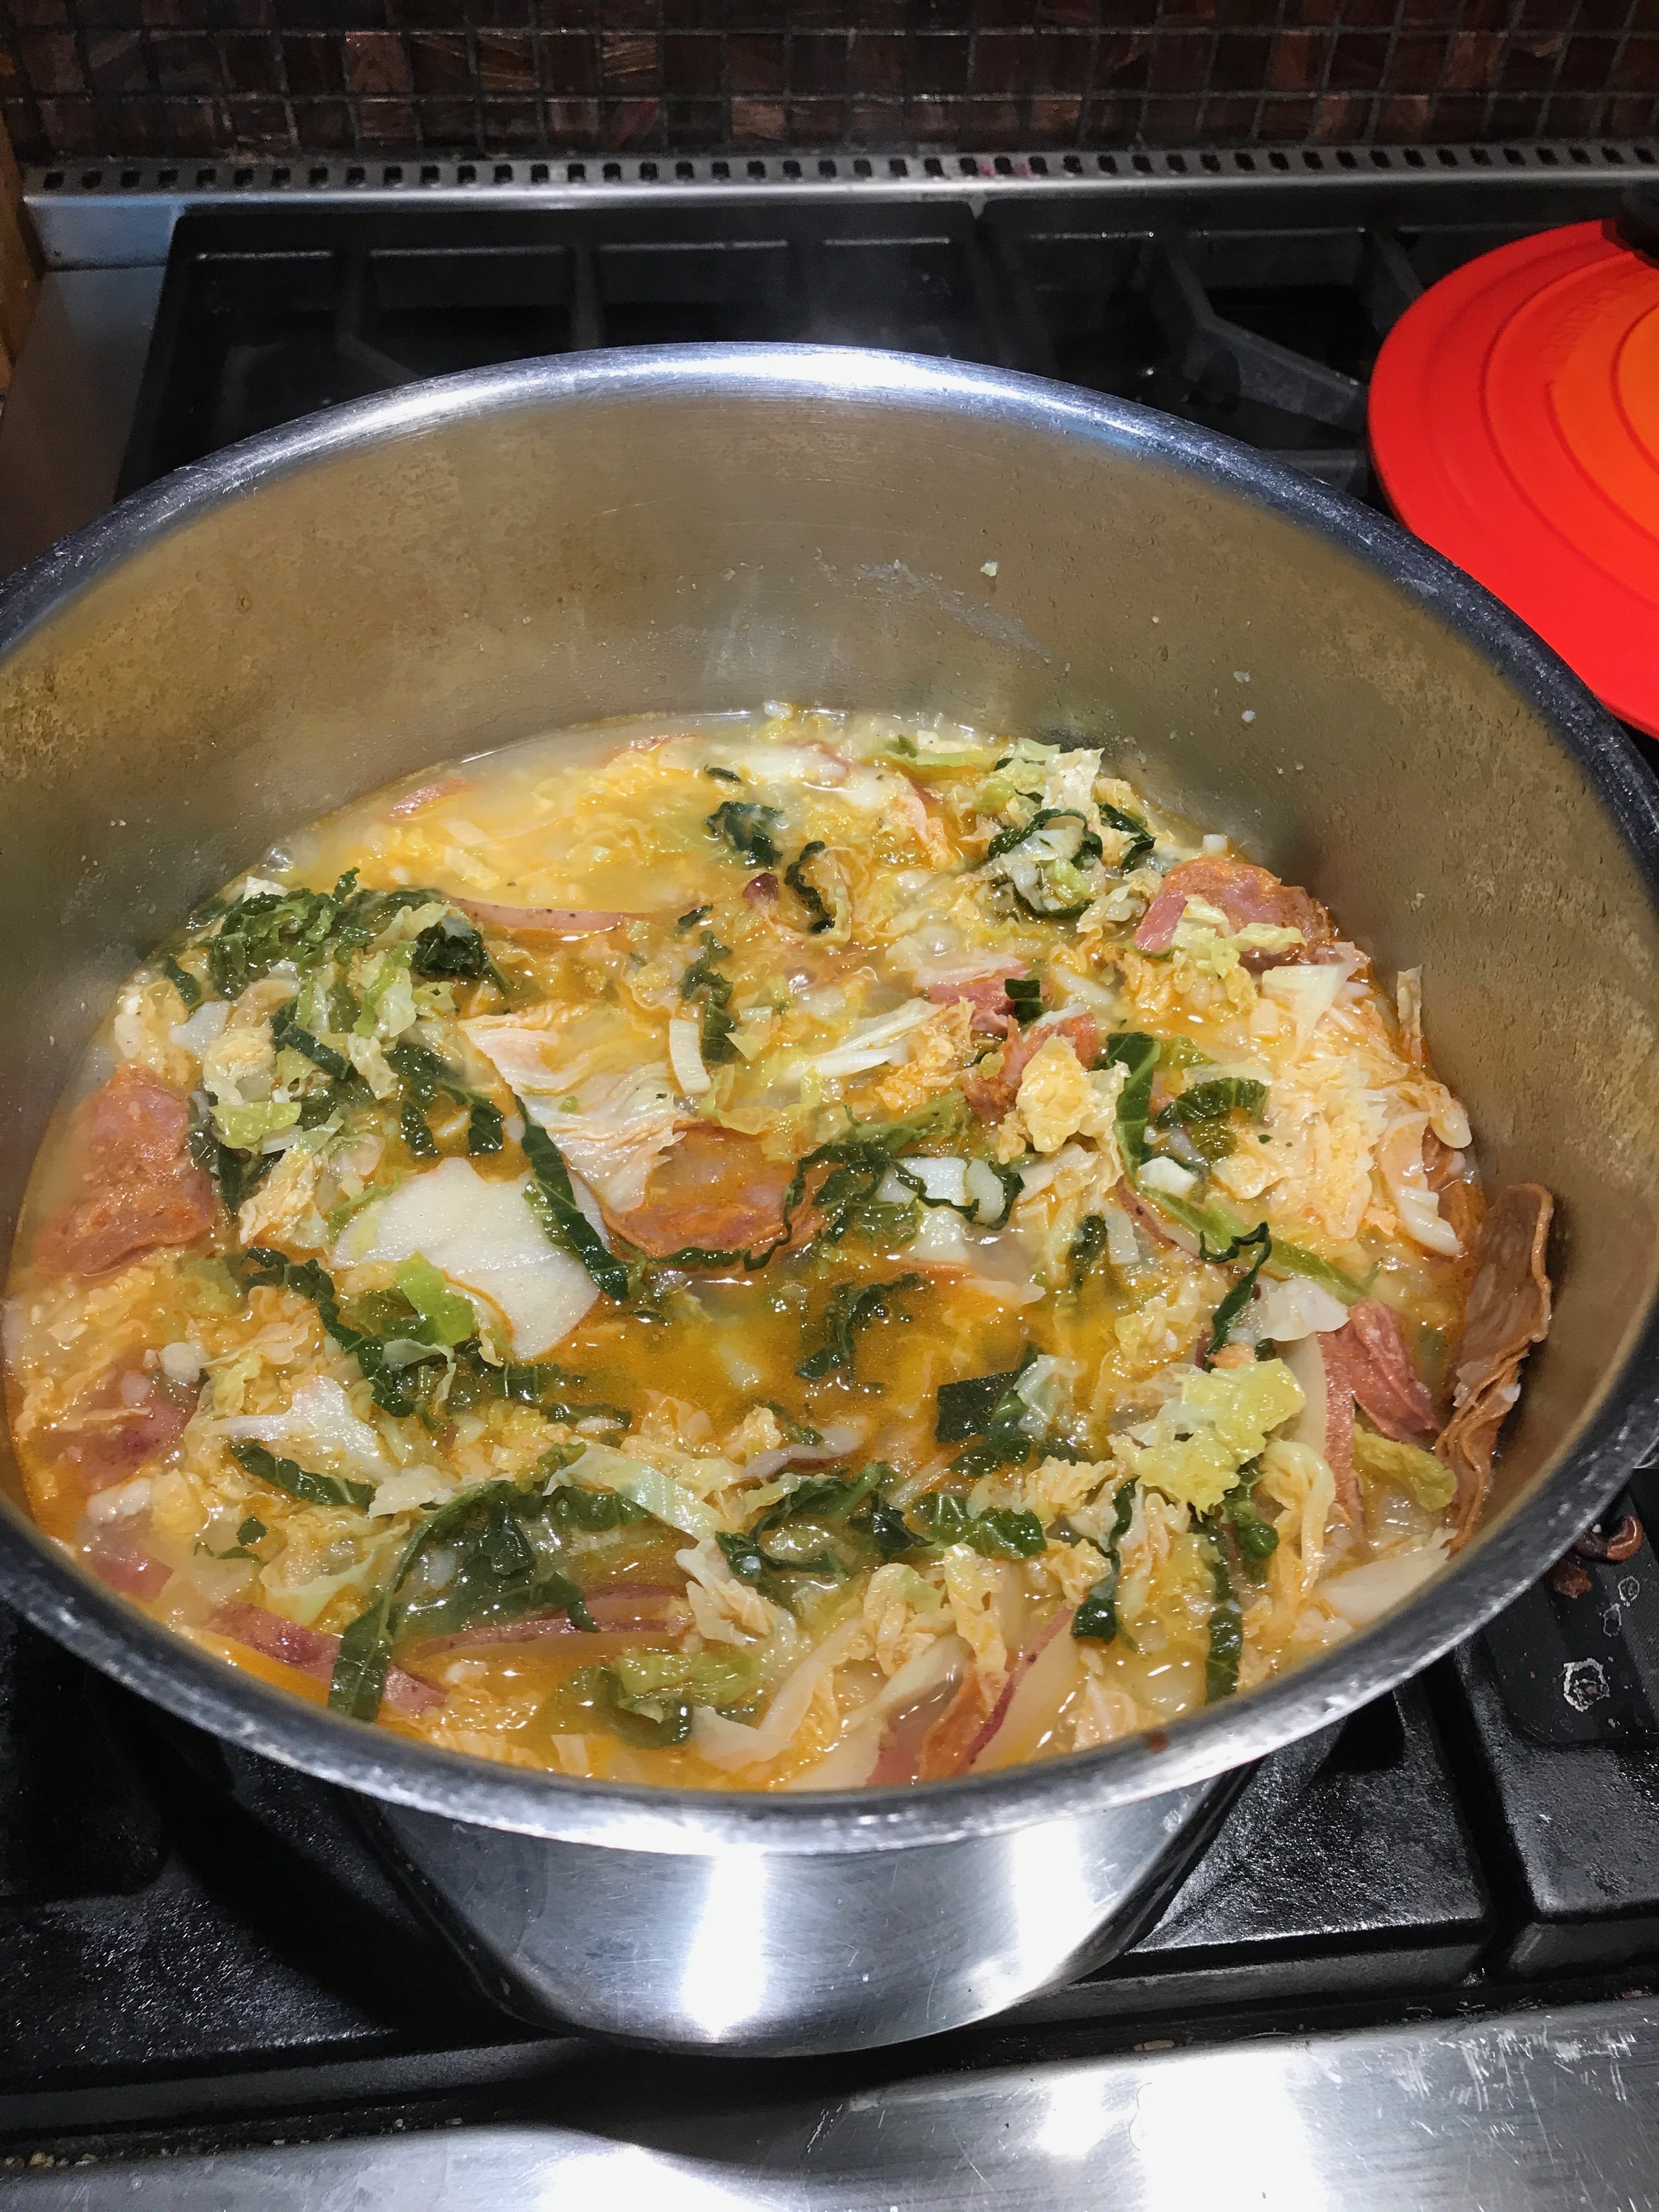
Now you take your onions and garlic and sauté them in a couple of spoonfuls of olive oil. When soft but not browned add the potato slices and the chicken stock. (Which I hope is home made.  See instructions in our gravy piece.) My chorizo is a dry variety so I add it now.  If fresh, it is the last addition.... Let simmer until the potatoes are cooked then mash half of them in the pot to thicken the mix.  When nicely mixed then add the julienned cabbage a bit at a time and let it cook down.

The final cooking should take only 30 minutes but can stay on the back burner for an hour (the bright pretty color will fade but it is still awesomely good and yes, that is what I did).

Serve with country bread and red wine, may I suggest 2011 Genetic Pinot Noir.

Happy summer!

Laissez Le Bontemps Rouler! Qorkz Kitchen Addition
Happy Mardi Gras! 

To celebrate this holiday, I always like to make gumbo, and when I say gumbo I mean gumbo for crowd. For some reason I've never learned how to make this in small batches. So bear with me, and host a party!  Feed the neighbors!  Freeze the stuff!  It keeps.  It gets better.  Trust me.

Here are the ingredients:

  • 2 pounds chicken thighs 
  • 1/2 cup flour
  • 1/2 cup canola oil
  • one medium onion chopped
  • one medium bell pepper chopped
  • 3 stalks of celery chopped
  • 1 pound Andouille sausage sliced (if you can't find Andouille any smoked sausage will work)
  • 2 small bay leaves
  • 1 teaspoon thyme
  • 1/8 teaspoon cayenne
  • Dried jalapeno flakes (if you like it spicy... I do) to taste
  • 1 tablespoon Emeril's Essence 
  • 1 lb okra sliced into rounds
  • 1 teaspoon gumbo filé (recommended if you can lay your hands on some).

A note on the filé.  This is dried and ground leaves of the sassafras tree it isn't available everywhere but you can usually find it at a good spice shop.  I recommend the Spice House. It adds flavor and texture to gumbo but needs to be added after the heat has been turned off or it makes the dish stringy.  Sassafras is also the flavoring in root beer, so maybe serve the kidlettes some A&W with their gumbo.  

Double Note:  While many of my recipes short and sweet, I'm going old school here. Dave Toomey old school (look at his recipe for Cochinita Pibil Tacos.  He is hard core, man.) That starts with chicken stock or broth.  What's the difference you ask?  Slow cooking the chicken in water will yield you broth.  To make stock you add vegetables and seasoning.  You can use either, or crappy boxed stuff, but don't complain to me about the taste if you use the boxed stuff.  Also?  No complaints that you don't have to time to make stock.  You do.  You just didn't realize it.  I used to make it overnight in a crockpot back in the days when I was working full time, going to graduate school and raising two baby girls.  So, there.

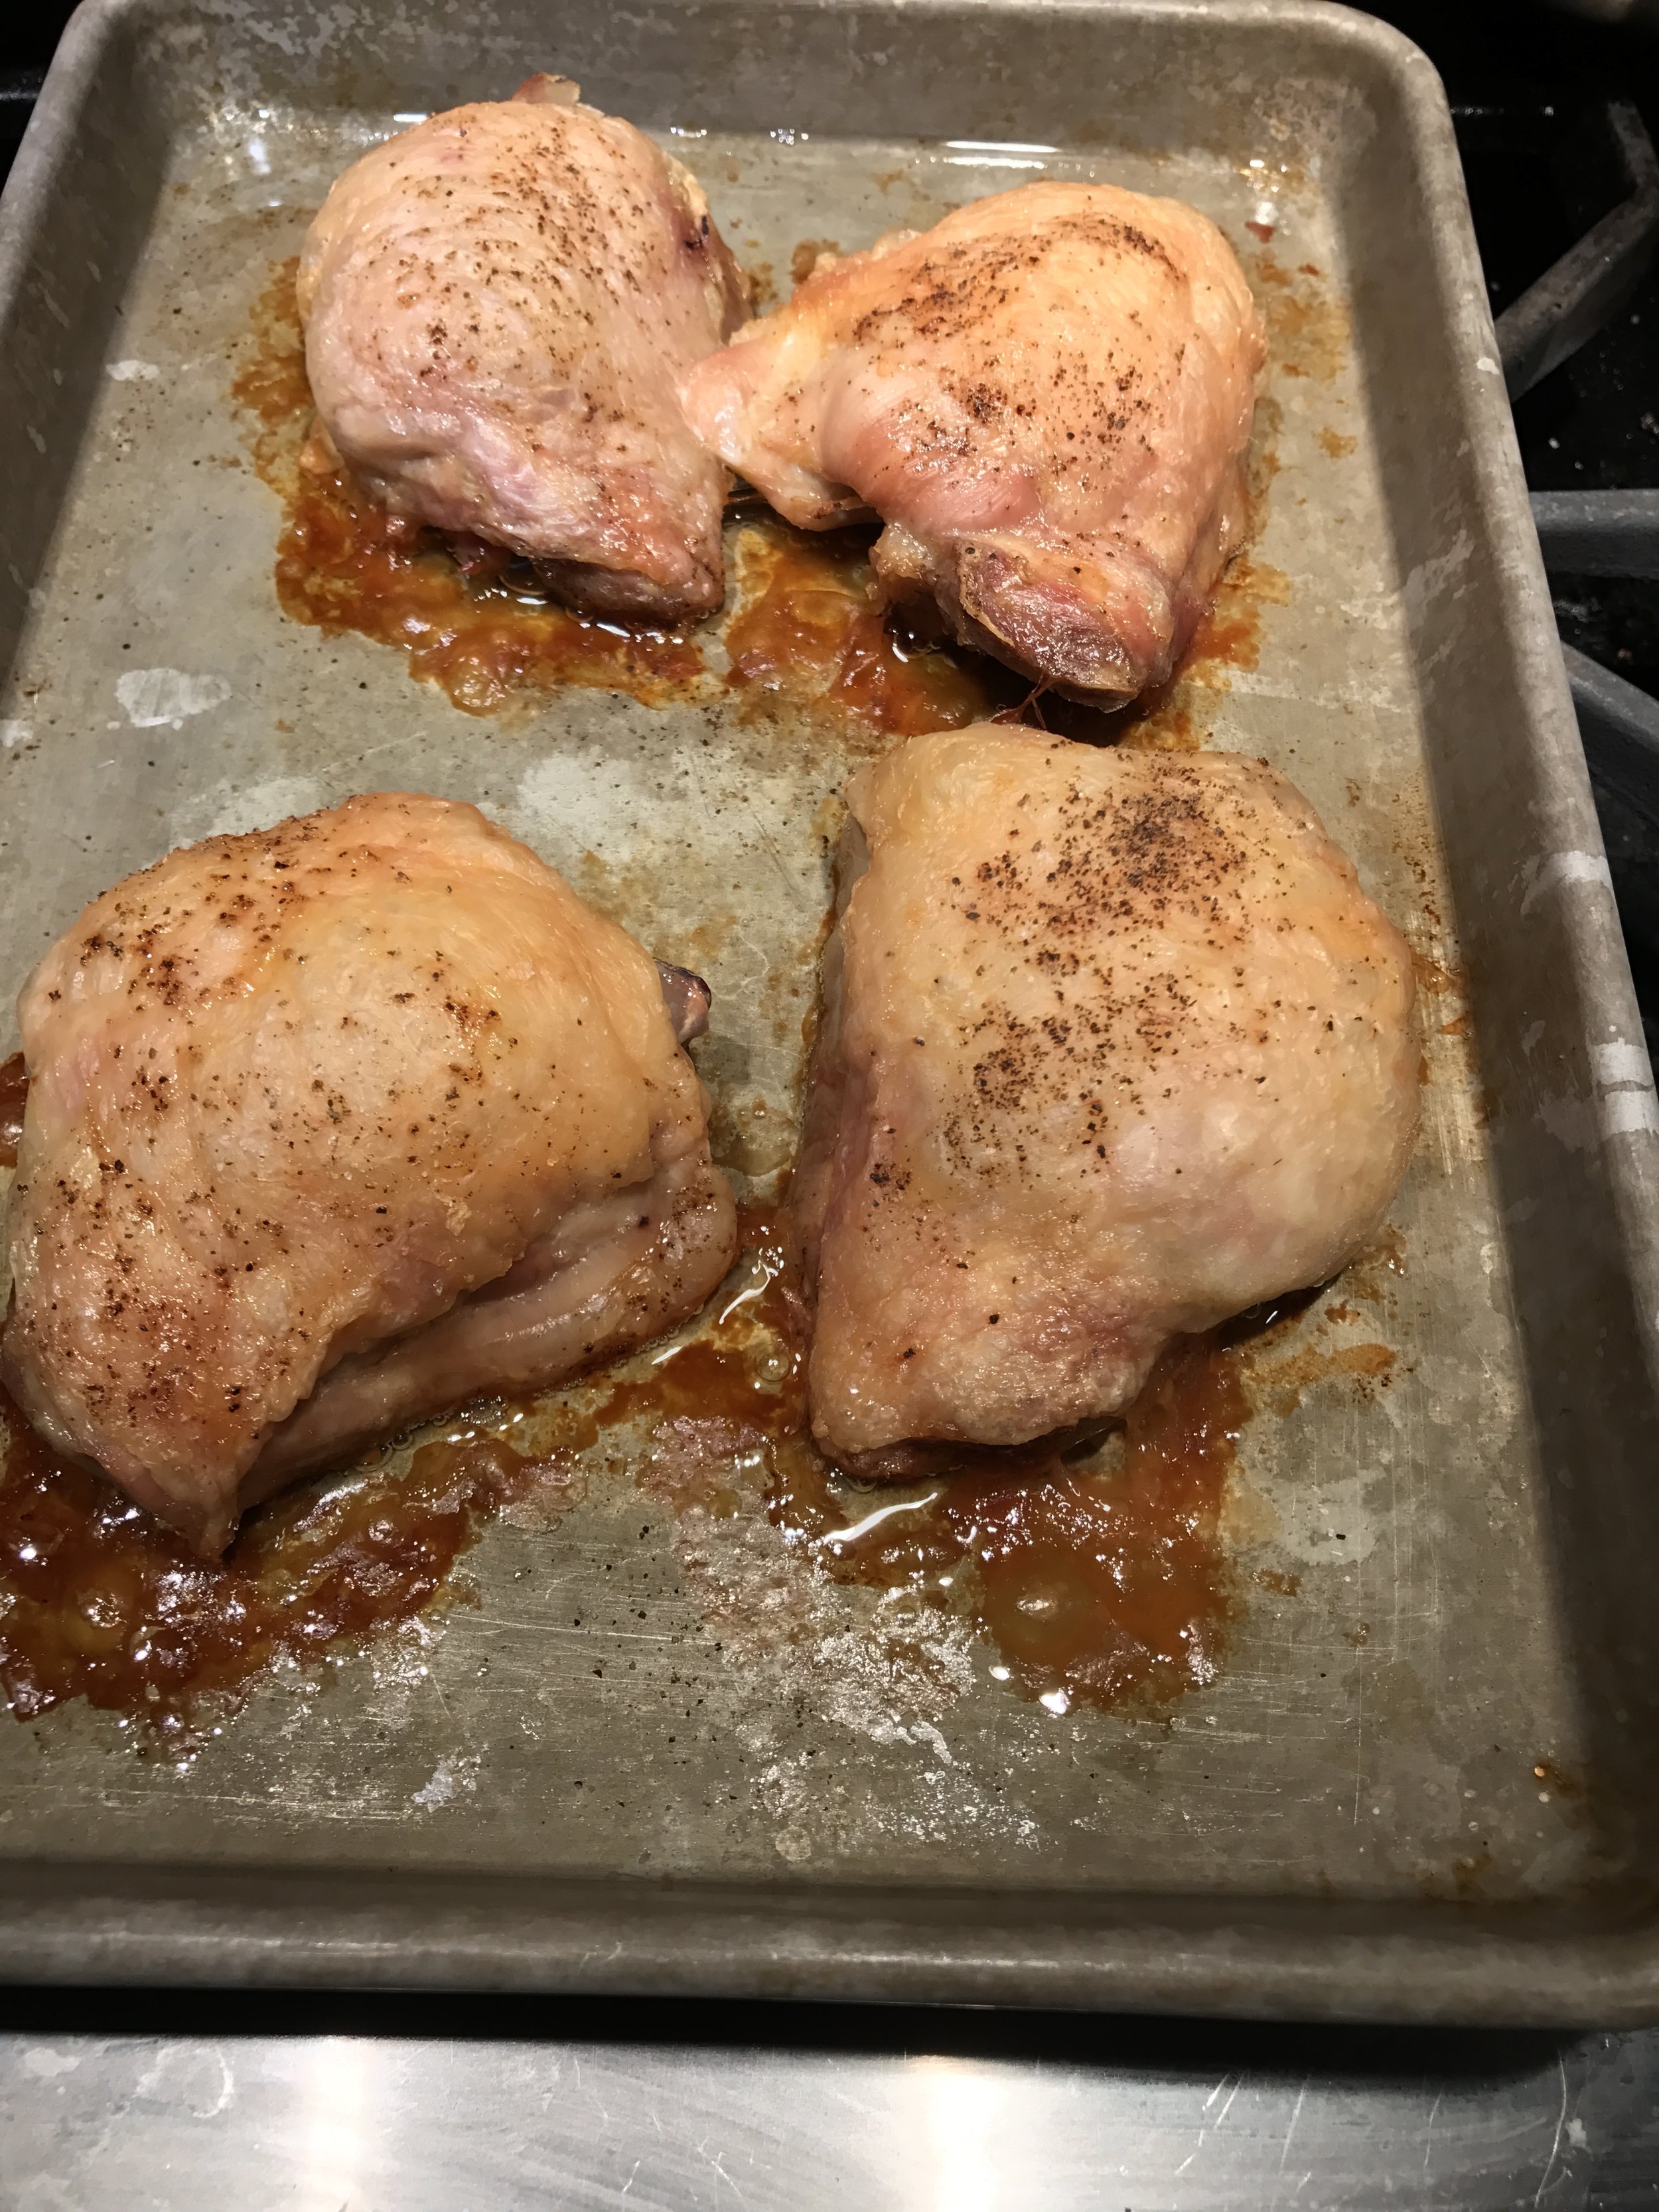
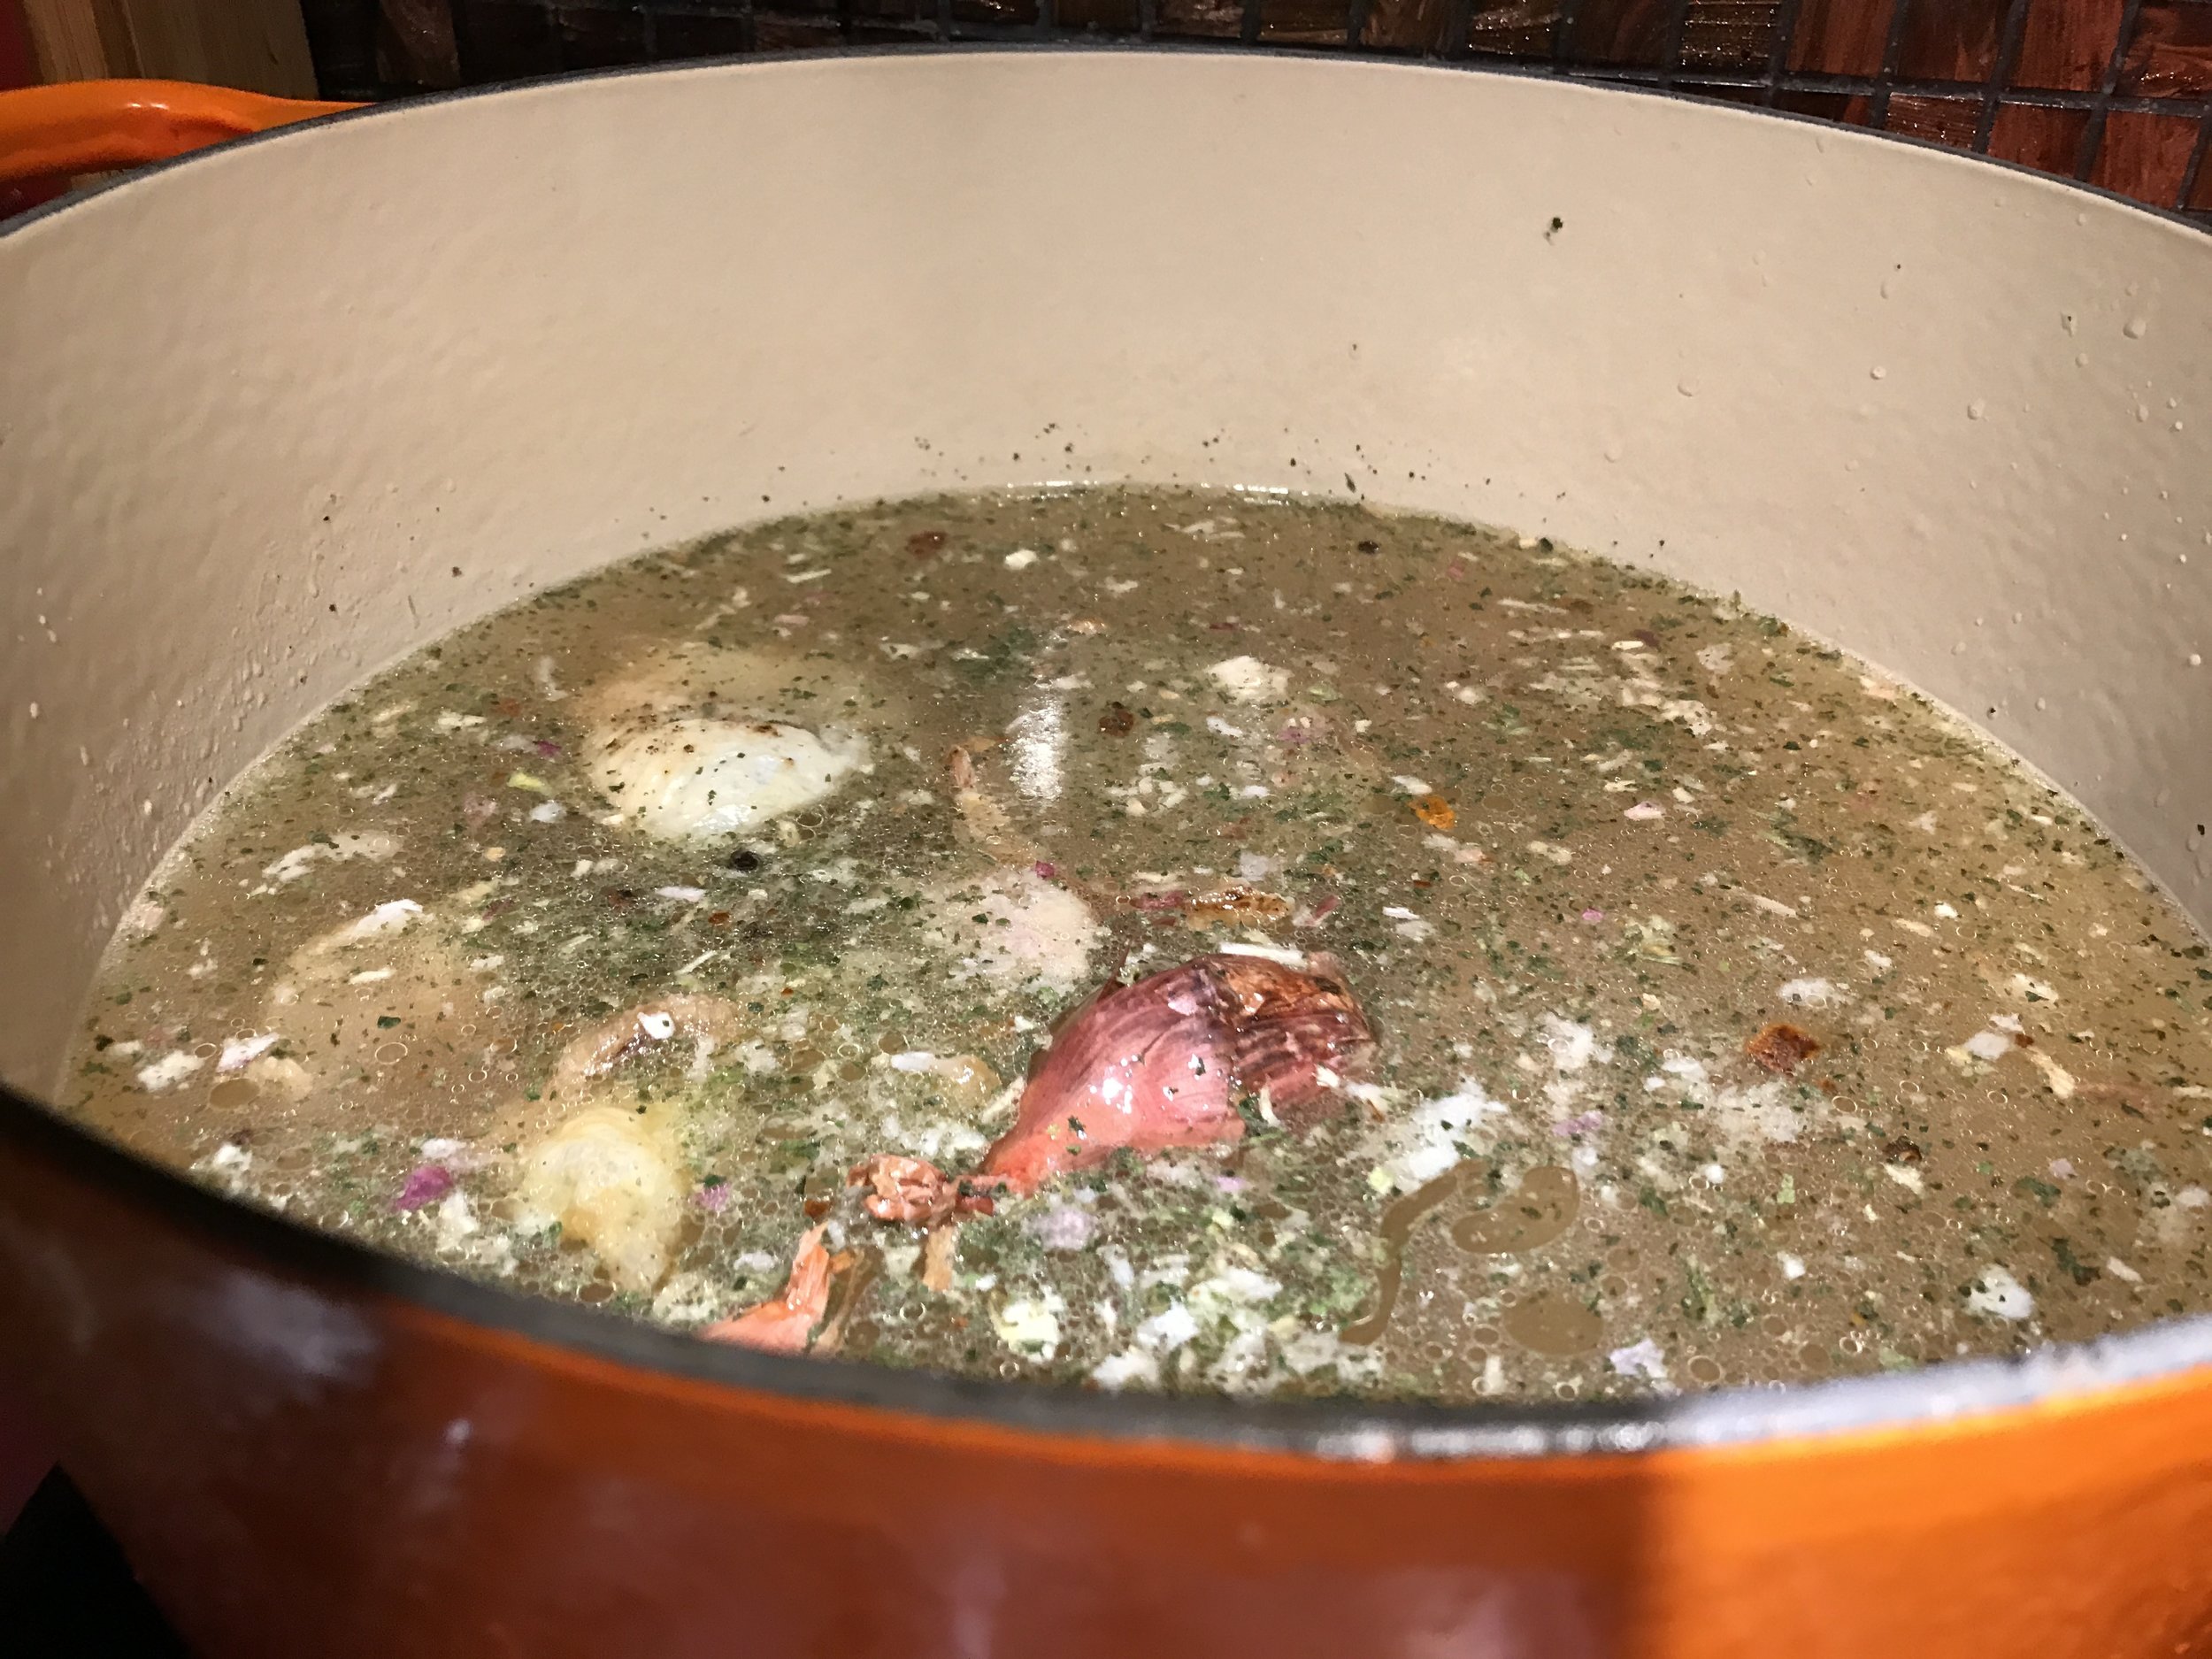
That being said, here's how I make stock.  It starts with roasted chicken.  I start with the chicken thighs and season them with salt and pepper on both sides.  Place them on a sheet pan and roast in a 325 degree oven.  This usually takes about half an hour to 45 min. depending on the size of the thighs that you use. When the smell delicious and look golden brown and have reached an internal temperature of 165 (salmonella ruins a party) take them out of the oven until they are cool enough to touch them. Give them some time.  Trust me, I've been burned alot. I'm not patient.  Learn from me.

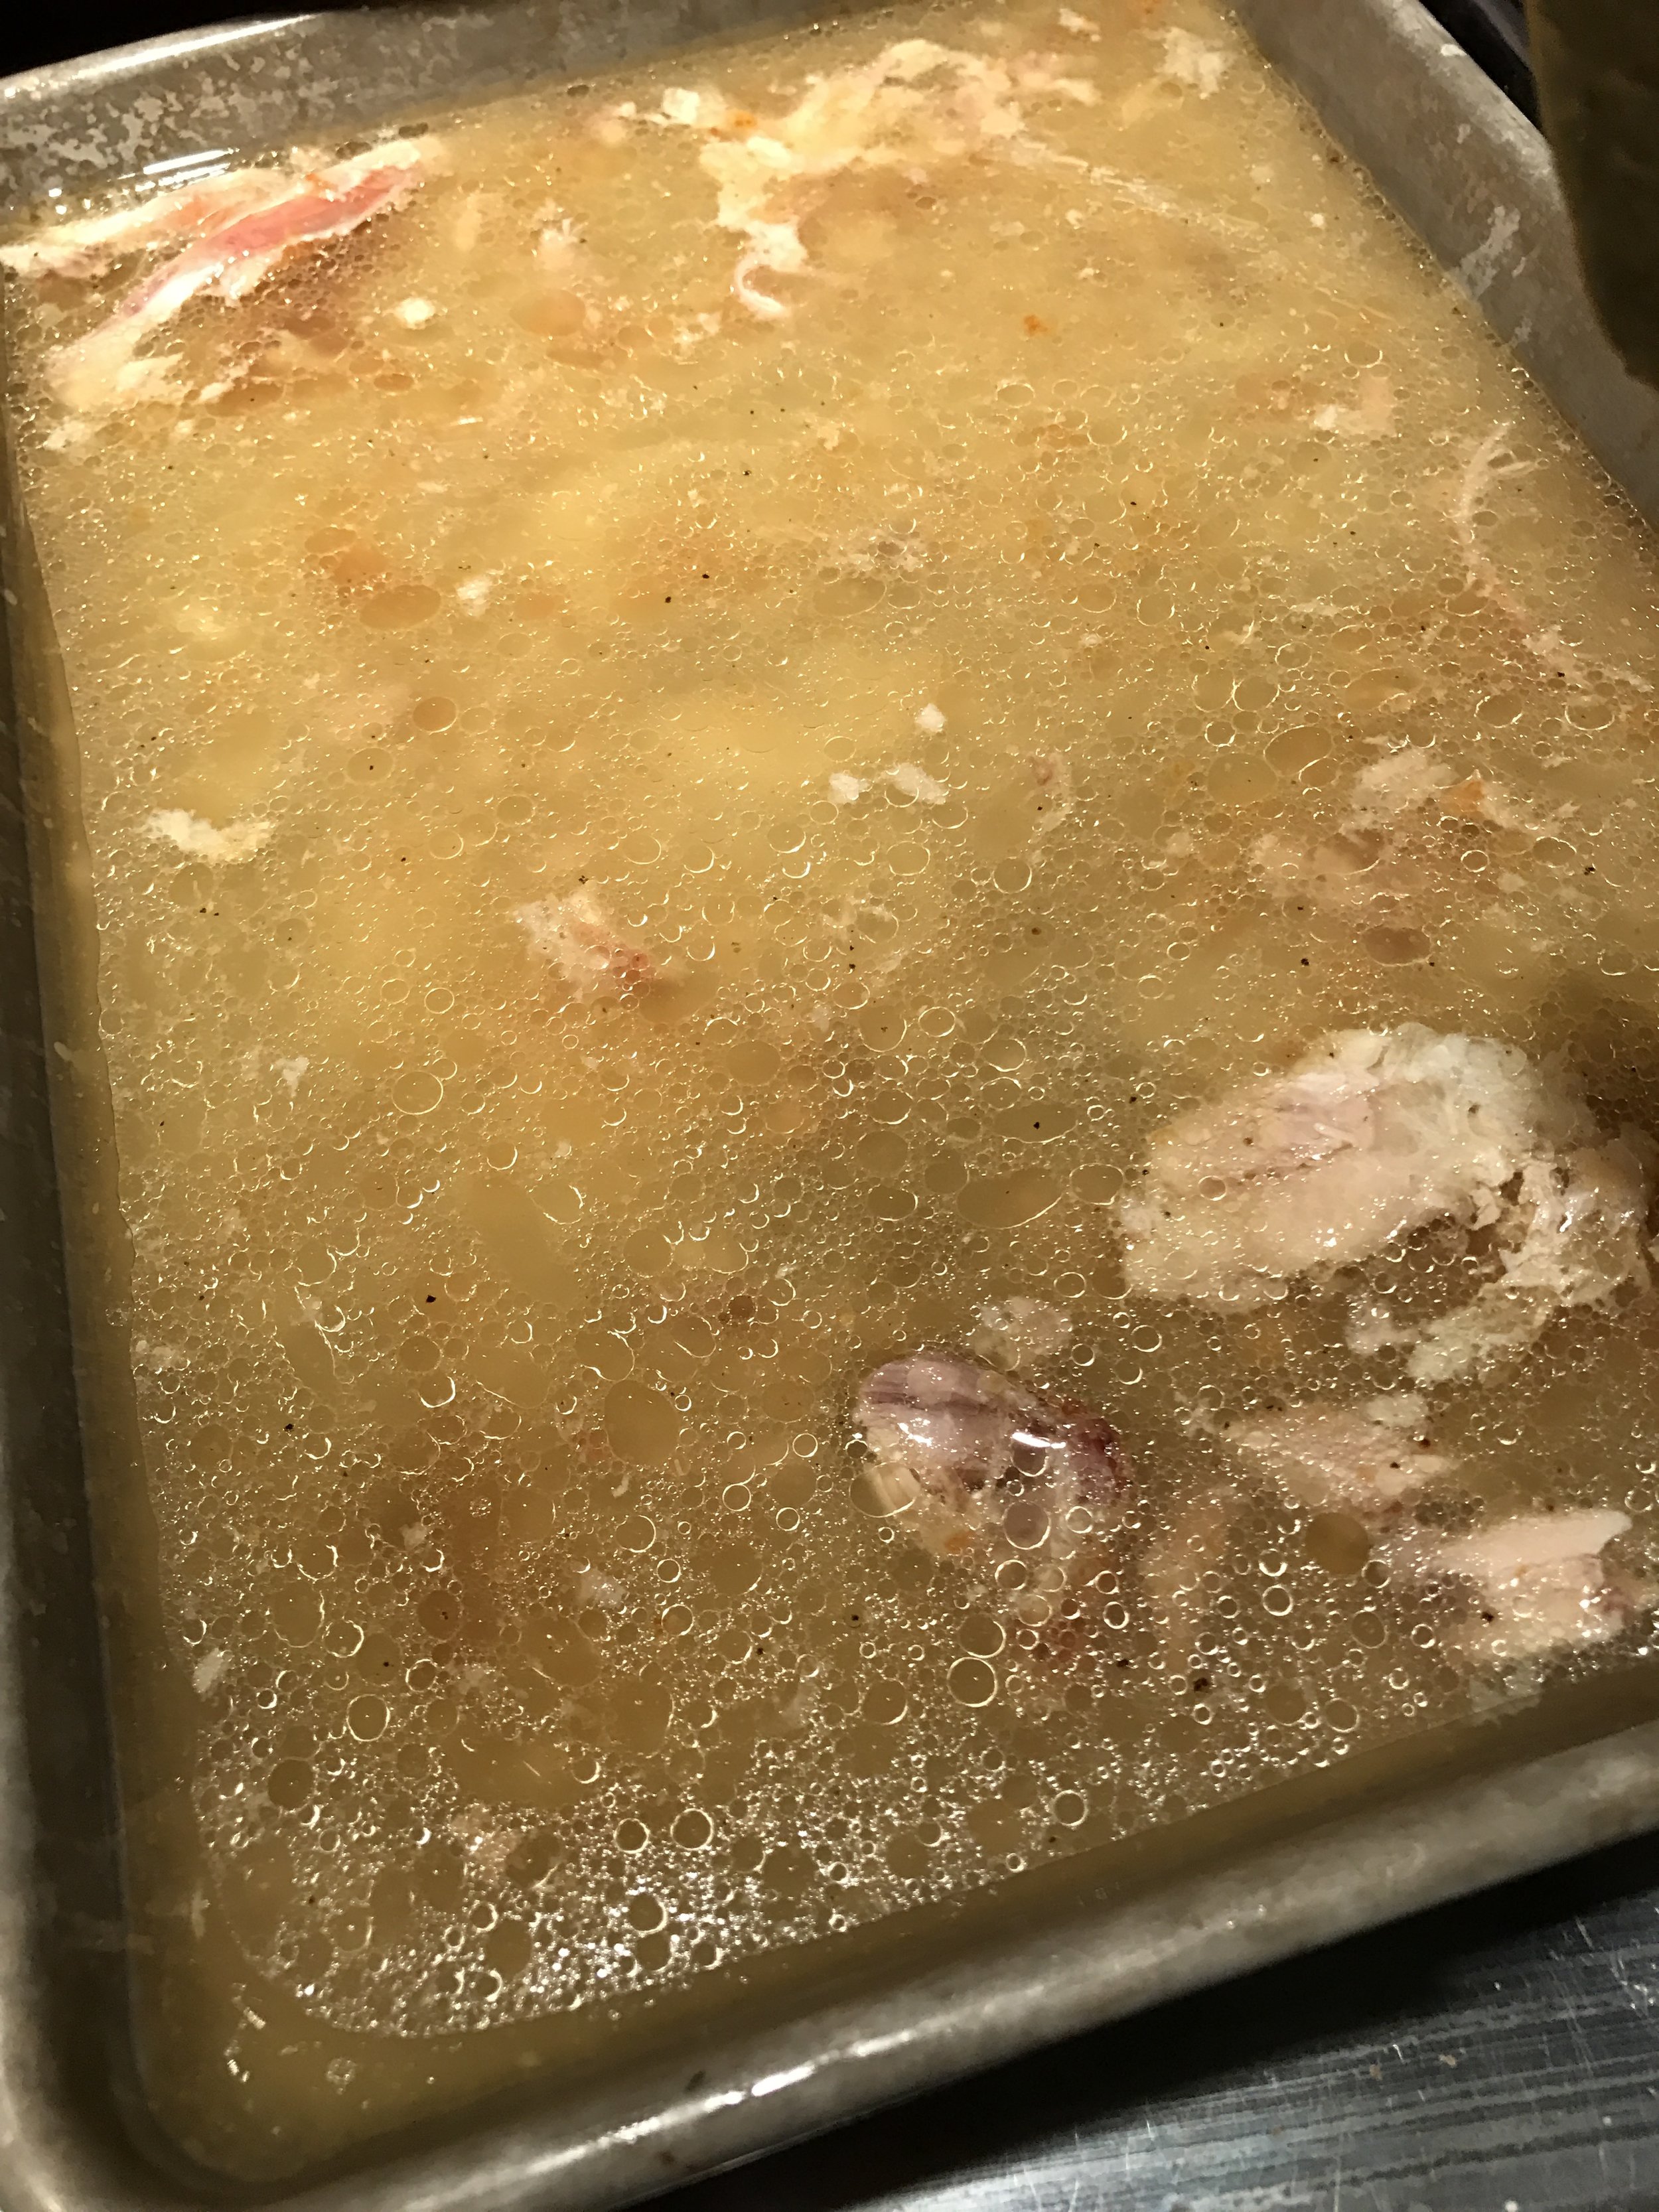
Pull the skin from the thighs.  Toss them into a pot.  Take a bite of the crispy skill if you need to.  I don't judge (yes, I do).  Pull the cooked chicken from the bones leaving all the gunky parts behind which go immediately into the pot with skin you didn't scarf down.  The chicken meat will go into the gumbo so you haven't wasted it.  Your pan will have grease, burned bits and other bits.  Don't throw that out!  It is gold!  Scrape that stuff up using boiling hot water and a spatula, then pour it into the pot with the bones.  It usually takes me two tries to get it all all into the pot with the bones.  If you are making broth cover this bones and bits with water.  If you are making stock, add celery, carrot and onion. They can be fresh or dried.  I used dried because I think it gives a deeper flavor and easy to keep around.  I also like to add a small shallot and whatever onionskin find laying around in my onion drawer (it has other stuff in it....)  The onion peel adds a deeper richer color and we eat in part with our eyes.  Look it up.  Finally add about 10 peppercorns and enough water to the pot to cover the whole mess and bring to a simmer. Don't let it boil. If you boil the bones your stock will be cloudy. It's will be perfectly edible, just not pretty. Let that simmer for a good two hours (overnight). When it's good and rich strain your stock a colander lined with cheese cloth if you have it, or coffee filters. Heck, I use old pillowcases I'm about to throw out for this purpose (clean pillow court cases!  Not just pulled off the bed.  At some point they just get dingy and nasty looking - this extends their life).  You can freeze whatever leftover stock you have so you don't have to do this every time you cook.

Now you have your excellent broth for your gumbo. 

Next, we prep all the vegetables.  Most French cuisine starts with a base of chopped onions celery and carrots. It is called a mirepoix.  Creole and Cajun cuisine is different.  They call their veggie base "The Trinity" you substitute a bell pepper for the carrot.  Our gumbo will include okra.  Buy it.  You can even find it sliced and frozen.  Don't be a baby.  Yes, it can be slimy if you don't cook it correctly.  You are going to do it the right way.  You'll like it.

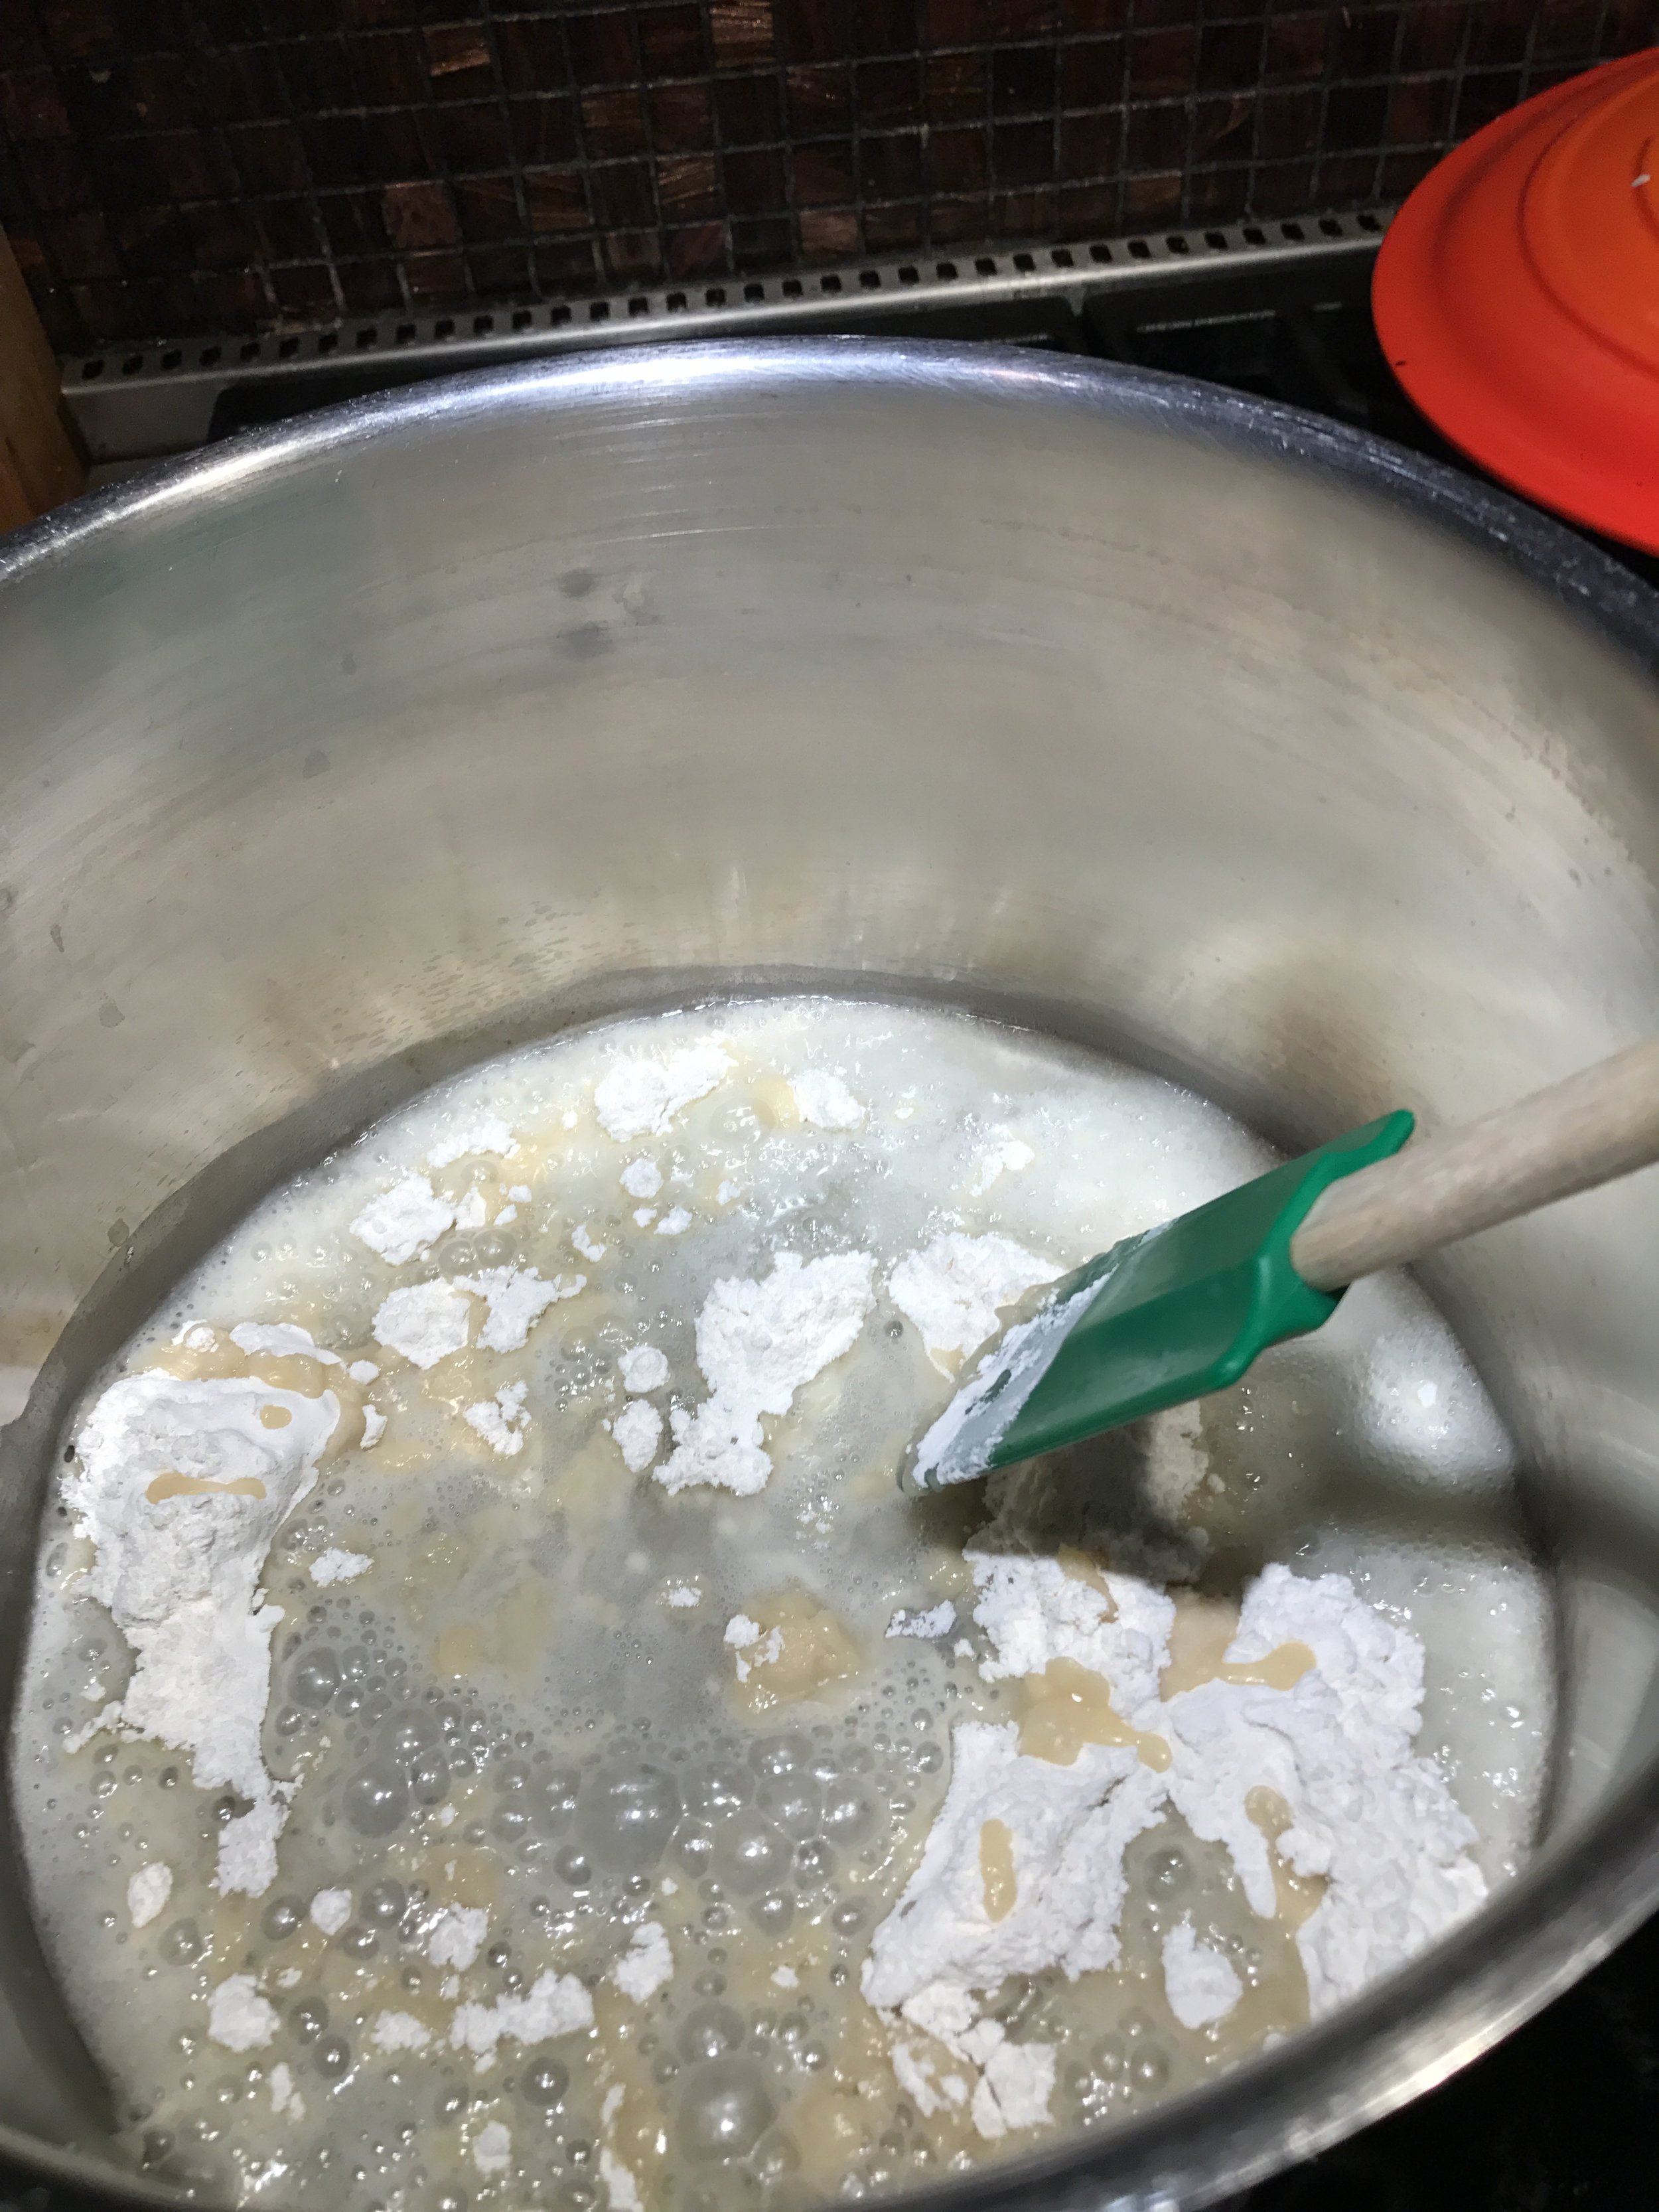
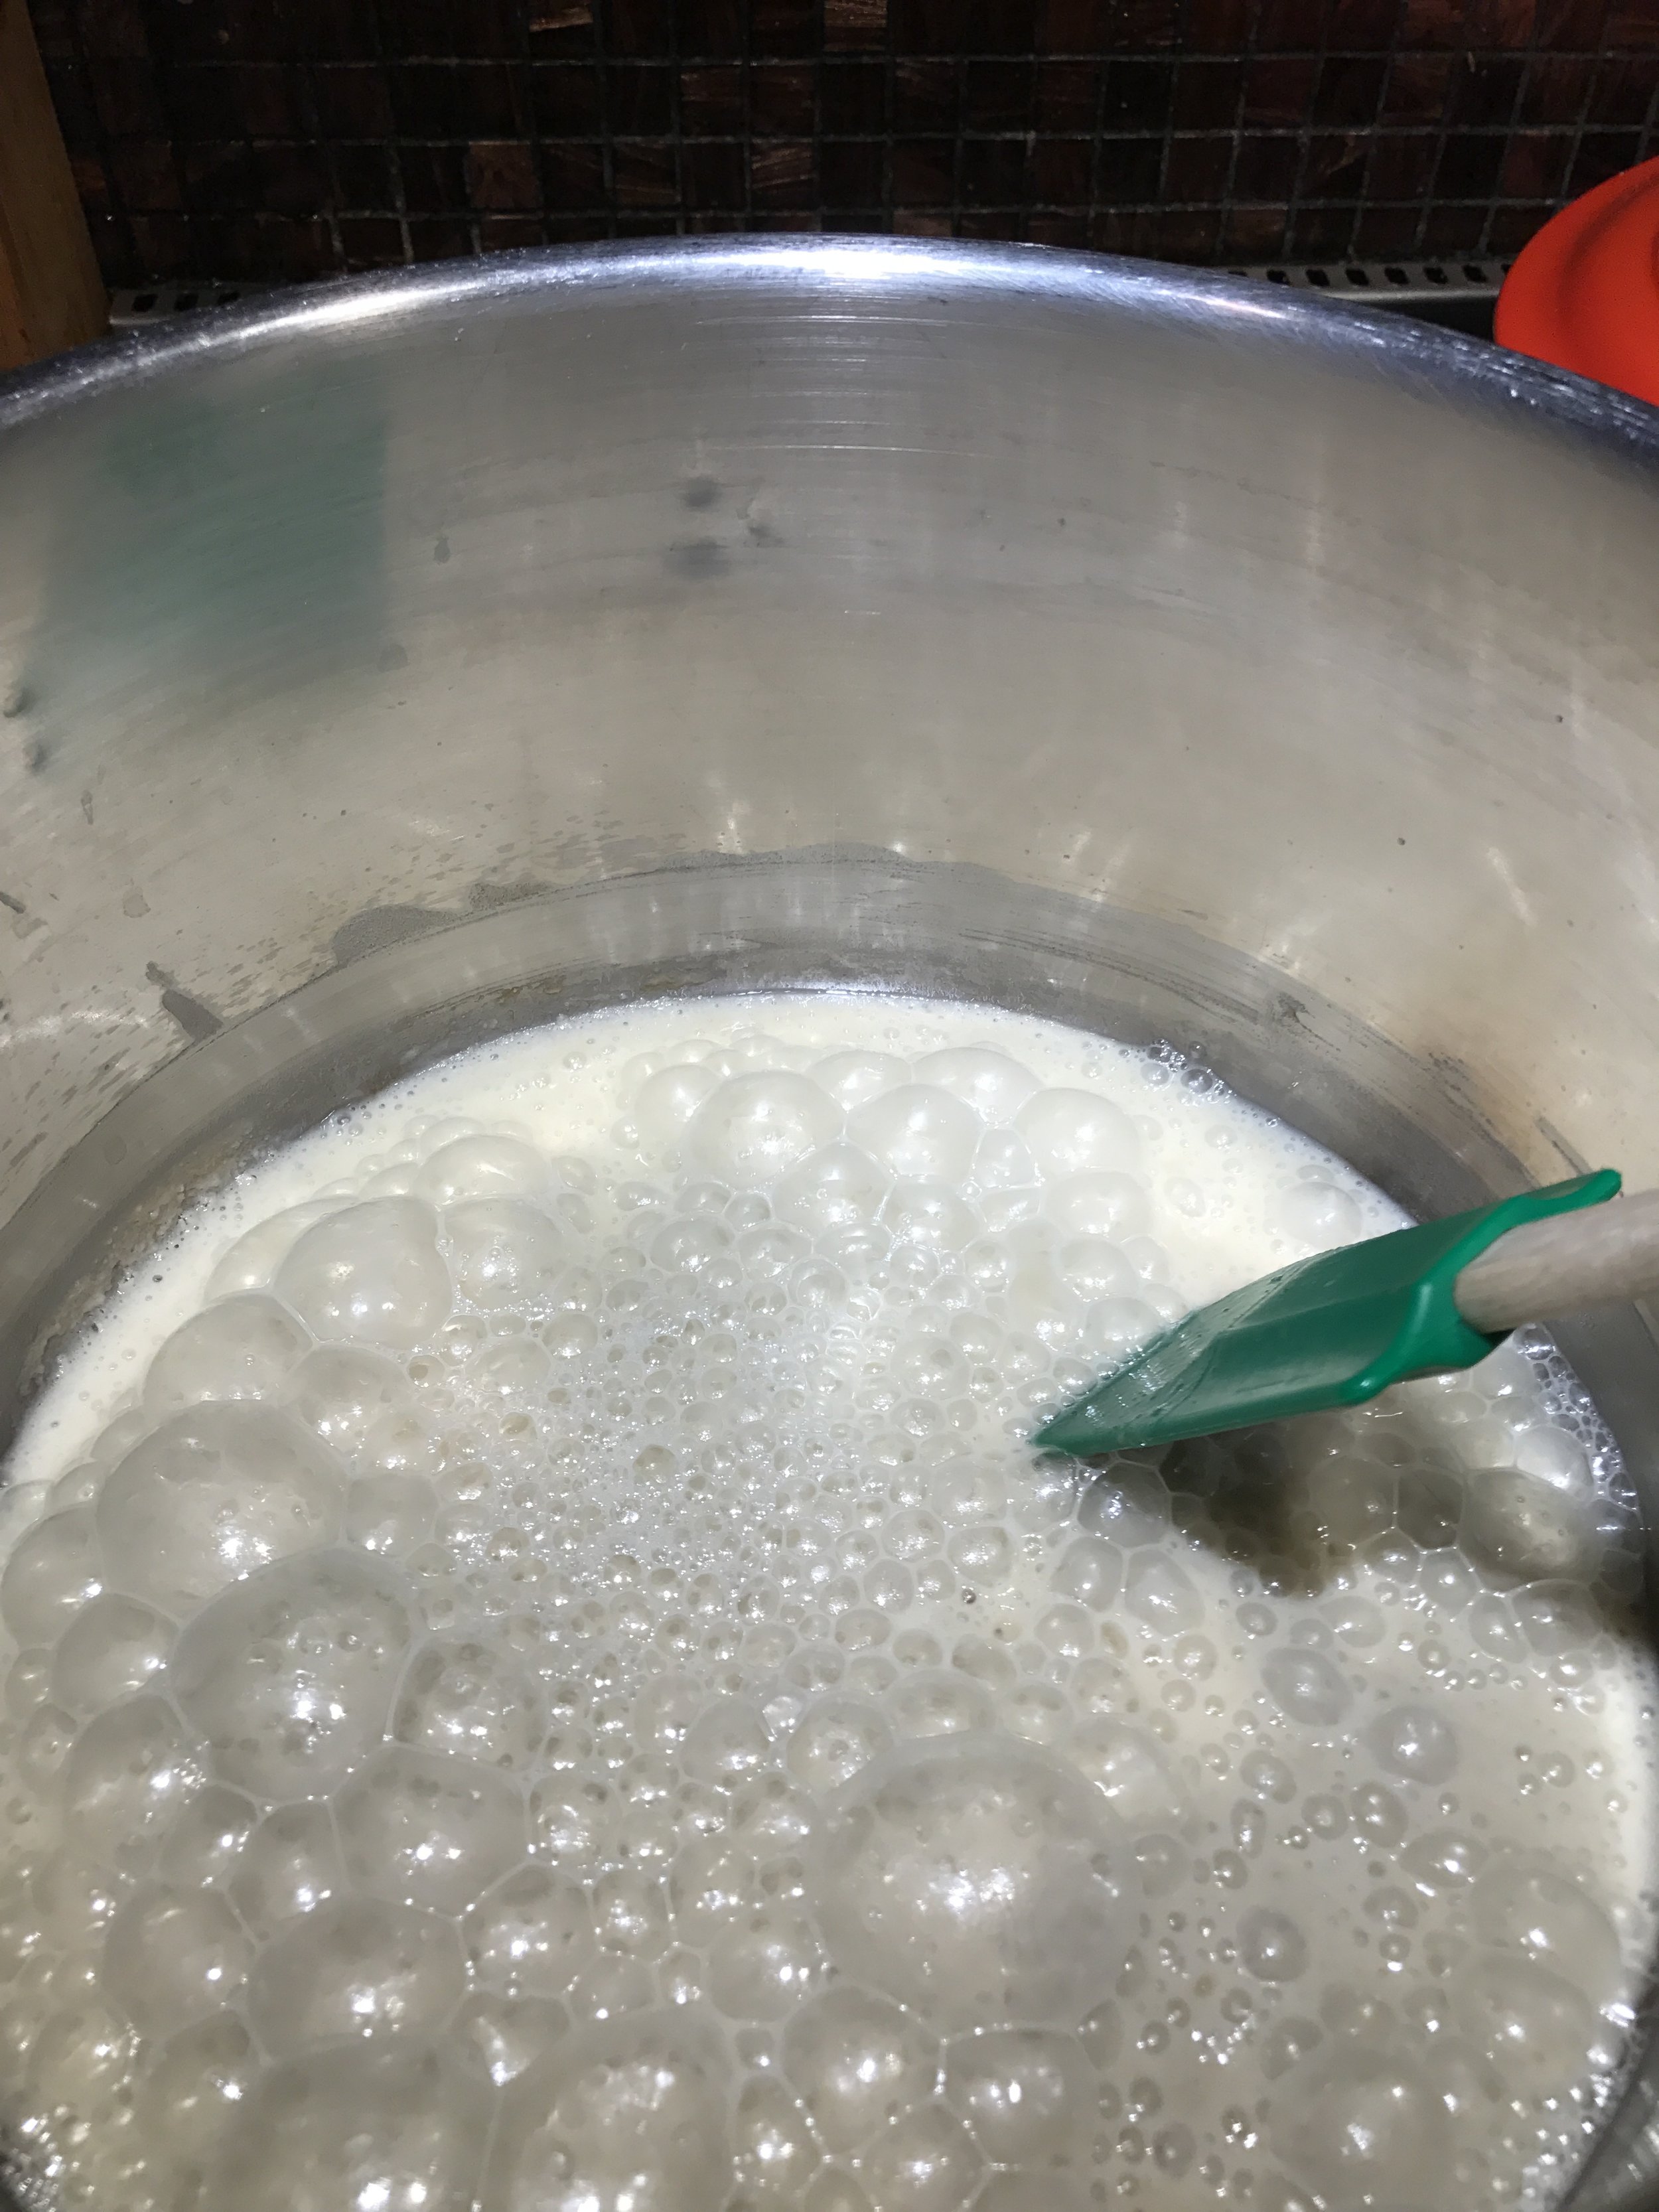
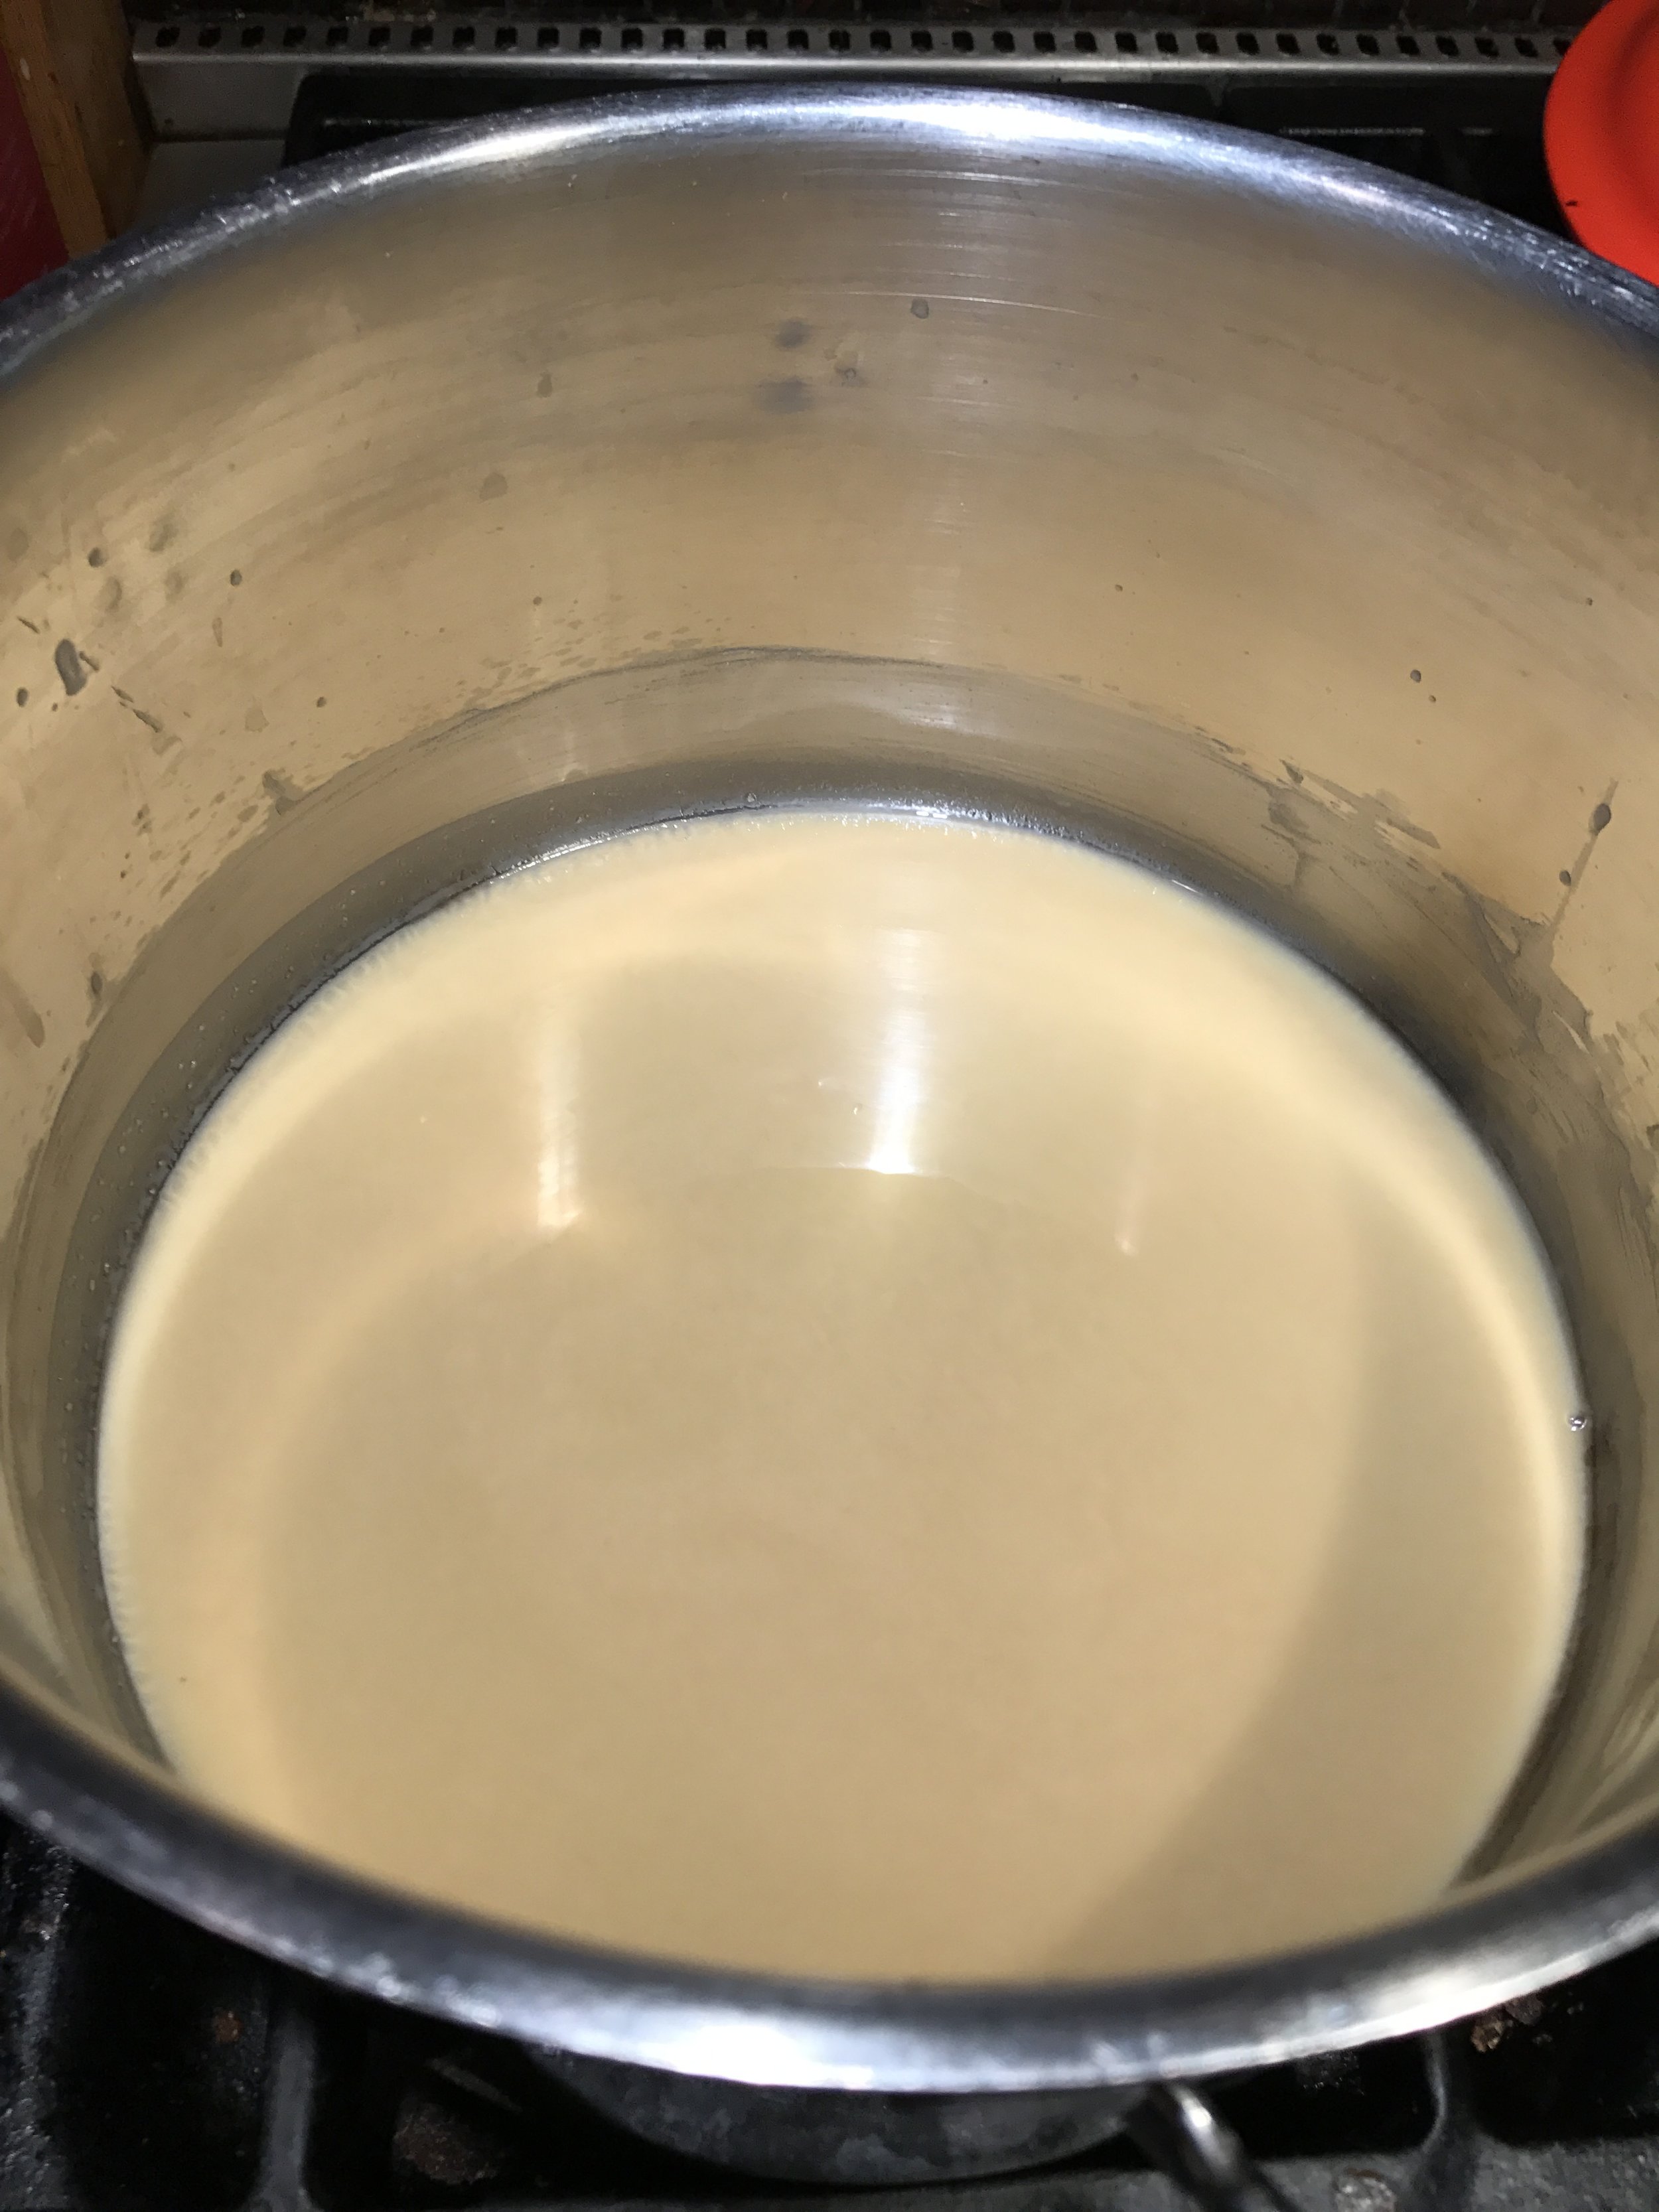
Now that you are all prepped?  Make a roux.  What’s a roux?  Basically, a fat and flour cooked together to thicken a sauce.  Not to go all Alton Brown, but the fat has to wrap around the starch particles to help create an emulsion.  French cuisine uses roux but mostly a light variety.  The Cajuns use a darker roux that adds a nuttier flavor.  How do you make it?  Stir. Stir. Stir.  Heat your pot for a few seconds… add the oil and then the flour.  Then start stirring.  Initially it will seem to seize up like a paste, but eventually will loosen up and start to bubble.  Keep stirring until reaches the color of a copper penny.

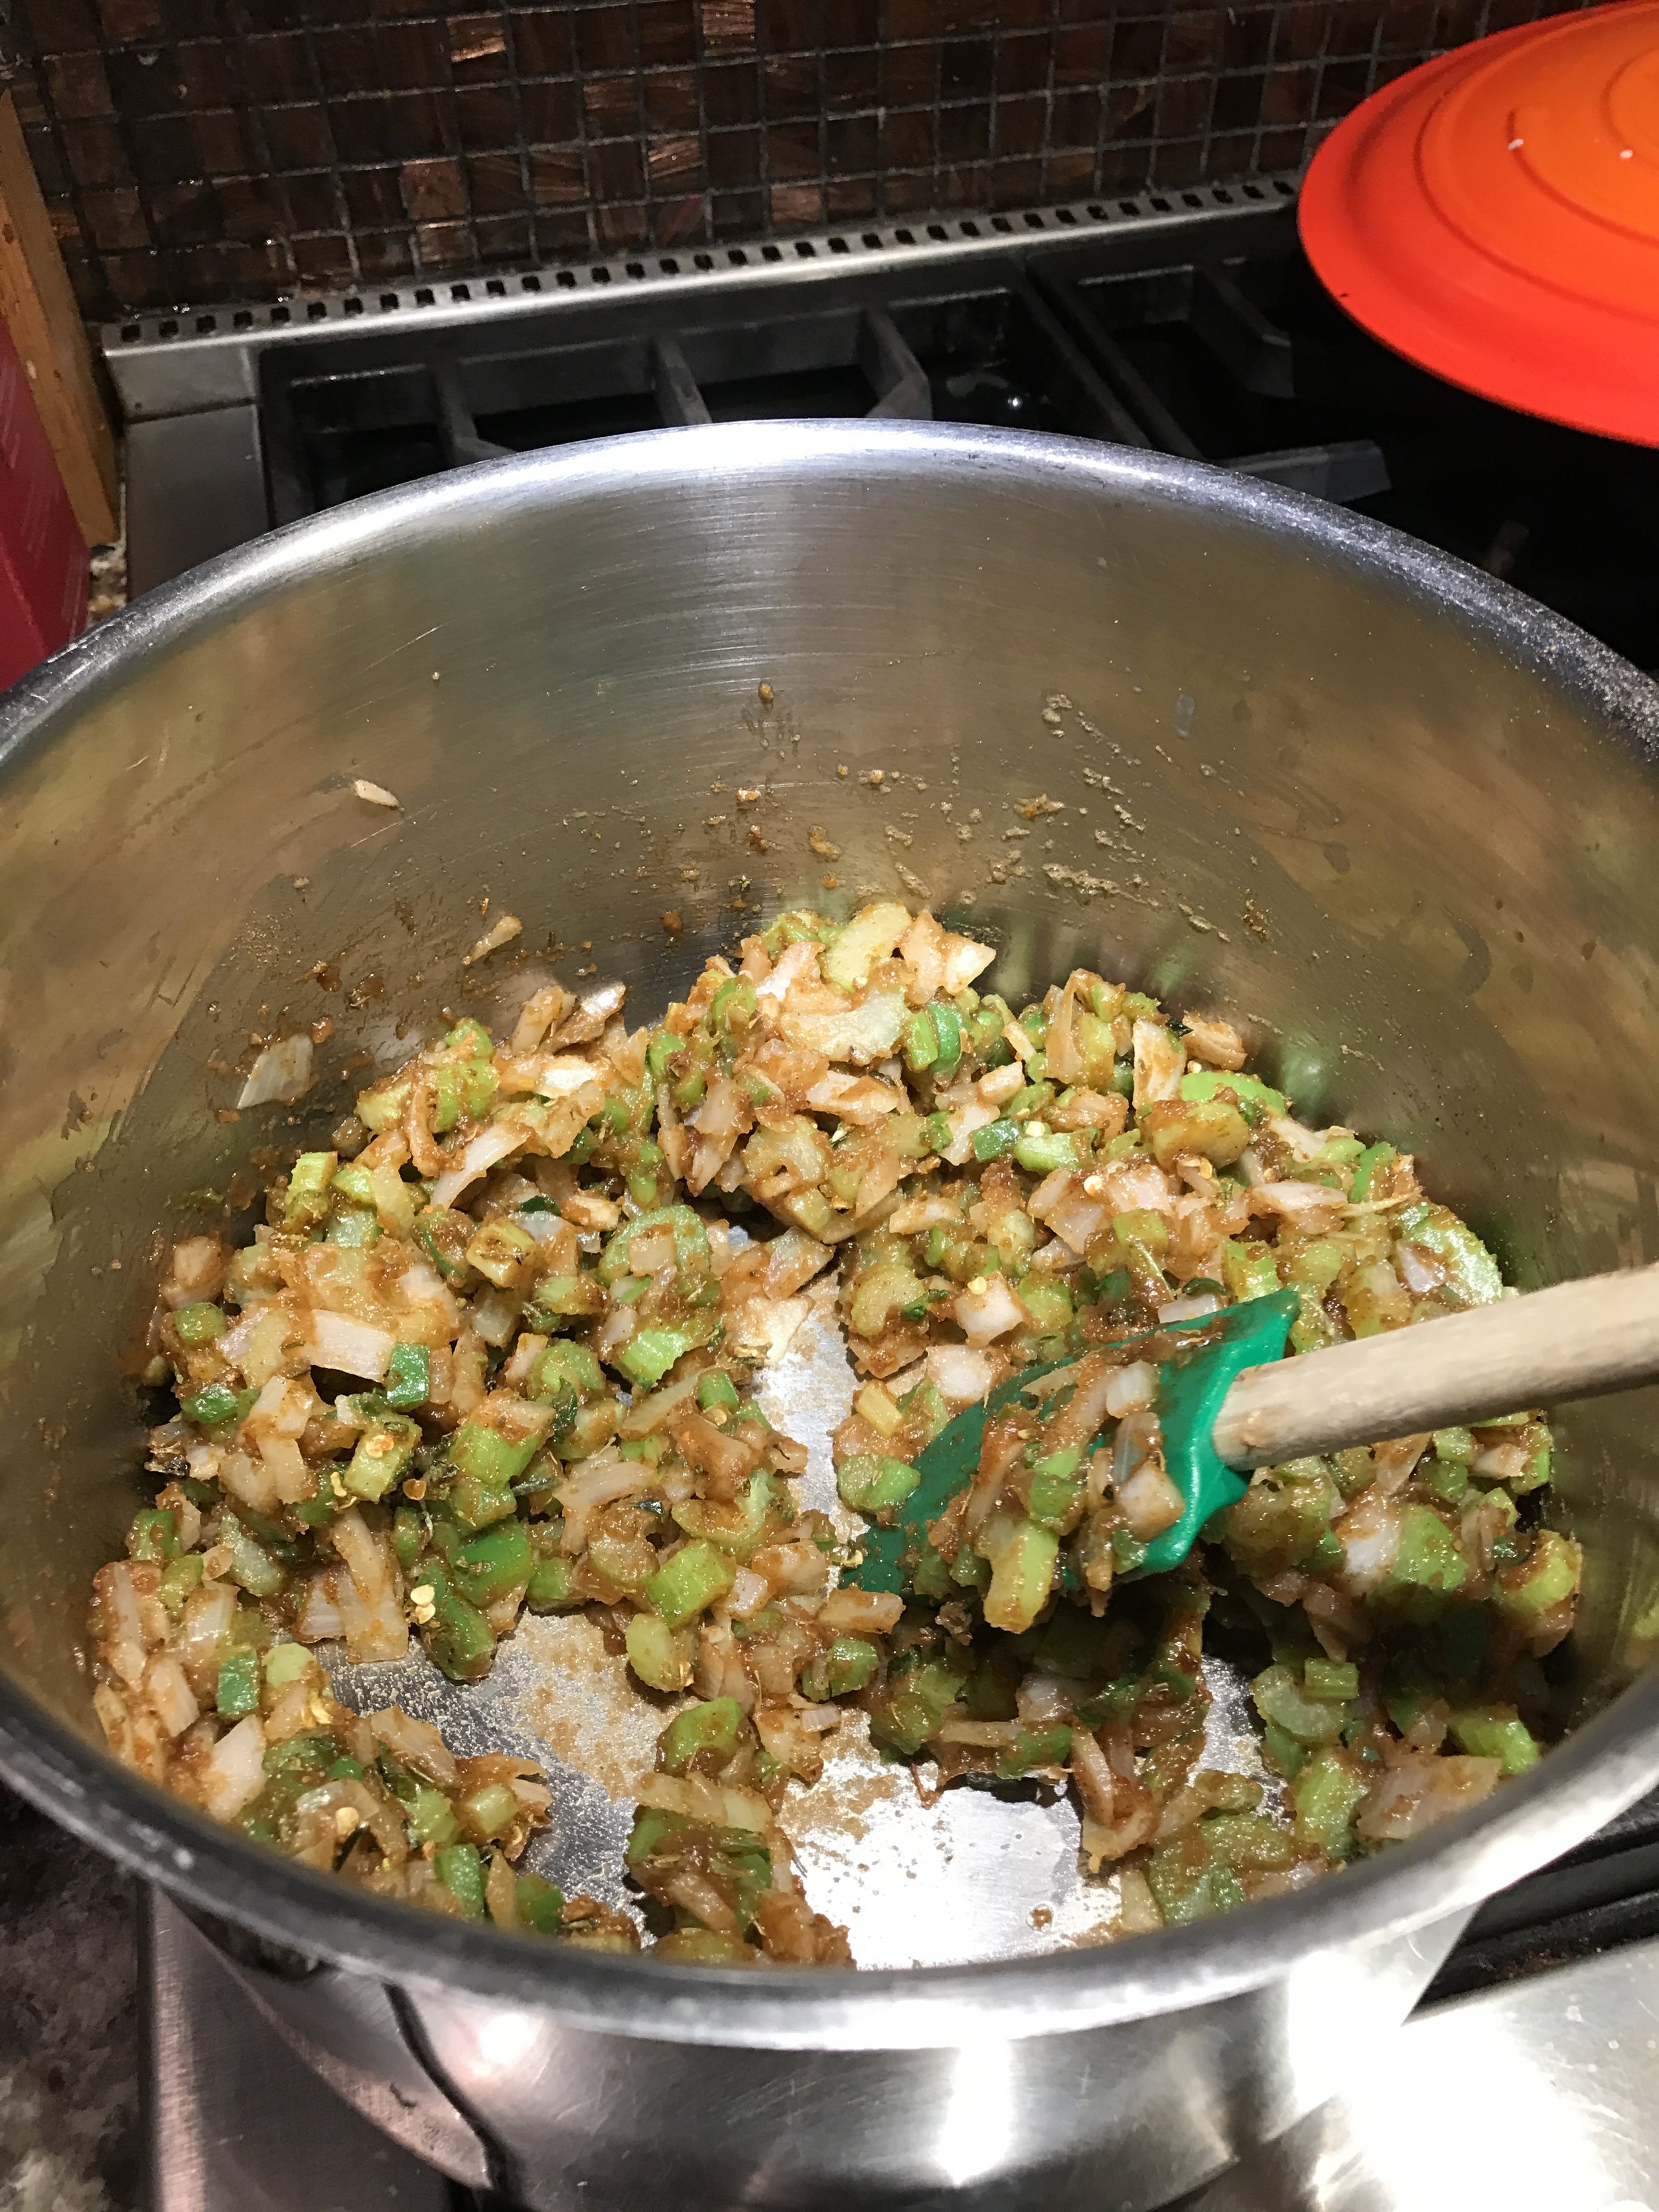
Add your trinity veggies into the pot and keep stirring.  I know this looks like a mess but it is ok.  The heat of the roux helps cook the veggies while they are being mixed around.  As the veggies soften the liquid from them will enter the roux adding flavor.  When they look softened but not burnt, deglaze the pot.  You can use wine, beer or stock.  I like to use beer and prefer something with some depth, like a stout or porter.  Adding the liquid will make the roux do its thickening job.  Keep stirring to avoid lumps. When well mixed add a quart of stock and continue to mix to avoid any lumps.  Add diced chicken and sliced sausage and spices.  In about 10 minutes add a can of diced tomatoes. Simmer for an hour, stirring occasionally.  Check your seasoning levels in about an hour.  Add the sliced okra and turn down as low as you can.  Cook for an additional 15 minutes.  Turn off the heat and add the filé.  Stir in and serve with rice and any hot sauce you want!

I suggest serving this with Syrah or Zinfandel. You need something that can stand up to it.  Enjoy!

Midweek Seafood Caesar - A Qorkz Kitchen Dinner Special
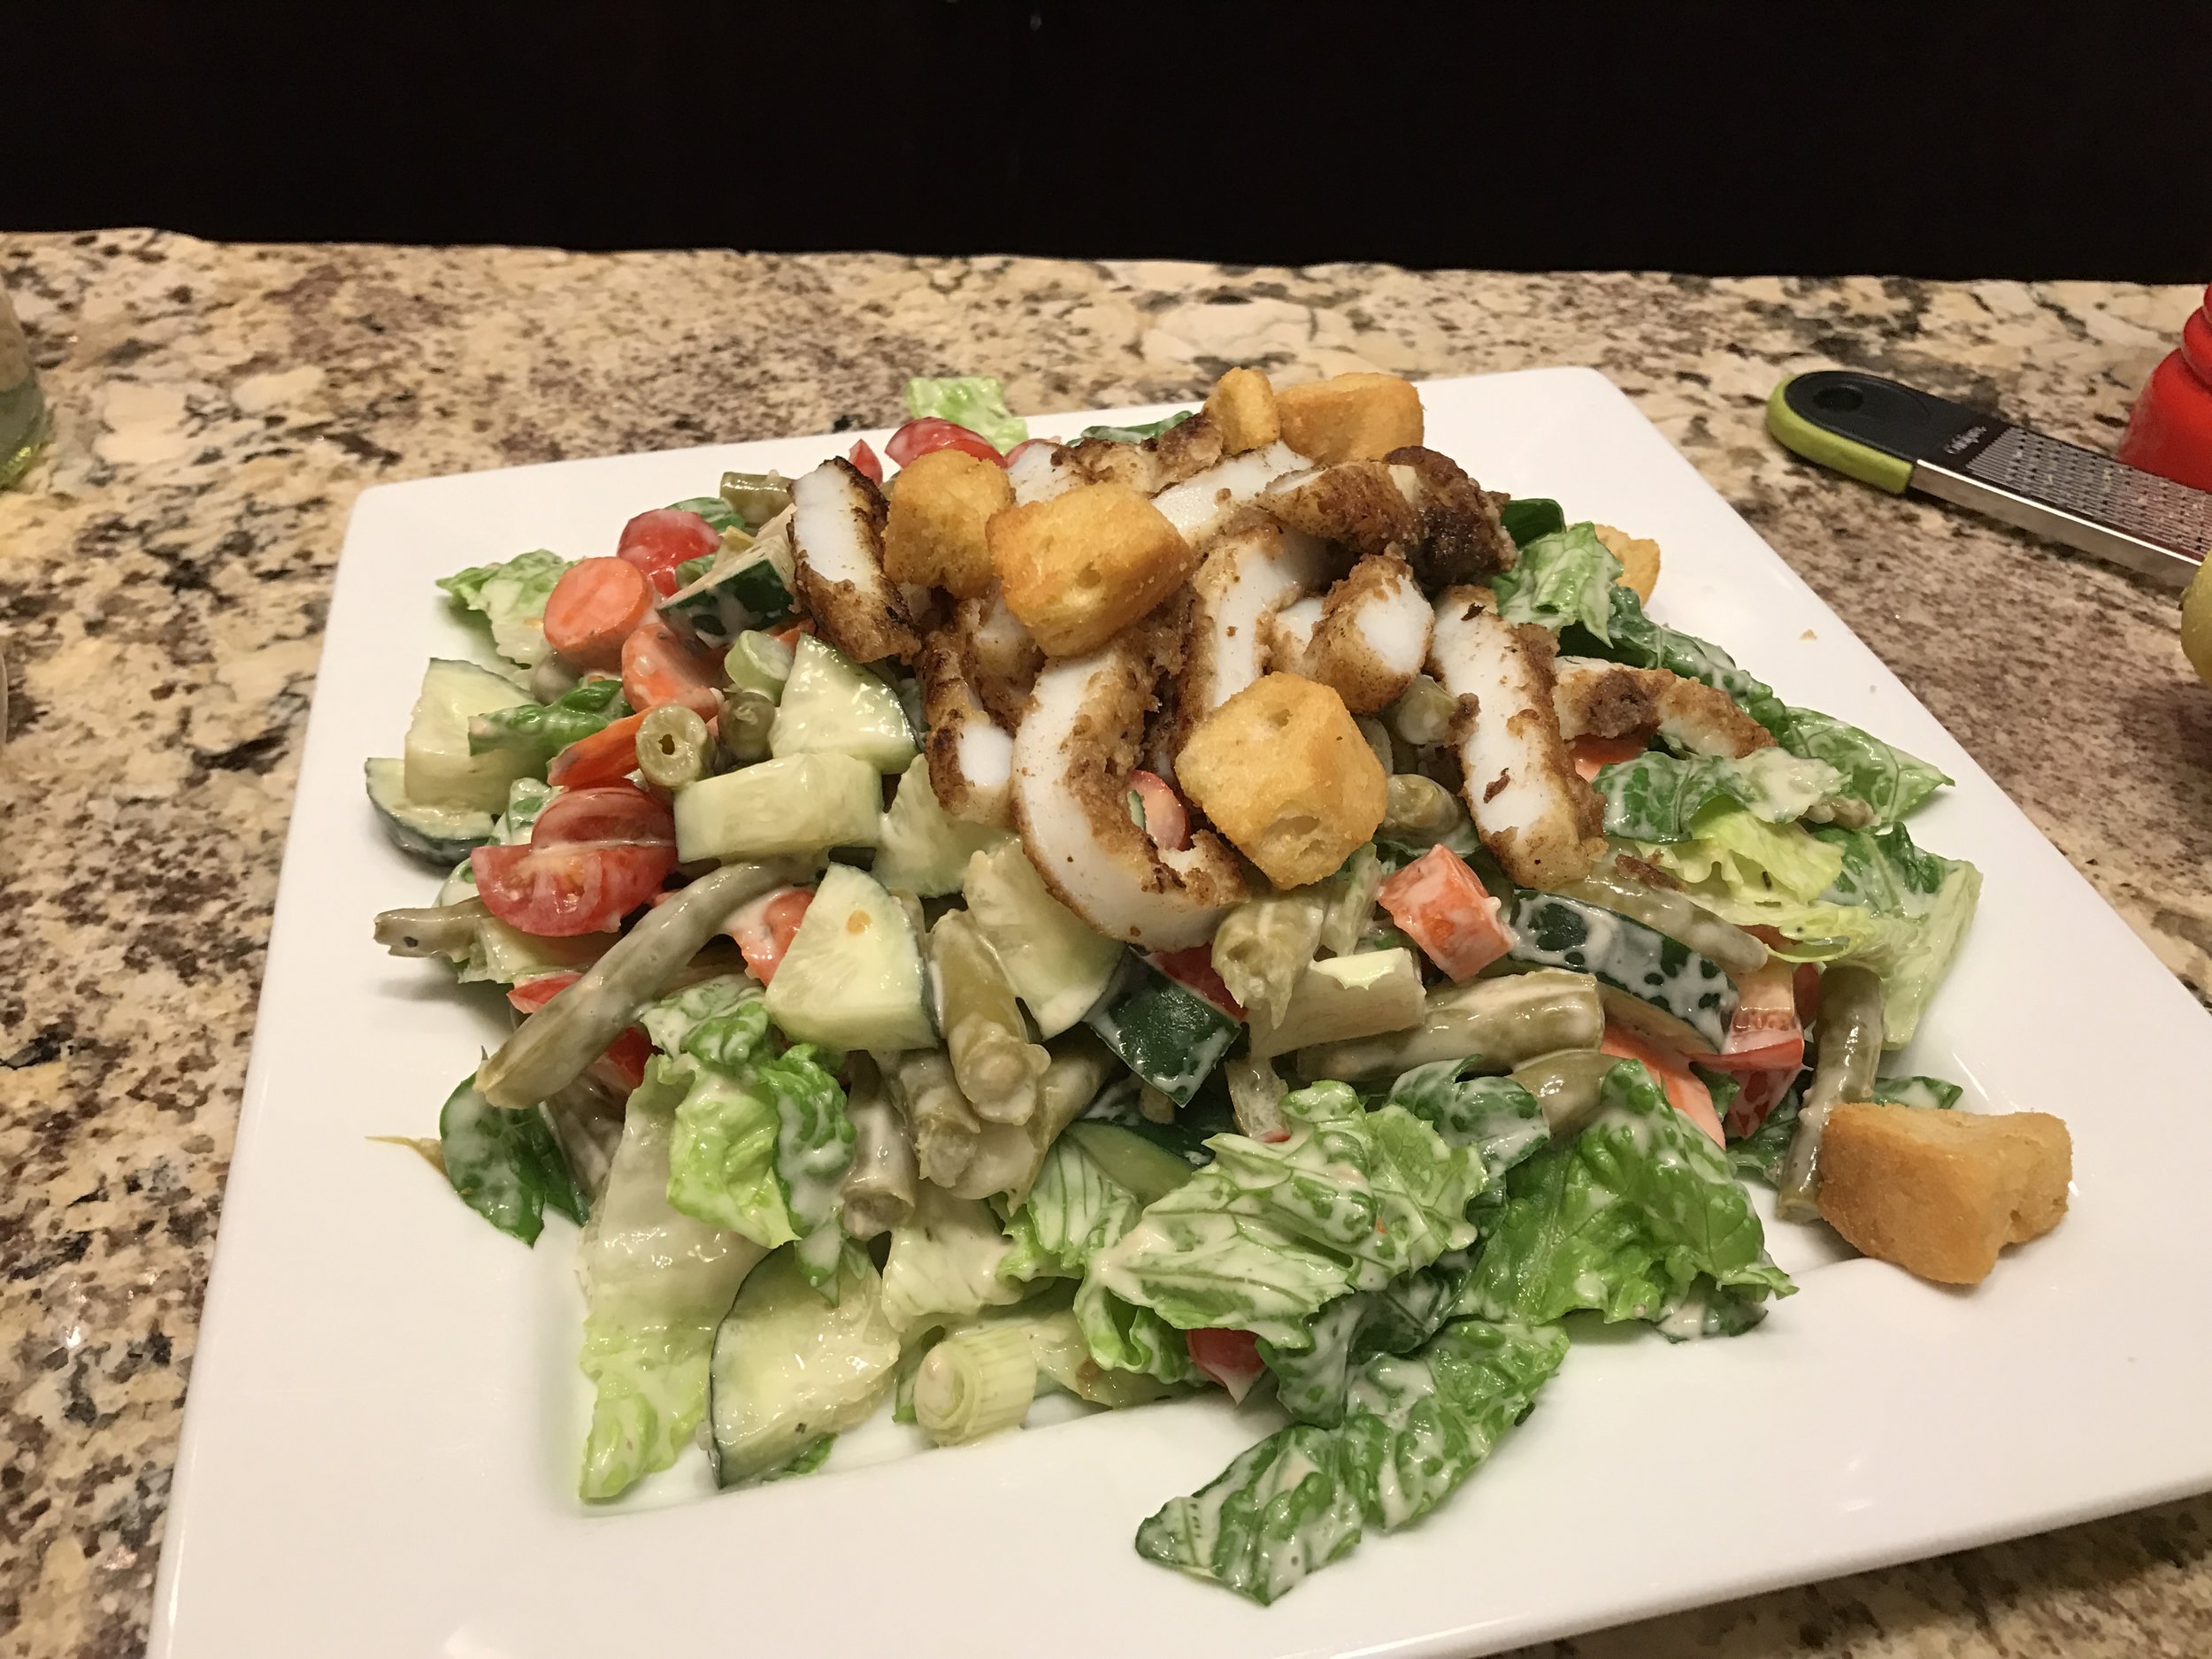
Seafood Caesar by Gretchen Miller Neuman for Qorkz.
I tend to reserve cooking seafood for the weekends.  That is sad to say, because fish is so good for you.  I am often eating alone these days and it seems wrong to take the time and money on myself.  But it is a new year.  So, here I go.  Plus, I have been wanting to try to cook with squid steaks, which are nutritious, relatively inexpensive and something I would never be able to talk my husband into trying.

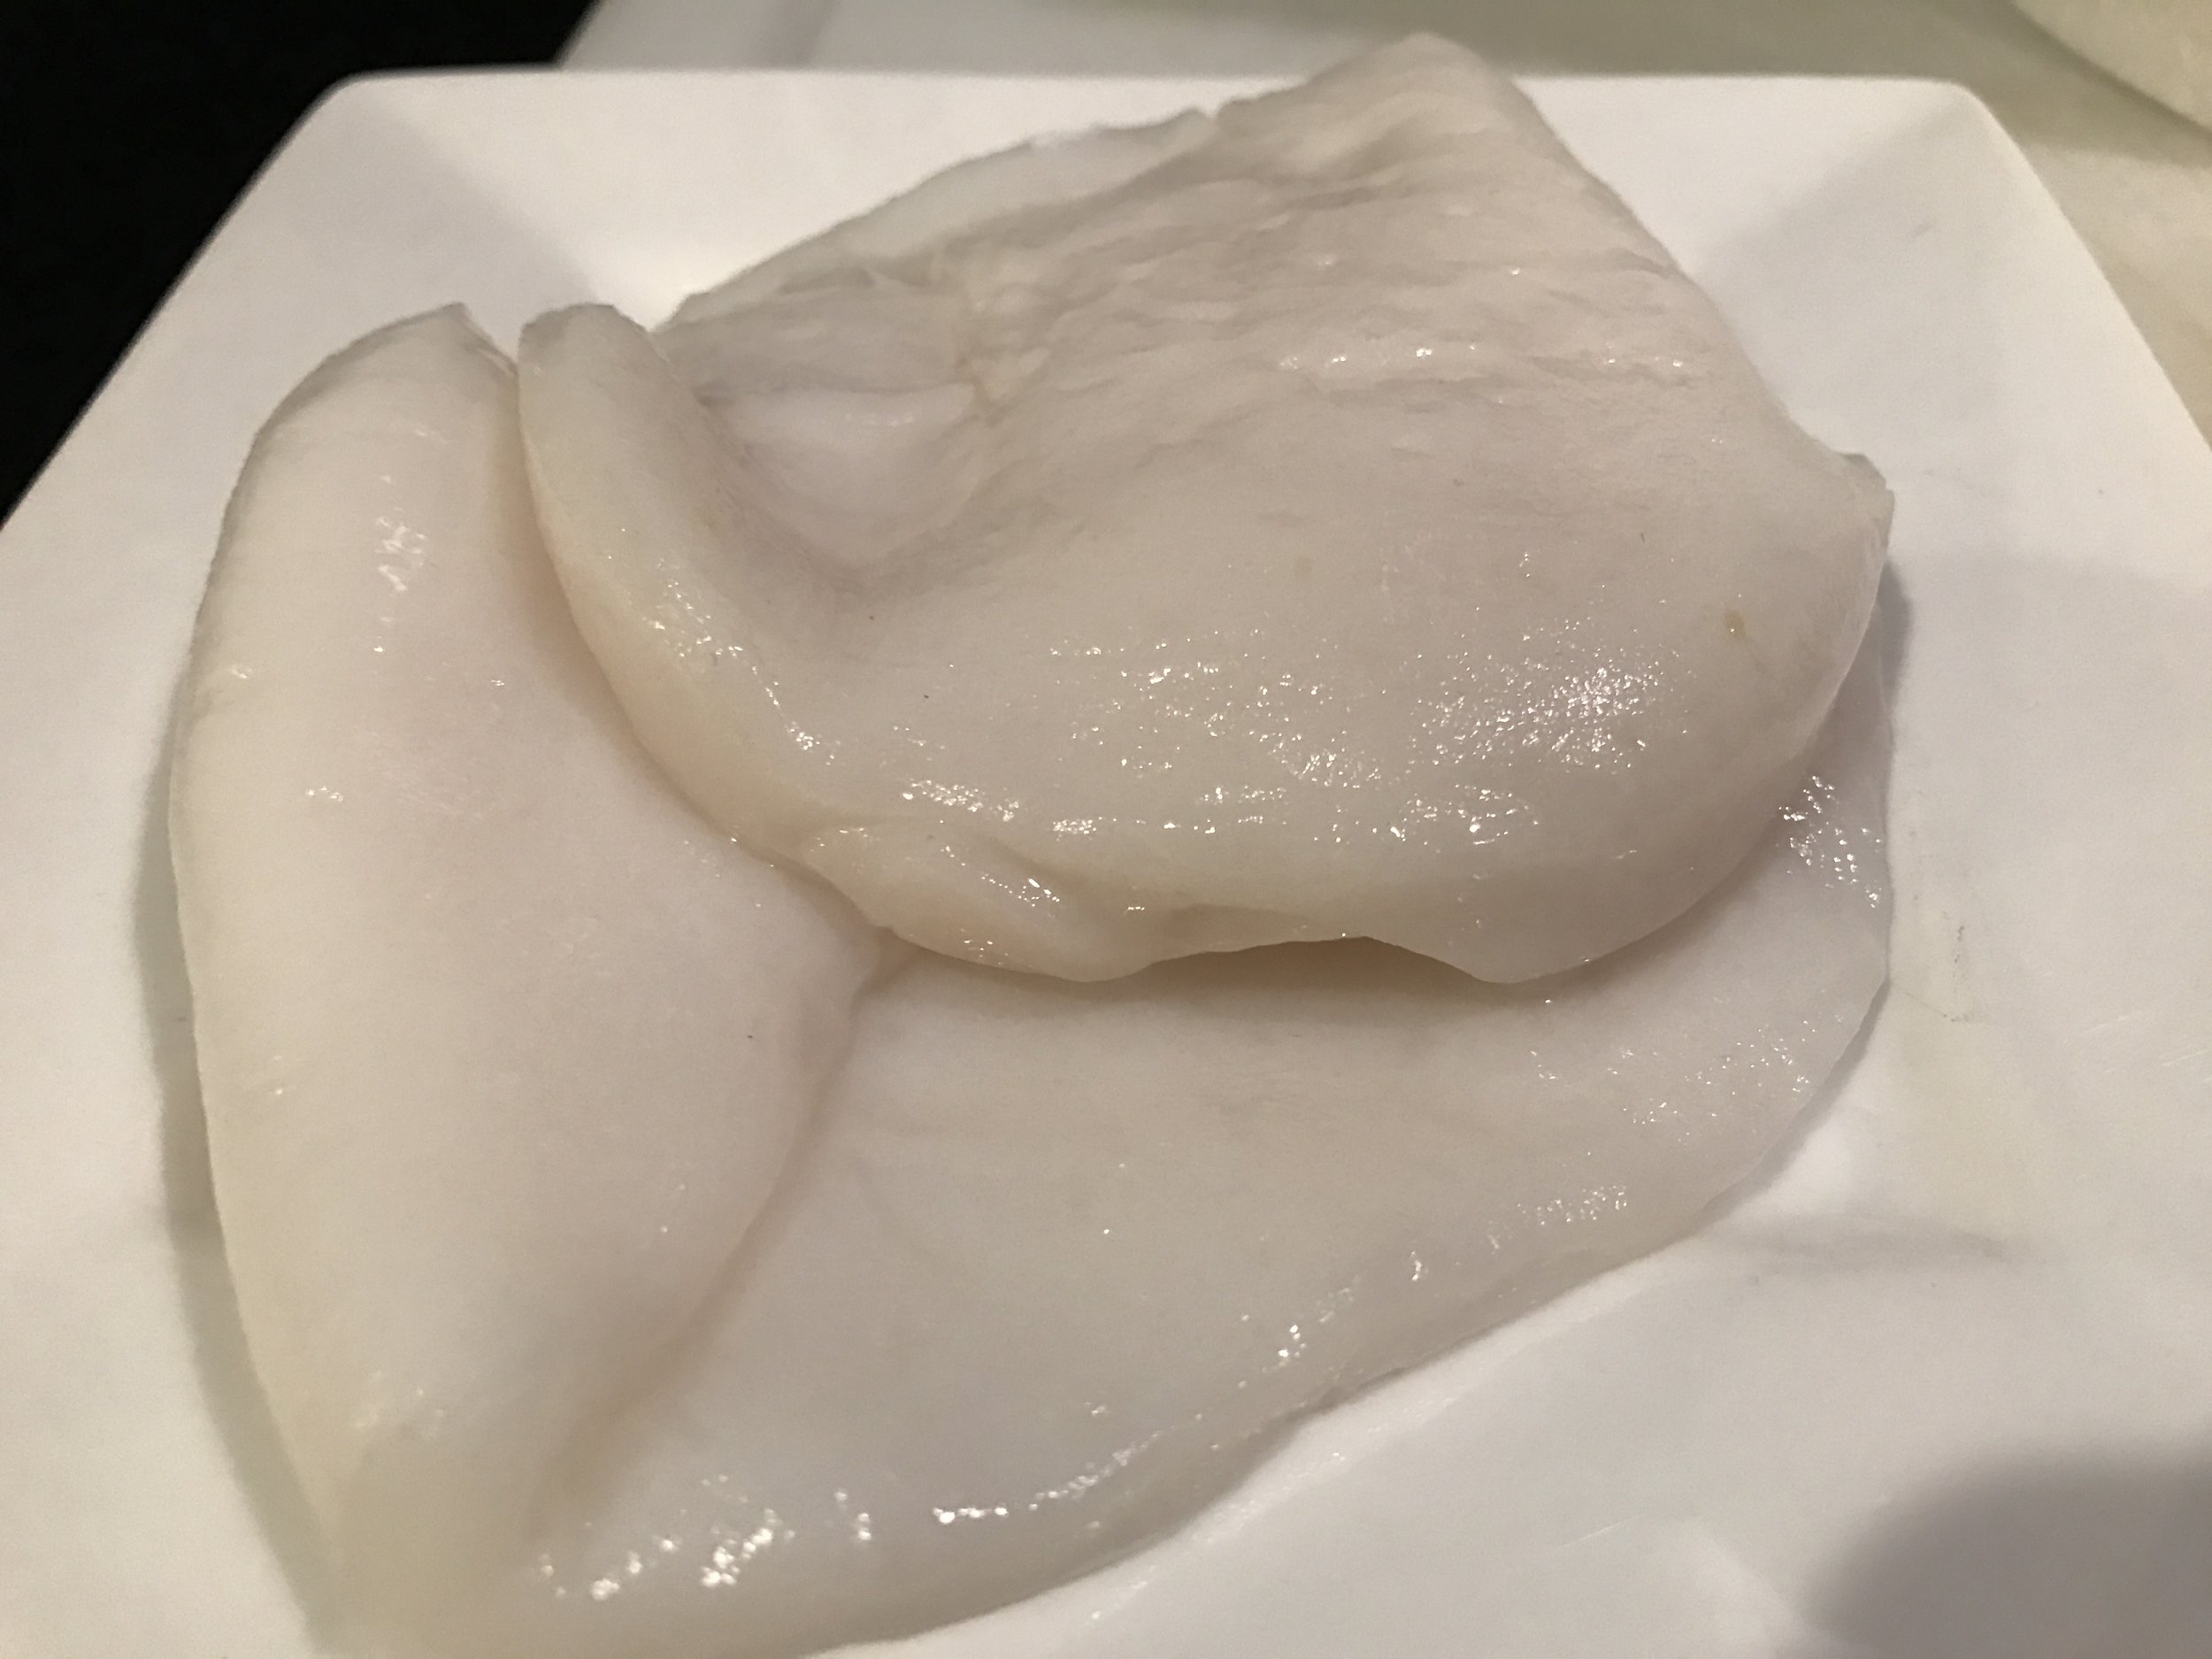
Squid steaks are are cut from the parts of the squid that are normally the rings you get in your fried calamari.  But in a larger squid.  The Humboldt Squid that lives in the cold currents of the Pacific Ocean from Tierra del Fuego to California.  They are big, aggressive and found increasingly in shallower waters.  And did I say aggressive?  Watch Animal Planet or NatGeo Wild.

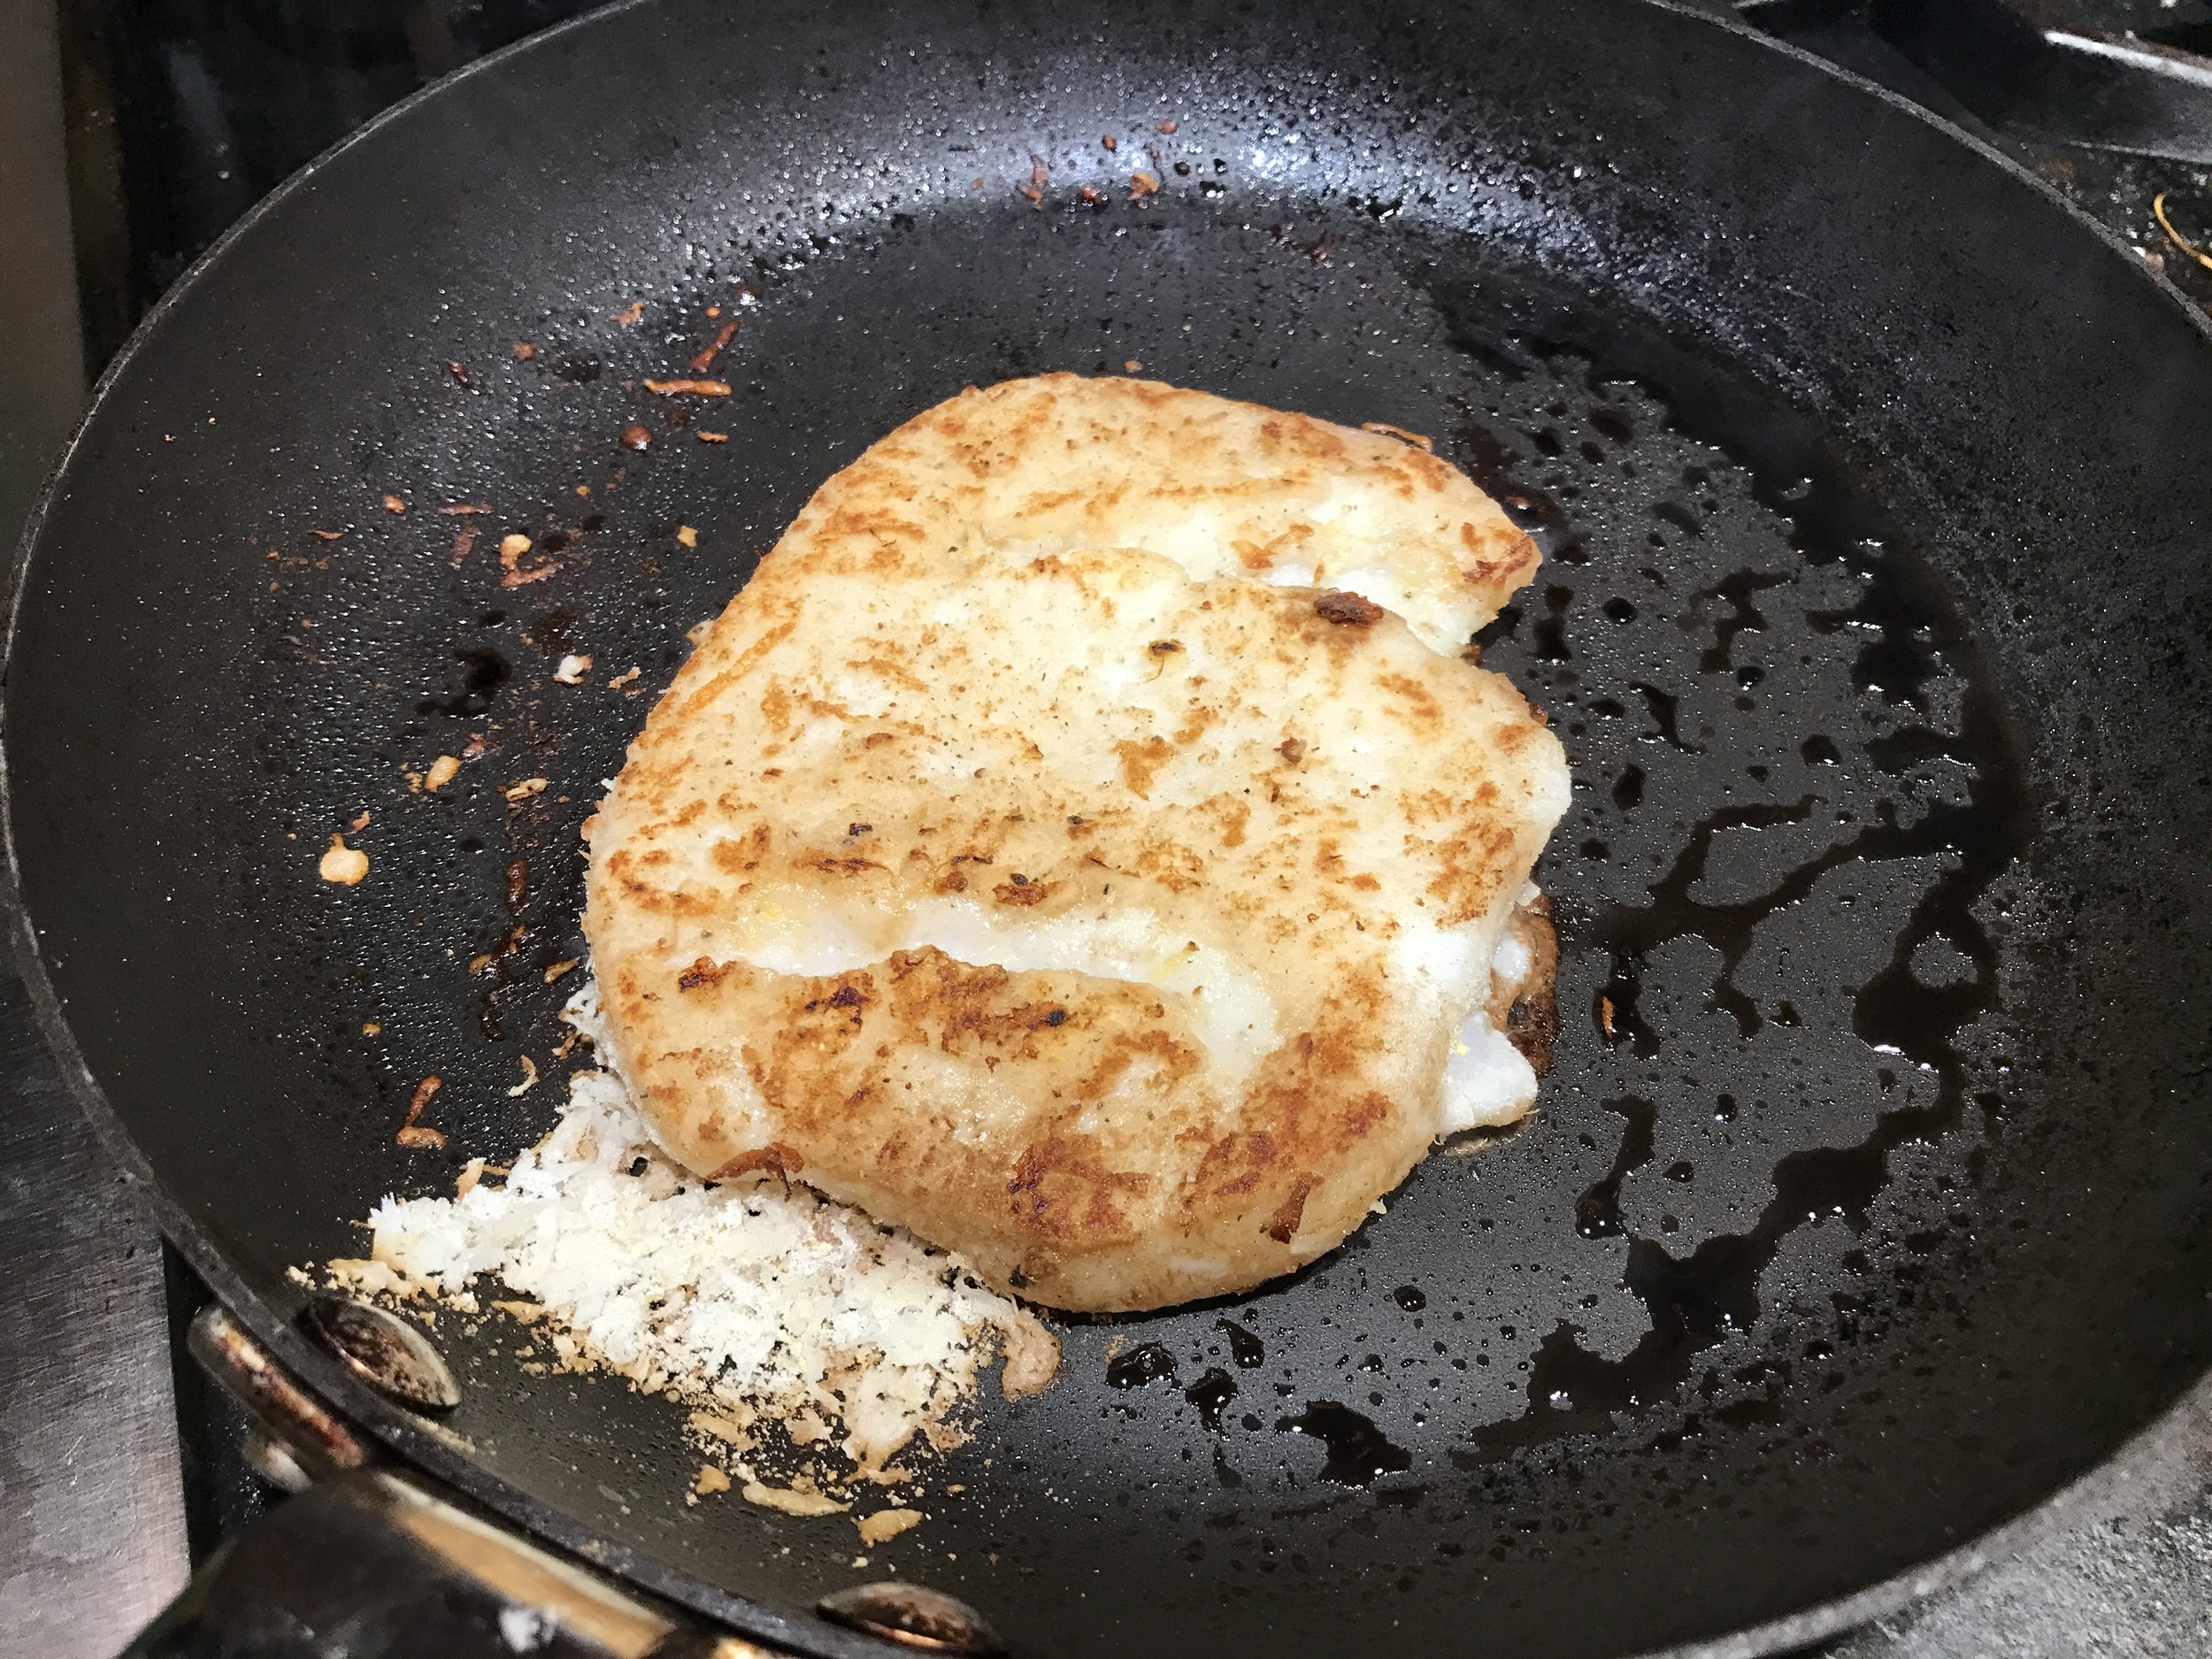
My plan was to pan fry the squid, slice it and serve it over a Caesar salad.  So this is what I put together for the fish.  

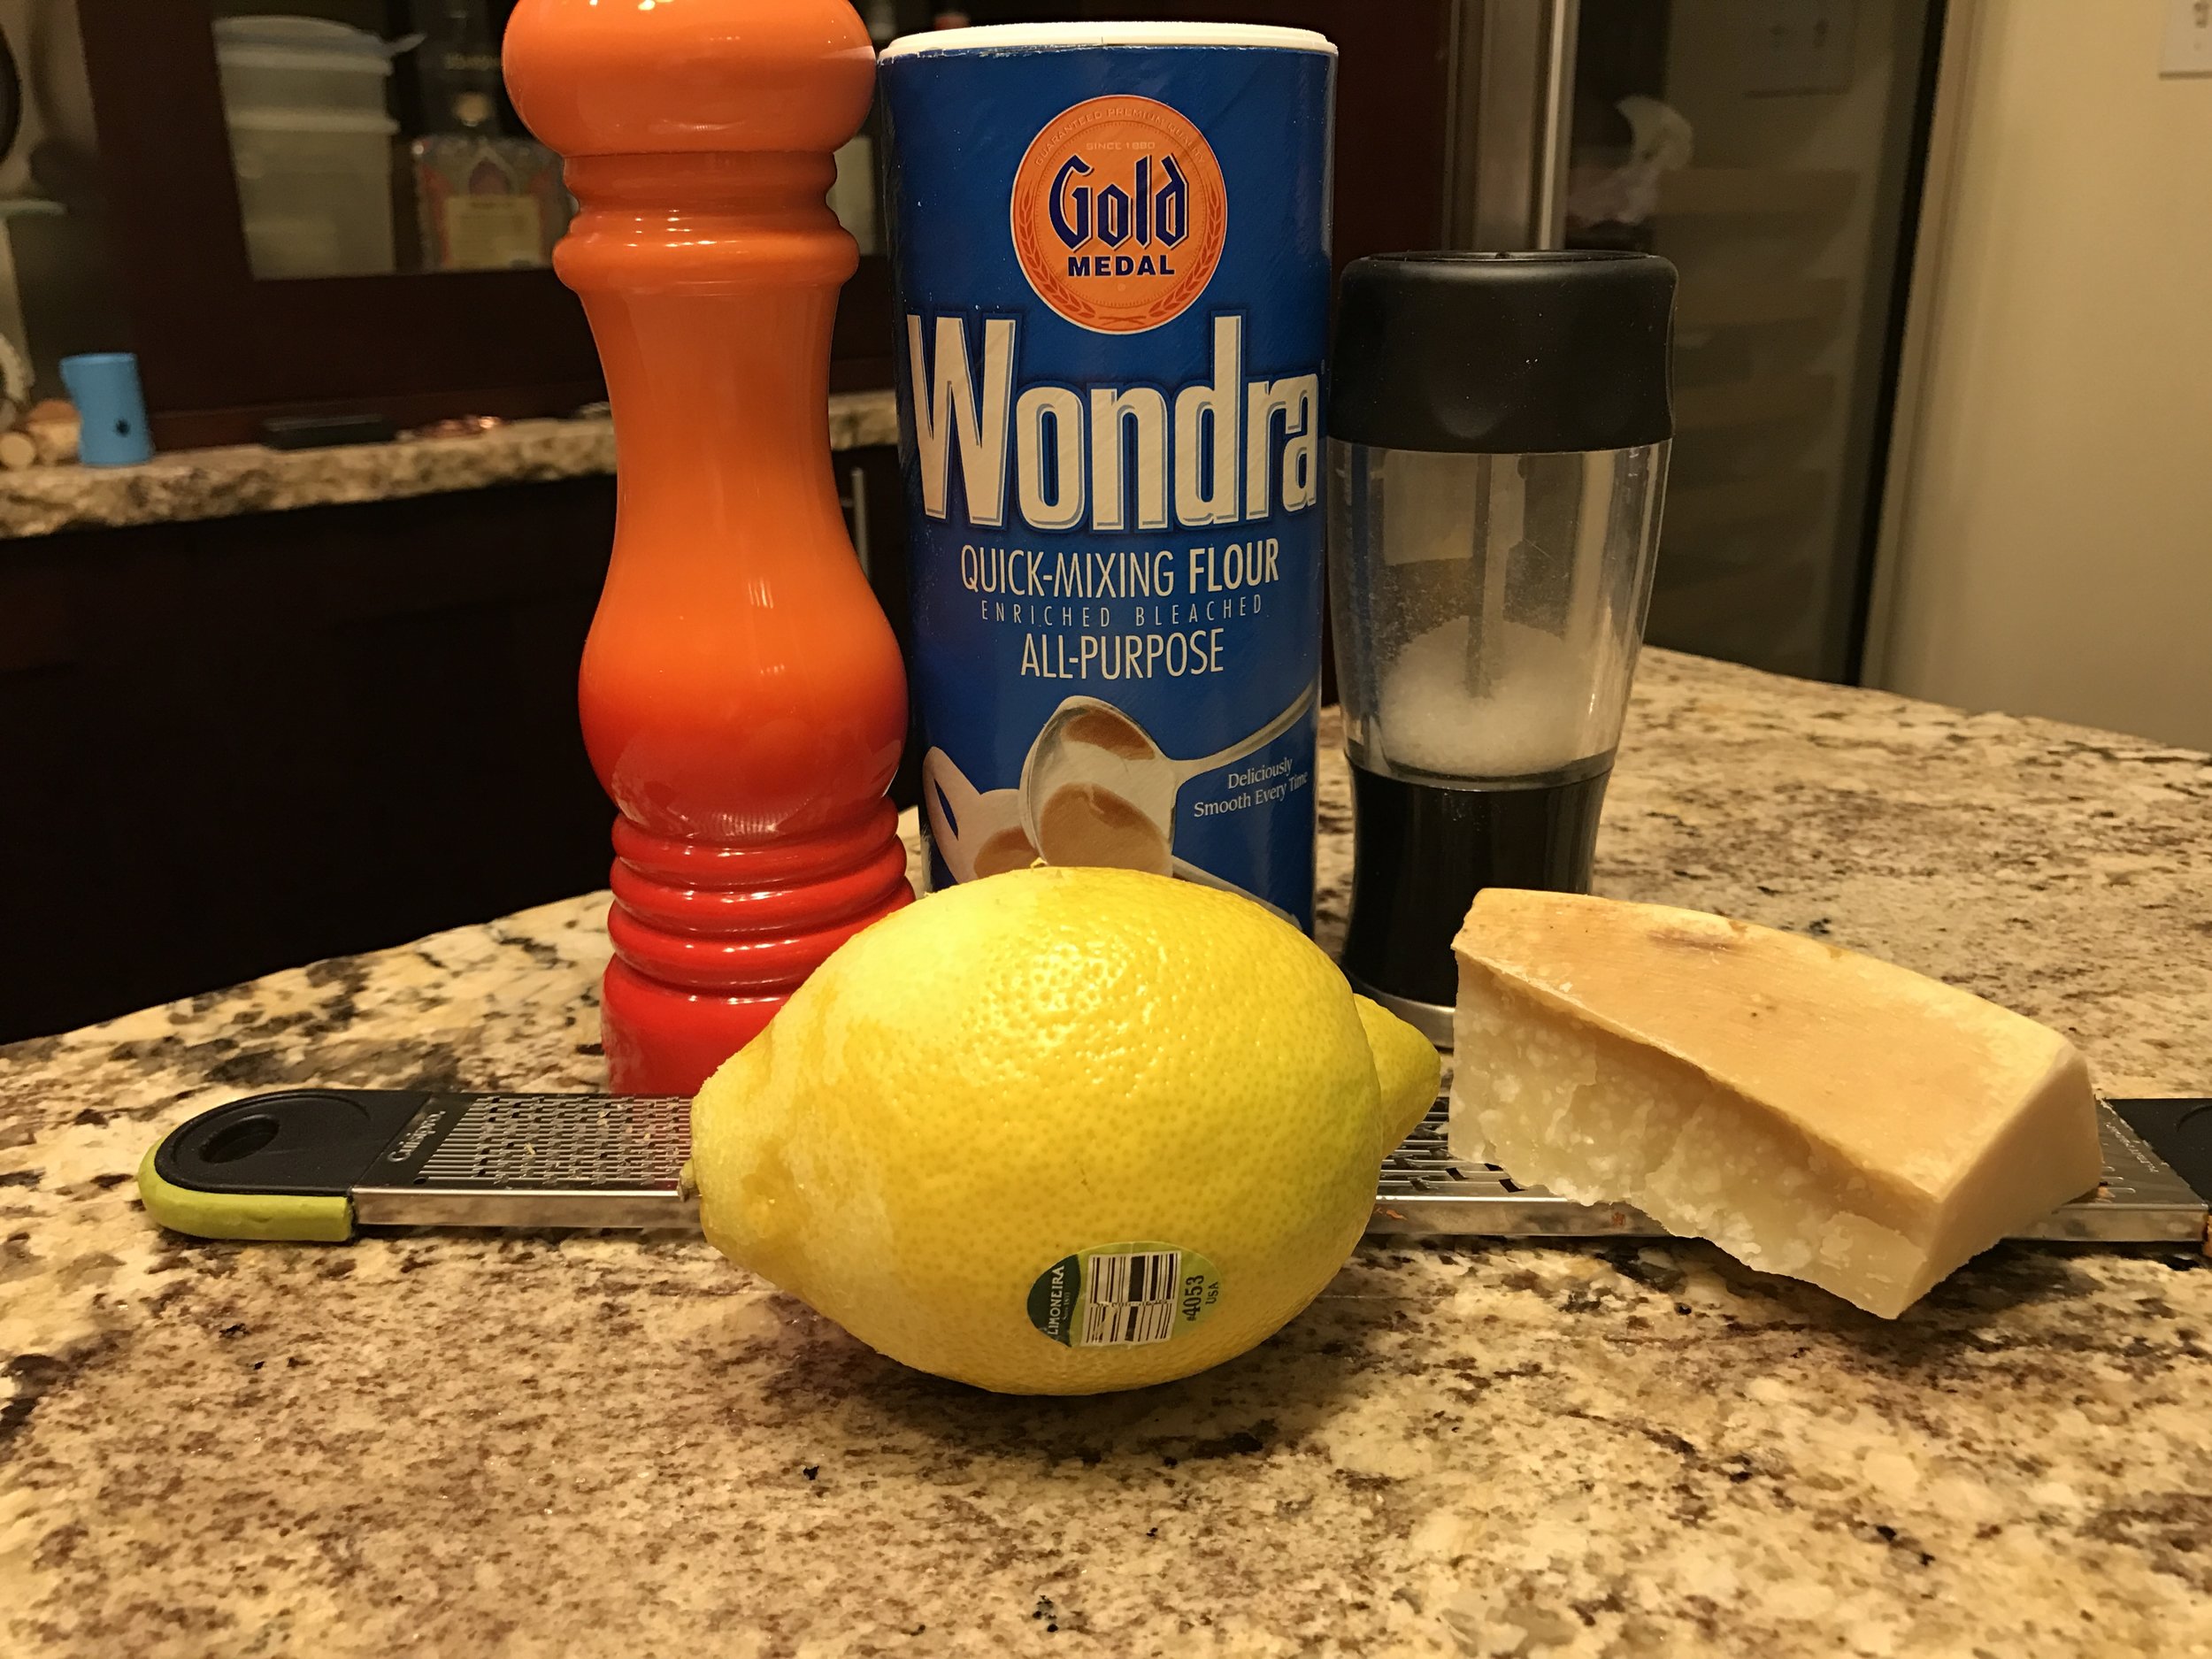
  • 1/3 cup of grated parmesan
  • 1/4 of of Wondra or flour
  • 1 T of fresh lemon peel
  • Lemon juice to taste
  • Salt and pepper to taste

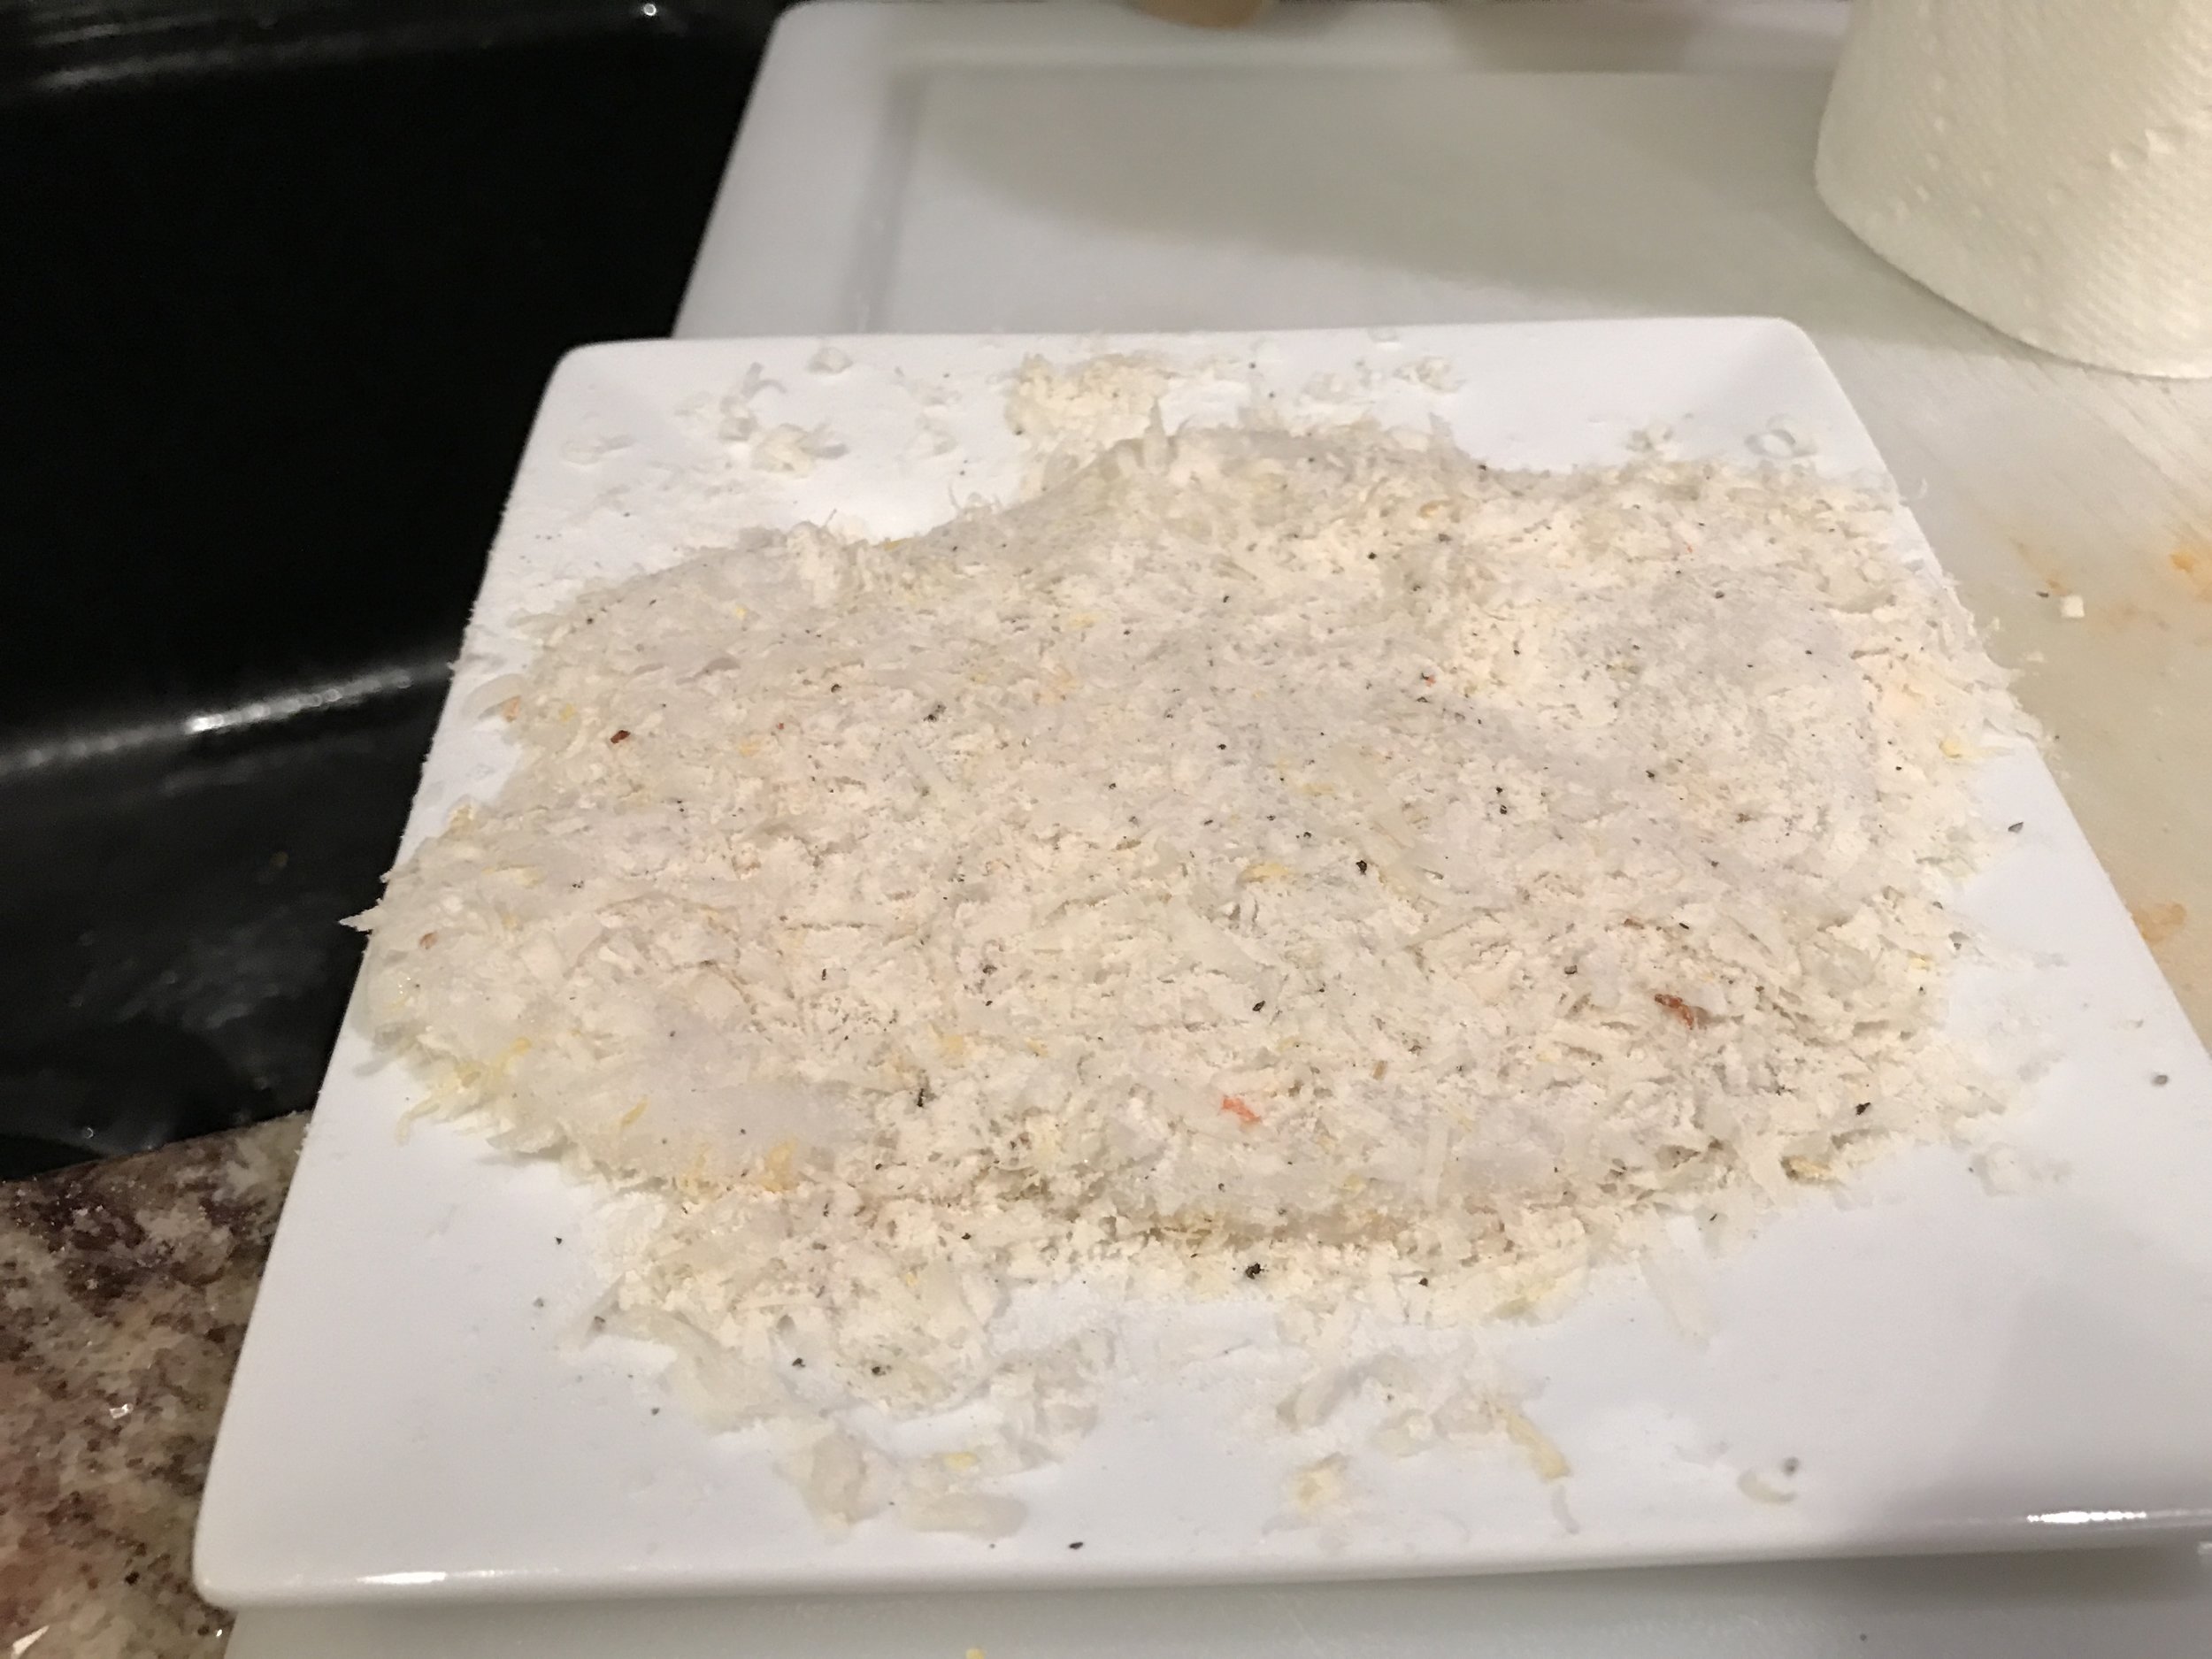
These ingredients were mixed together and layed on a plate.  I decided not to go through a traditional breading process to cut down on the fat, but rinsed the squid cutlets  in water then dredged them in the mixture.  They were then pan fried until golden.  I have issues with over cooked seafood so I was careful to remove them from the heat as soon as they looked golden. I then sliced them up and sprinkled them with lemon juice. They could have probably been recrisped in the pan after I sliced them up, but live and learn.  They were still delicious.
I am not going to insult your intelligence about how to make a Caesar salad.  I know a traditional Caesar salad is just greens, dressing and croutons, but I like to add more vegetables.  Are there rules here?  Ok.  There are.  So, sue me.  I like veggies.  The dressing should be made from scratch, but using a pre-made version is easier and safer.  And for an everyday kind of dinner, that is what I use.  I cooked the squid, people.  What more do you want of me?  Oh, and I served the squid bits over the salad and gave it a last zesting with parmesan cheese.  Yes.  I know.  There is another one of those rules about cheese and seafood, but I think parm still works.

This was awesome with white wine.  I recommend our wine of the day.  

Gravy - The Sauce That Pulls it All Together

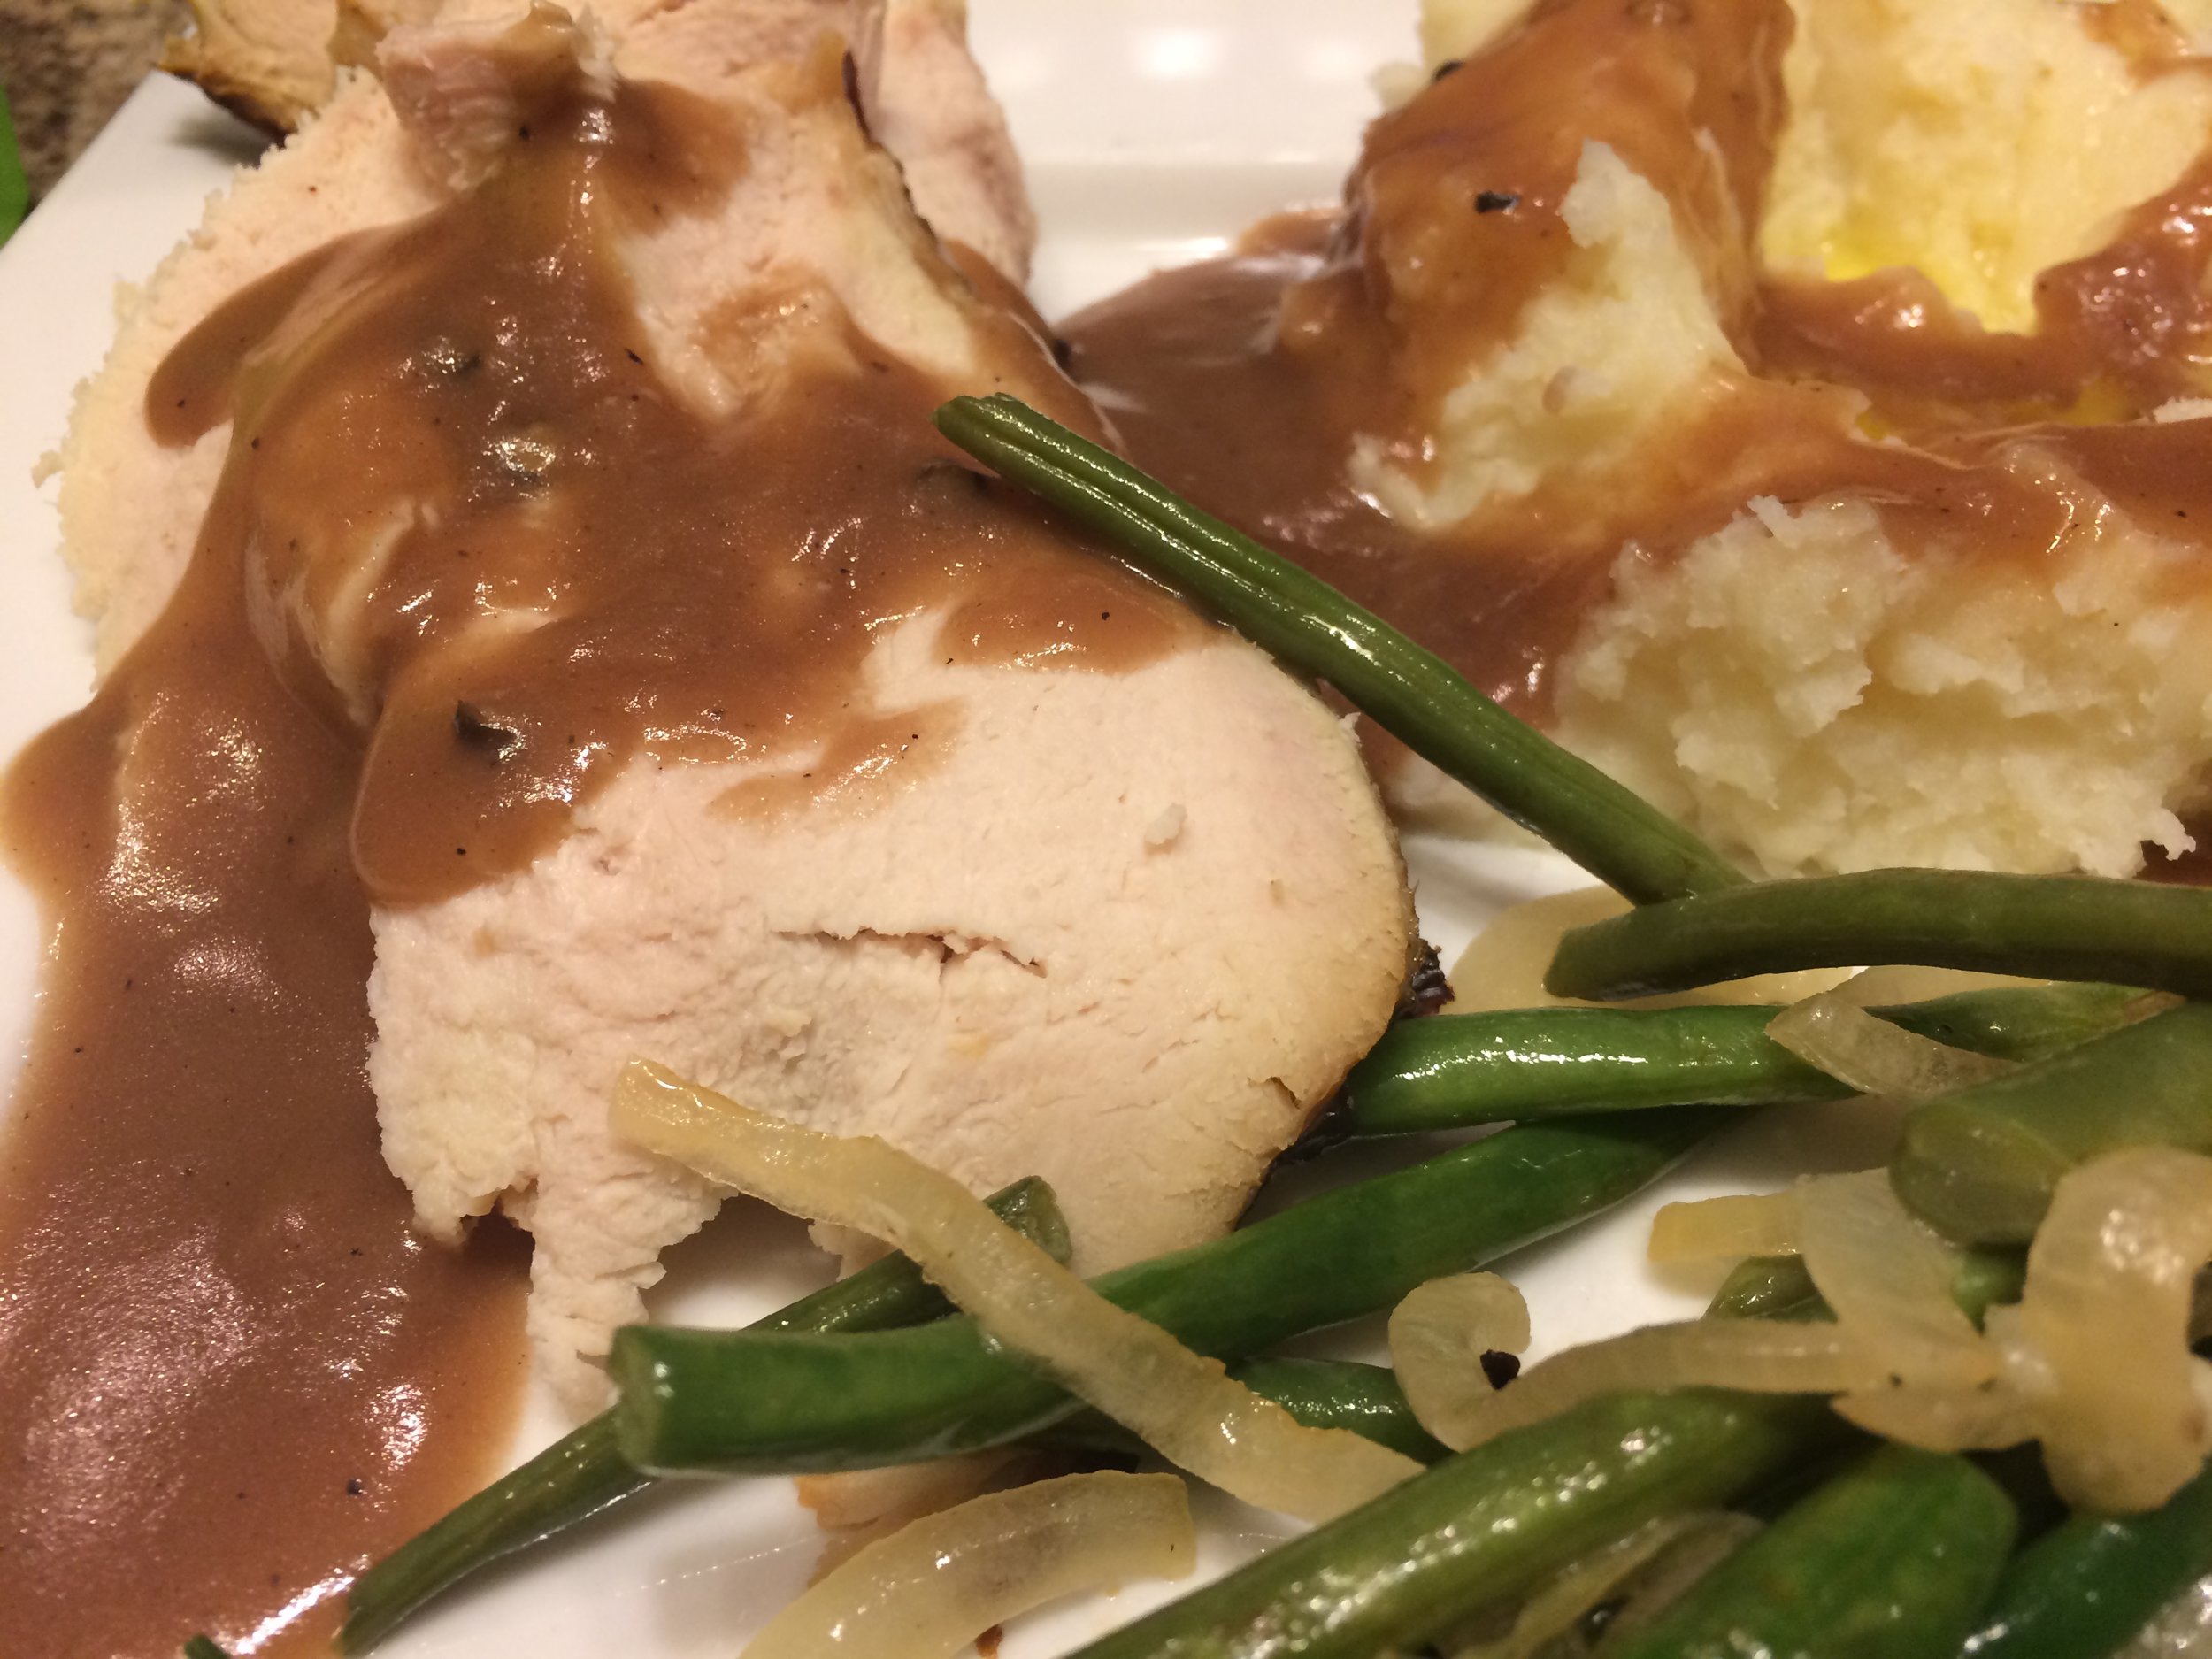
Photo of Gravy by Gretchen Miller Neuman for Qorkz. 

Photo of Gravy by Gretchen Miller Neuman for Qorkz

What Thanksgiving feast is complete without gravy.  You can put it on everythingother than the pie and the cranberries… Gravy is essentially a thickened drippings, broth and flavorings.  Periodically, I have added wine, usually port or madeira but this time I have added zinfandel because I had an opened bottle.  The key to cooking with wine is to make sure that the wine is drinkable, but don’t go crazy.  No one should consider a bottle of Screaming Eagle for sauce.  I know cooking schools use boxed wine so that should give you some guidelines. 

This sauce is based on a recipe by Anthony Bourdain in the November 2016 Food and Wine.  I was astounded by the addition of Worcestershire and fish sauce that tempted me to make it.  And so I have.  

The necessary ingredients are as follows:

  • Three quarts of turkey stock (chicken works as well)
  • 2 cups of red wine
  • 2 shallots chopped
  • 8 - 12 oz of butter
  • 1/2 - 3/4 cup of flour
  • 1 teaspoon fish sauce
  • 1/2 teaspoon of Worcestershire sauce
  • 1/4 Cup of turkey drippings
  • Kosher salt and pepper to taste 
  • 1 teaspoon of browning base such as Gravy Master or Kitchen Bouquet (this is my addition)

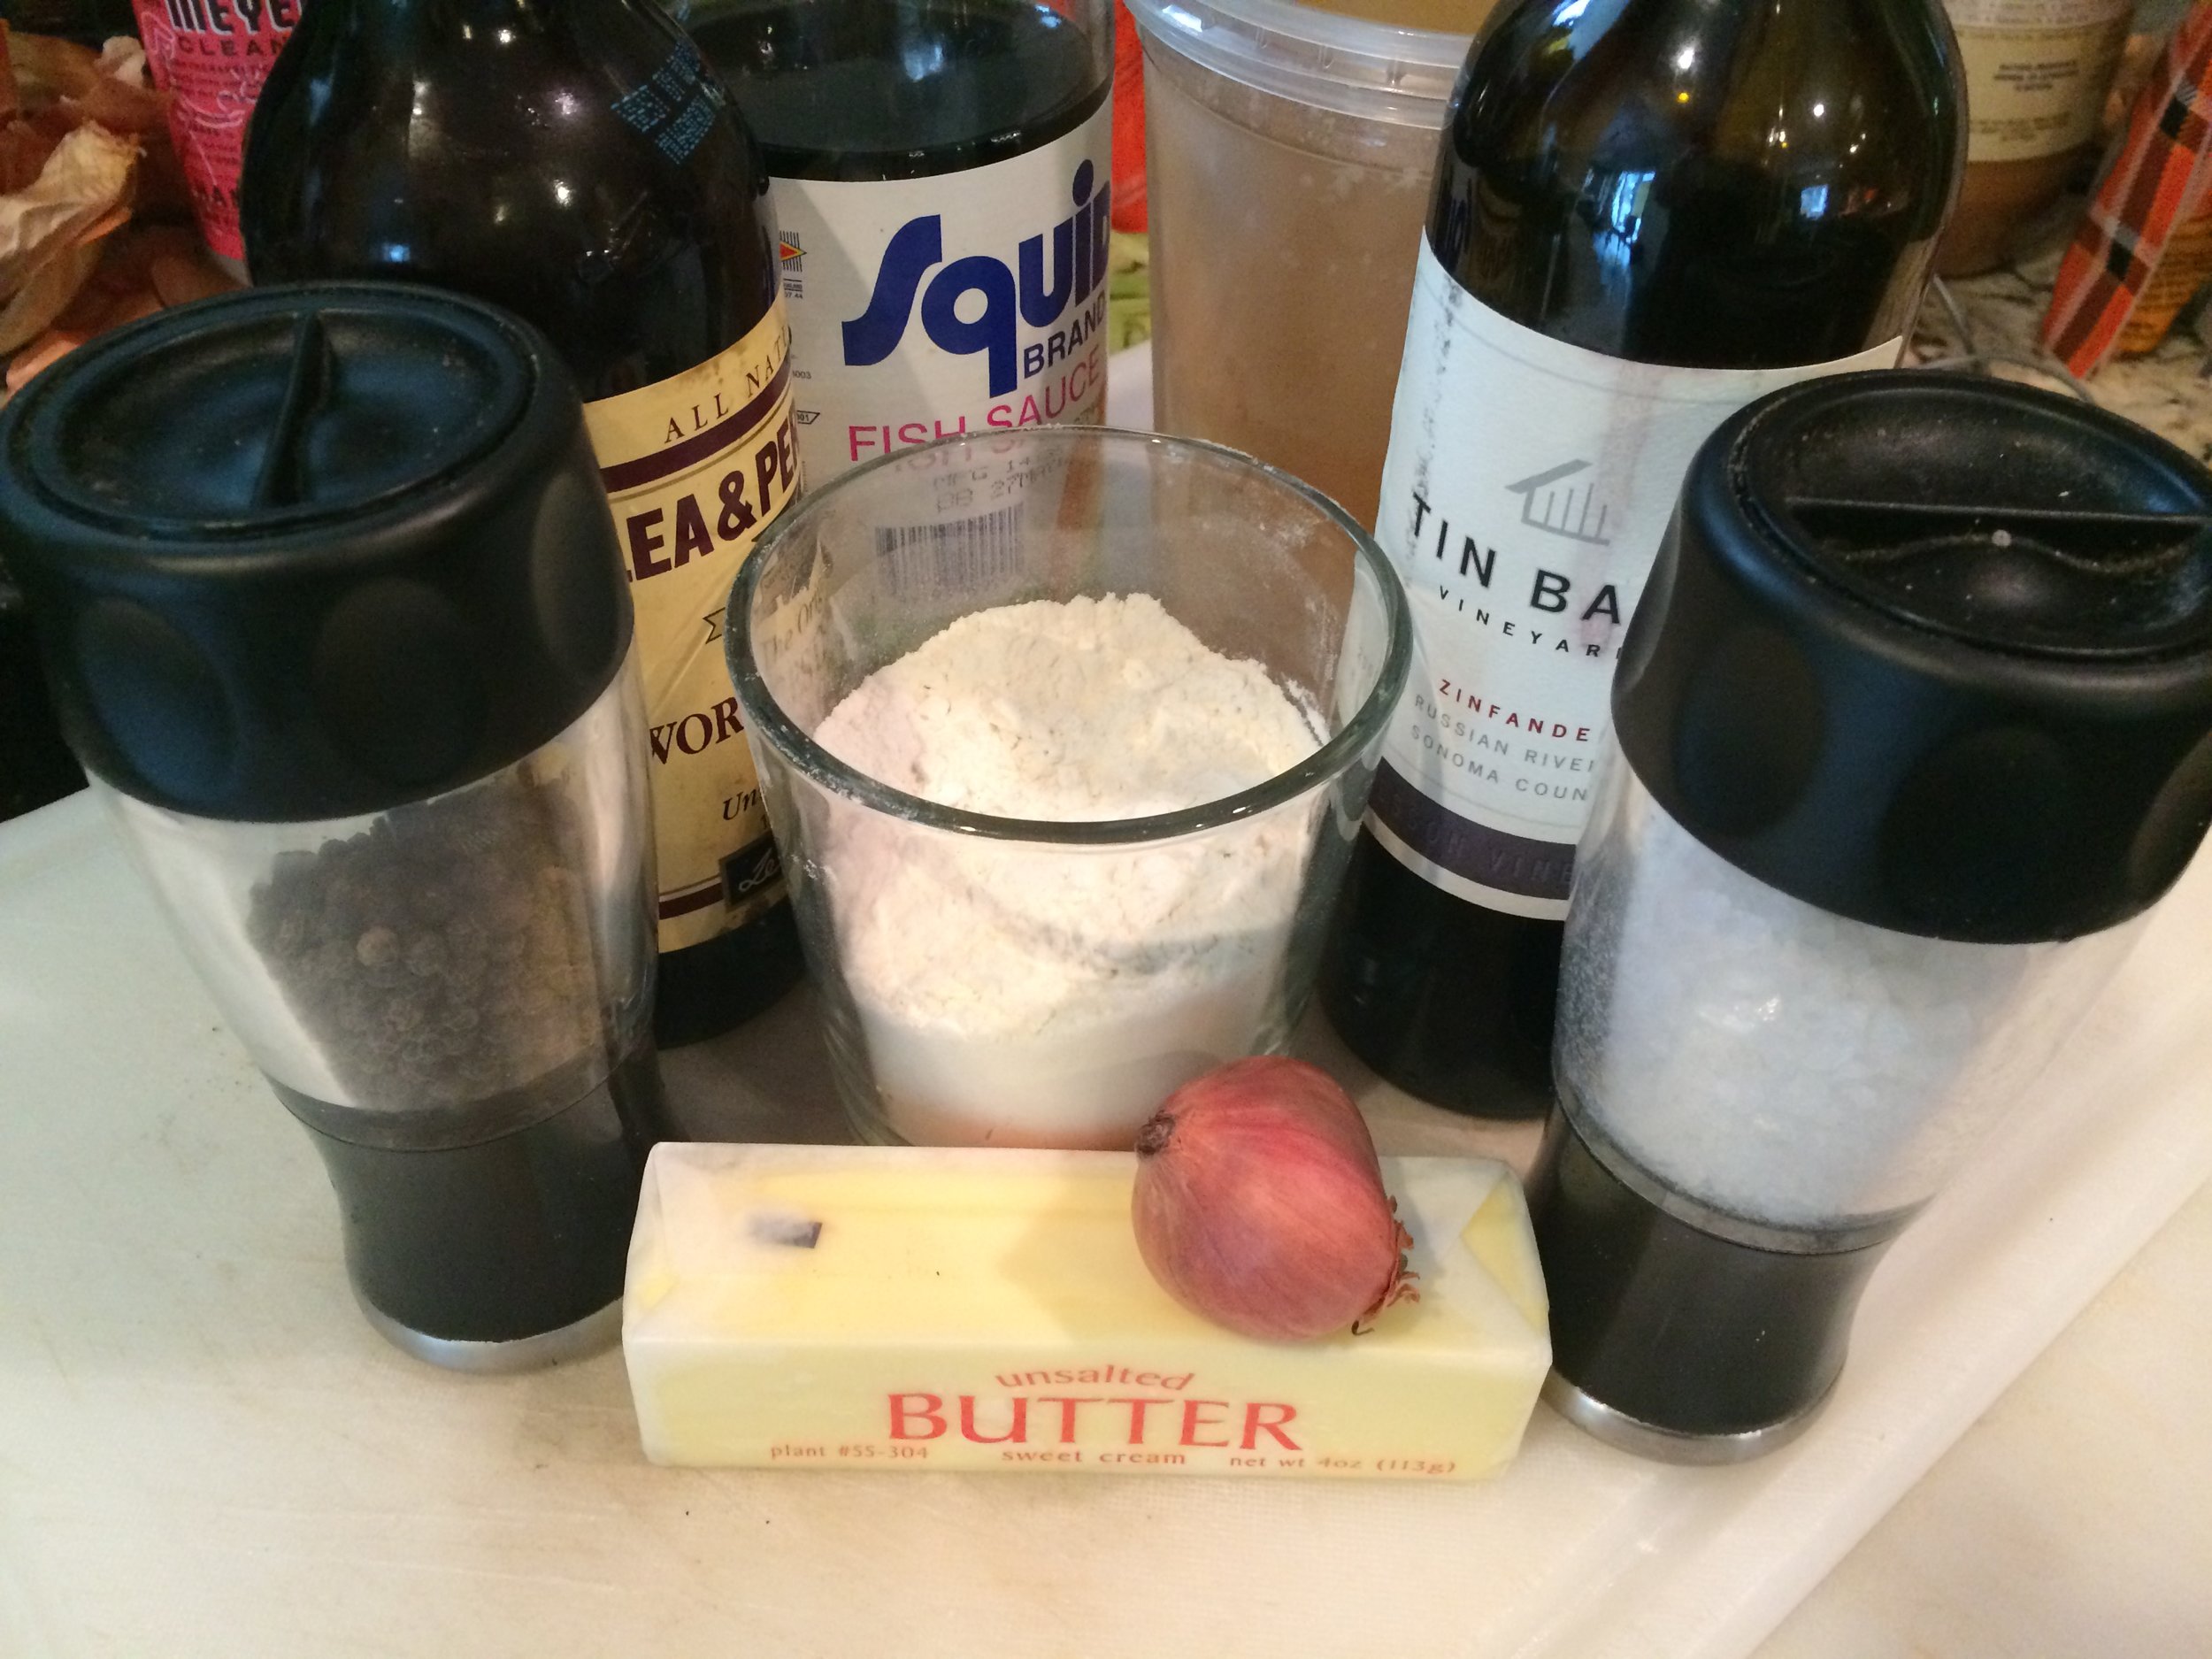
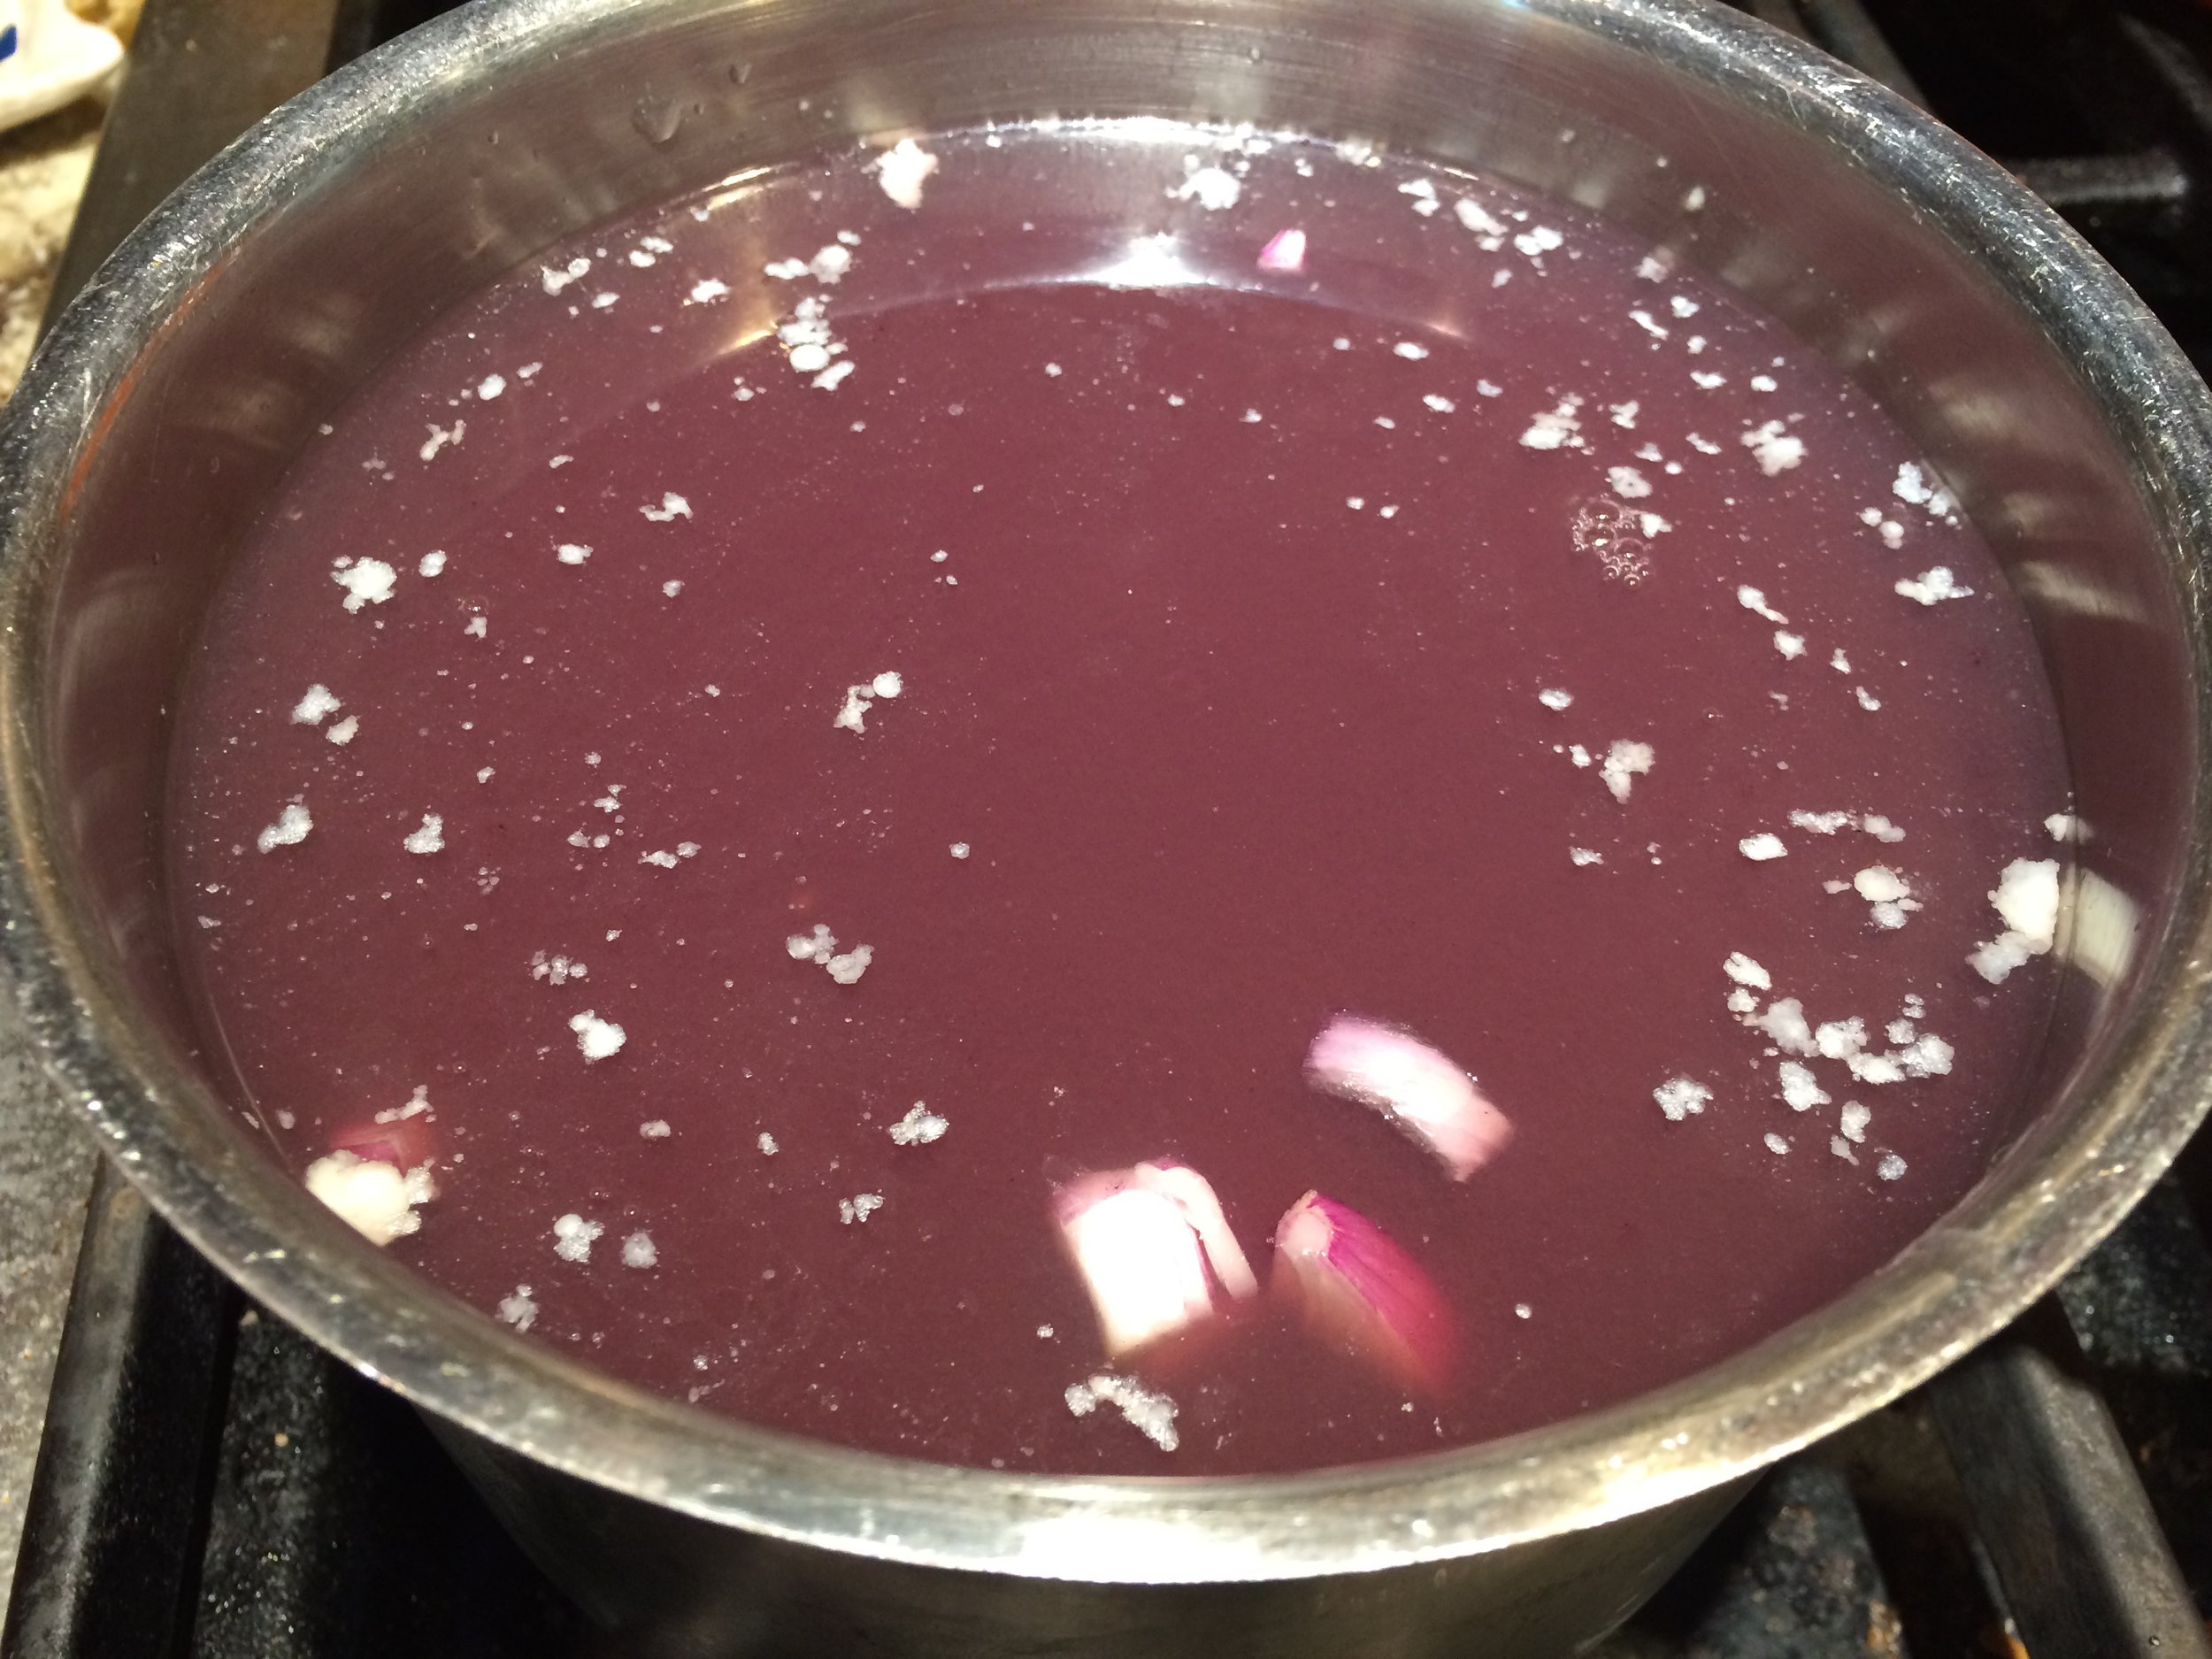
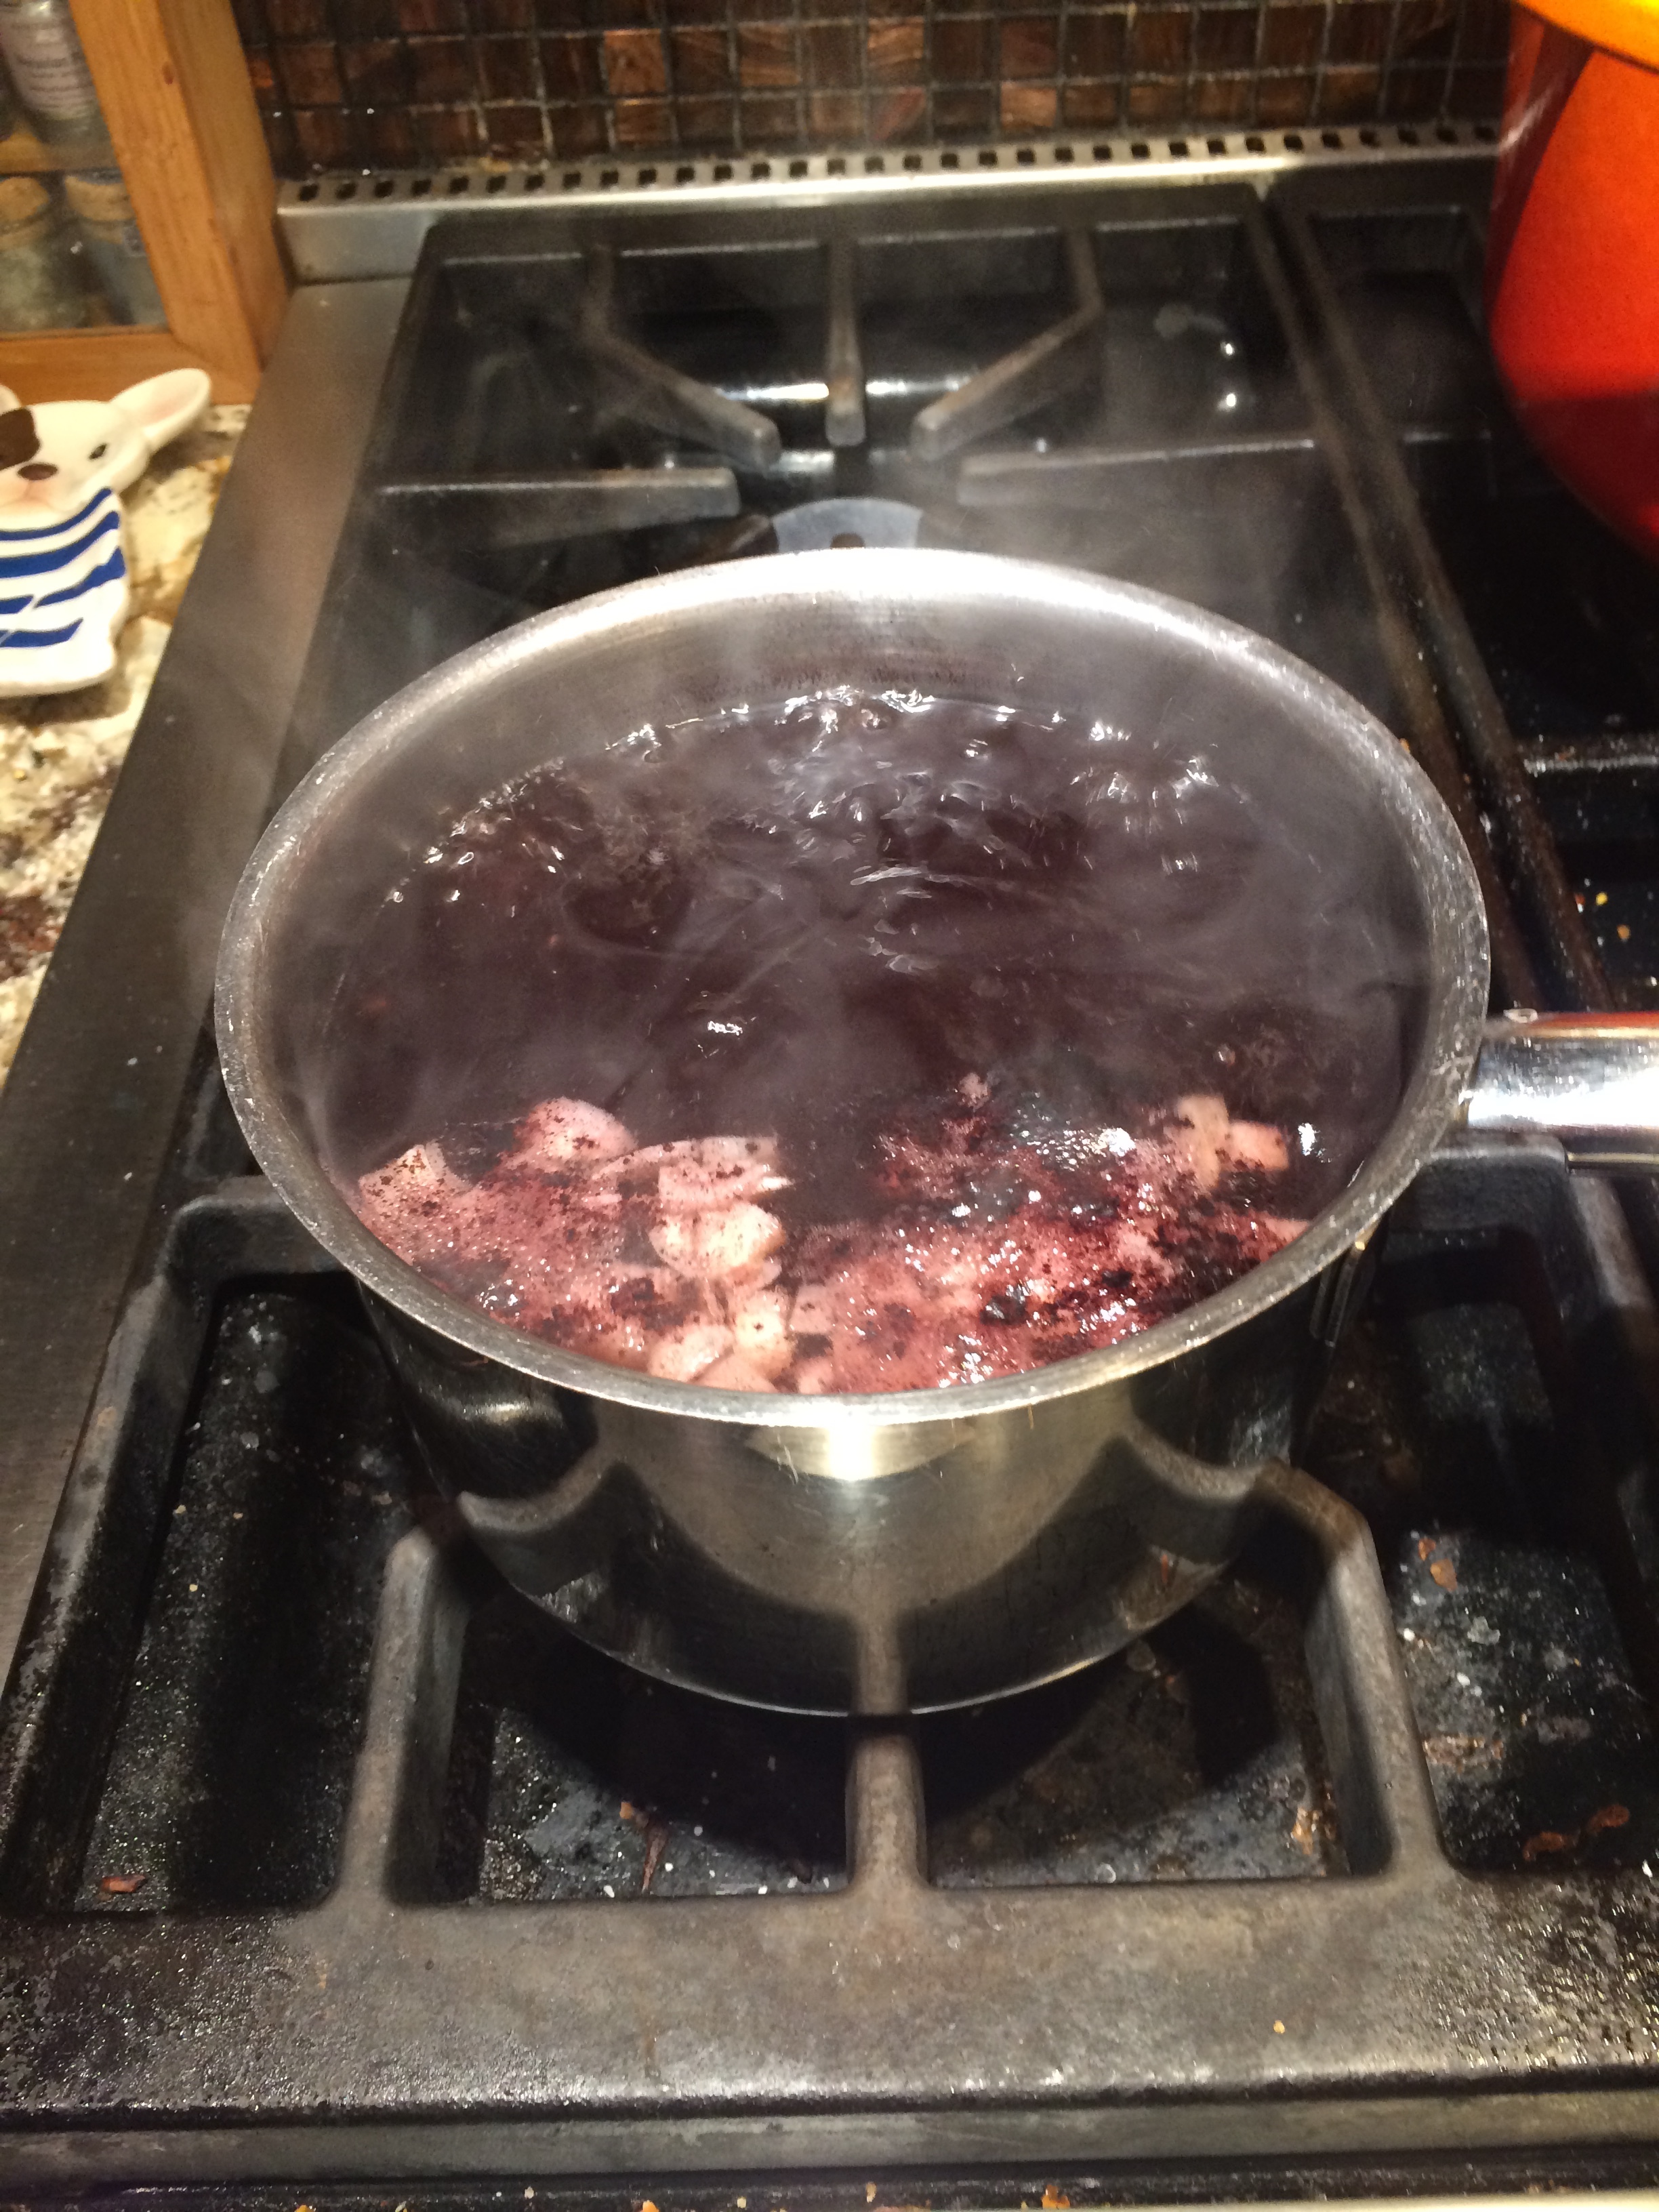
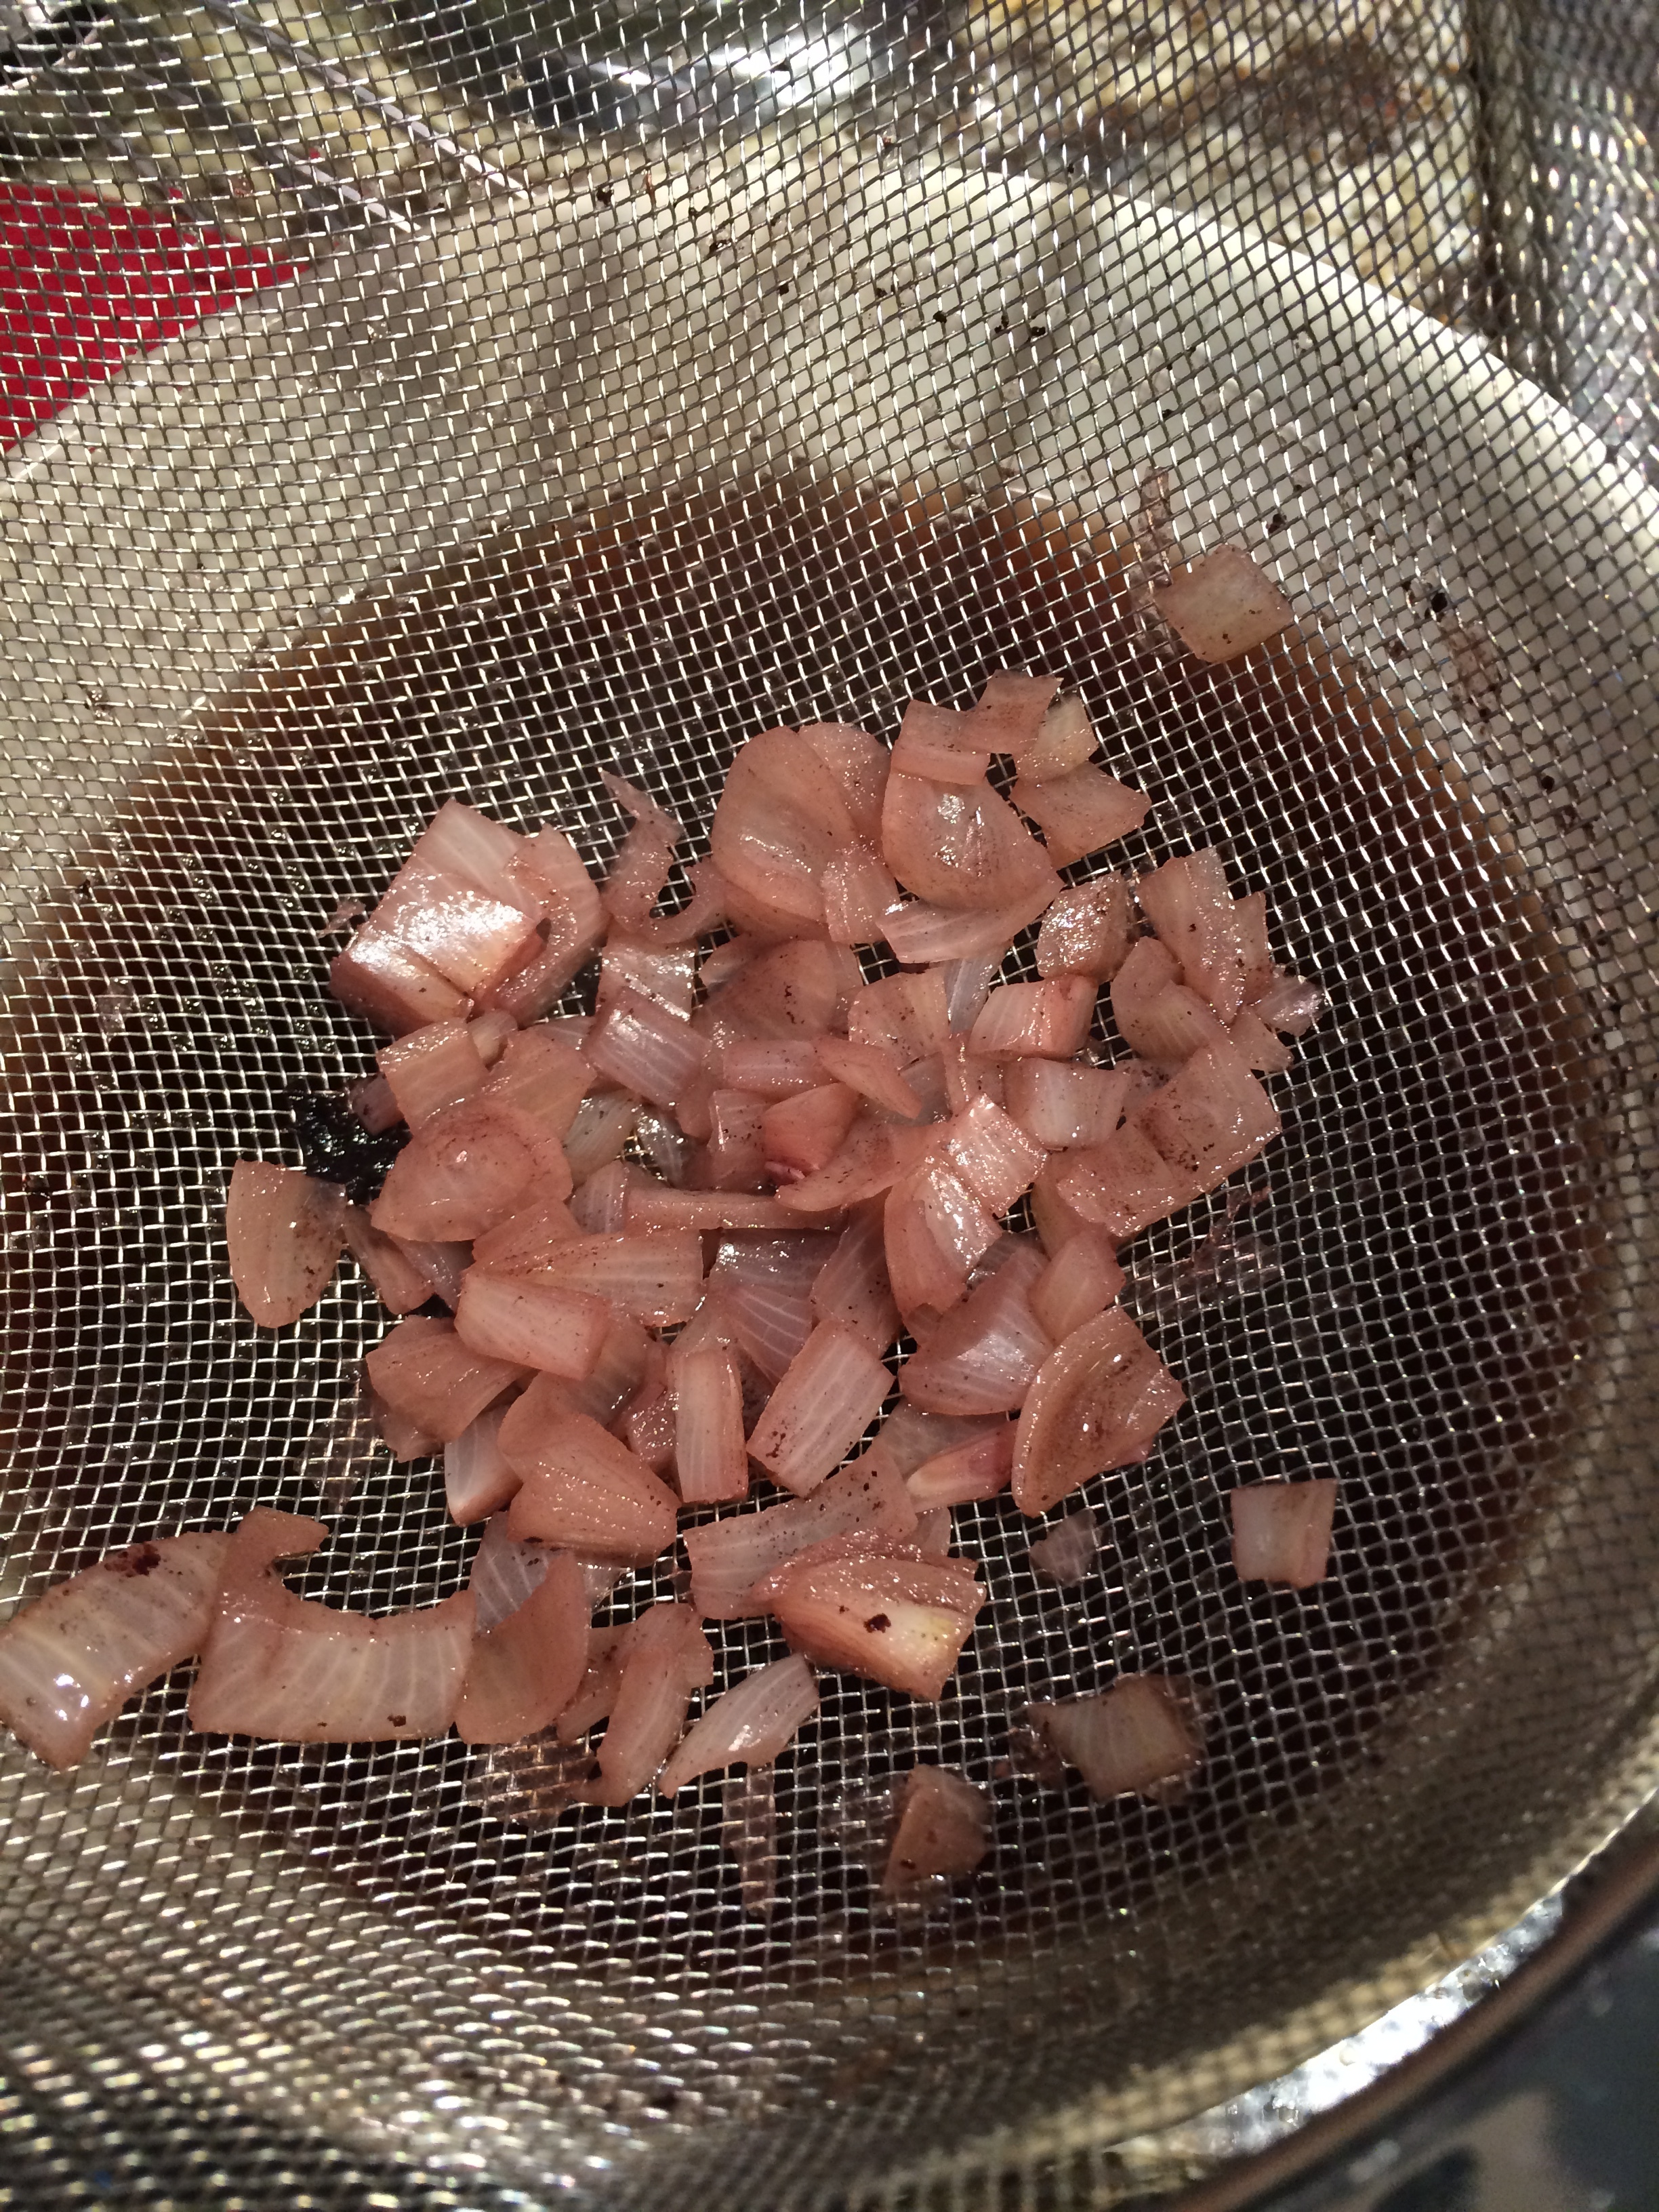
The first three ingredients go into a pot and cooked at a simmer until reduced by half.  This should take about 45 minutes.  Good gravy isn’t fast, but it is worth it.  When it reaches the proper volume strain the solids from the liquid and set aside.

Next up make a roux from the butter and flour.  How much you make depends on thick a gravy you want.  I thought the 8oz and 1/2 cup roux wasn’t quite thick enough for my liking… so I made more roux and added it.  Making this base is easy.  Melt the butter and mix the flour in until a a paste is formed.  Keep cooking on medium low heat stirring constantly.  The mix will change from a thick paste to a bubbly compound.  Keep cooking until thoroughly blended together and starts to brown.  Btw, once you get the hang of this, creole food will easily conquered.  Most gumbo requires a roux cooked until the color of a copper penny.  It can also be cooked up and stored in the freezer and pulled out with a melon baller a bit at a time as needed.


When the roux is ready start adding the winey stock.  Mix it in a bit at a time whisking to keep lumps from forming.  Add the fish sauce, drippings and Worcestershire sauce and browning base whisking constantly.  Technicallythe browning base isn’t needed, but I thought the gravy had a purplish-puce shade to it which personally I found off-putting.  It isn’t part of the original recipe and it is no skin off mynose if you leave it out.  This is your holiday.  Enjoy it as you want.  Bring the mix to a low boil to ensure that everything is thickened their fullest.  Taste to check for seasonings.  Add salt, pepper and even more fish sauce or Worcestershire sauce until you are satisfied.  Remember to add these seasonings a bit at a time.  You can always add more, but can’t subtract them.

Voilá! You have gravy.  And as an added bonus it can largely be done ahead of time.  Time management is important.

Wine pairing: Whatever red you use in the gravy.  You had to stir a lot.  You deserve it.

Qorkzgiving Turkey

Photo of brined Qorkzgiving Turkey by Gretchen Miller Neuman for Qorkz.

The turkey is the centerpiece to the feast.  You know that, I know that.  Peppermint Patty from a Charlie Brown Thanksgiving knew that.  But how should you cook your bird?  We at Qorkz have tried almost all of the modern methods.  We have deep fried, roasted, injecteddeboned and basted turkeys for almost two decades… and yes.. that’sa lot of fowl.  We have tried almost everything to keep our turkey moist.  Then we found brining.  When you brine, you create a chemical reaction that pulls water out of the meat then sucks in flavor.  So the key is to make your brine as flavorful as possible.  I like to use apple cider because it is a seasonal flavor and stout provides a sugar that coats the skin and makes the turkey roast with a nice browned color.  

Qorkzgiving Turkey

  • Turkey 
  • Butter
  • Brine

Turkey brine: 

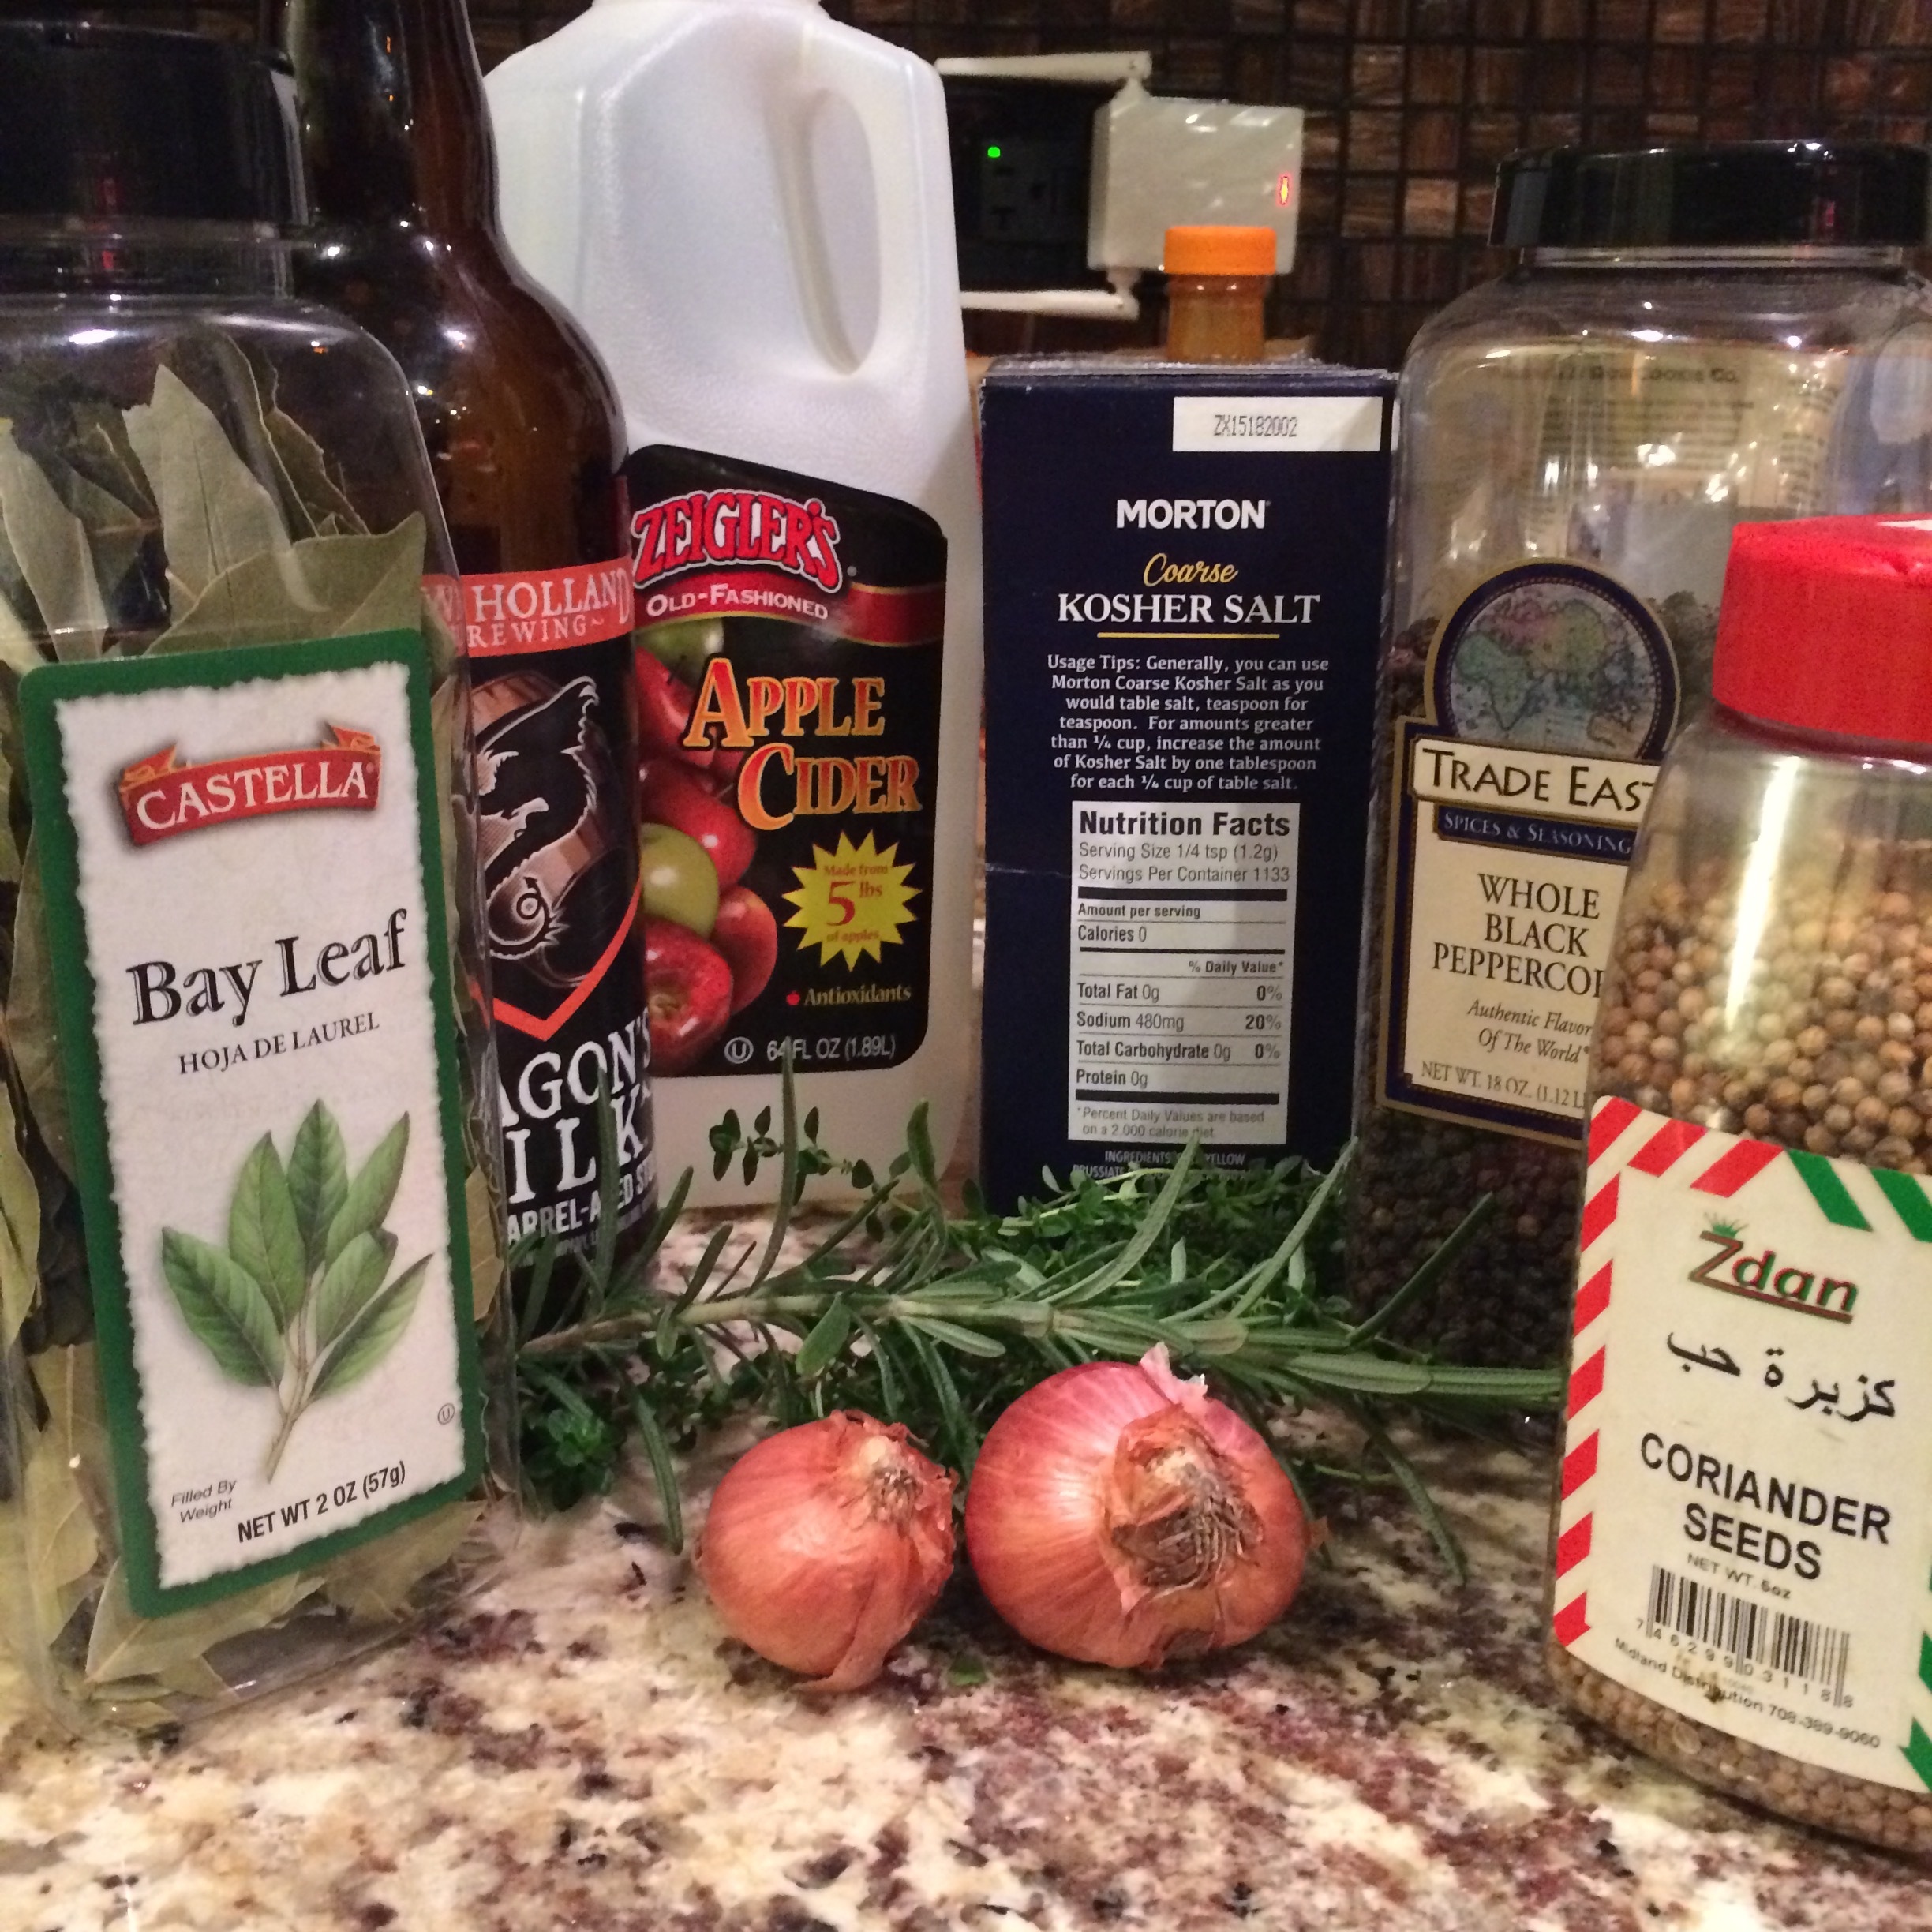
  • 1/2 Gallon of apple cider
  • 2 cups Dragons Milk Stout
  • 1/2 C of Kosher salt
  • 1Tablespoon Coriander seed
  • 10 black peppercorns
  • 2 small or 1 large shallot whole
  • 3 bay leaves
  • A sprig of fresh rosemary (my piece was about 6 inches)
  • several sprigs of fresh thyme
  • 2 Quarts of ice or more.

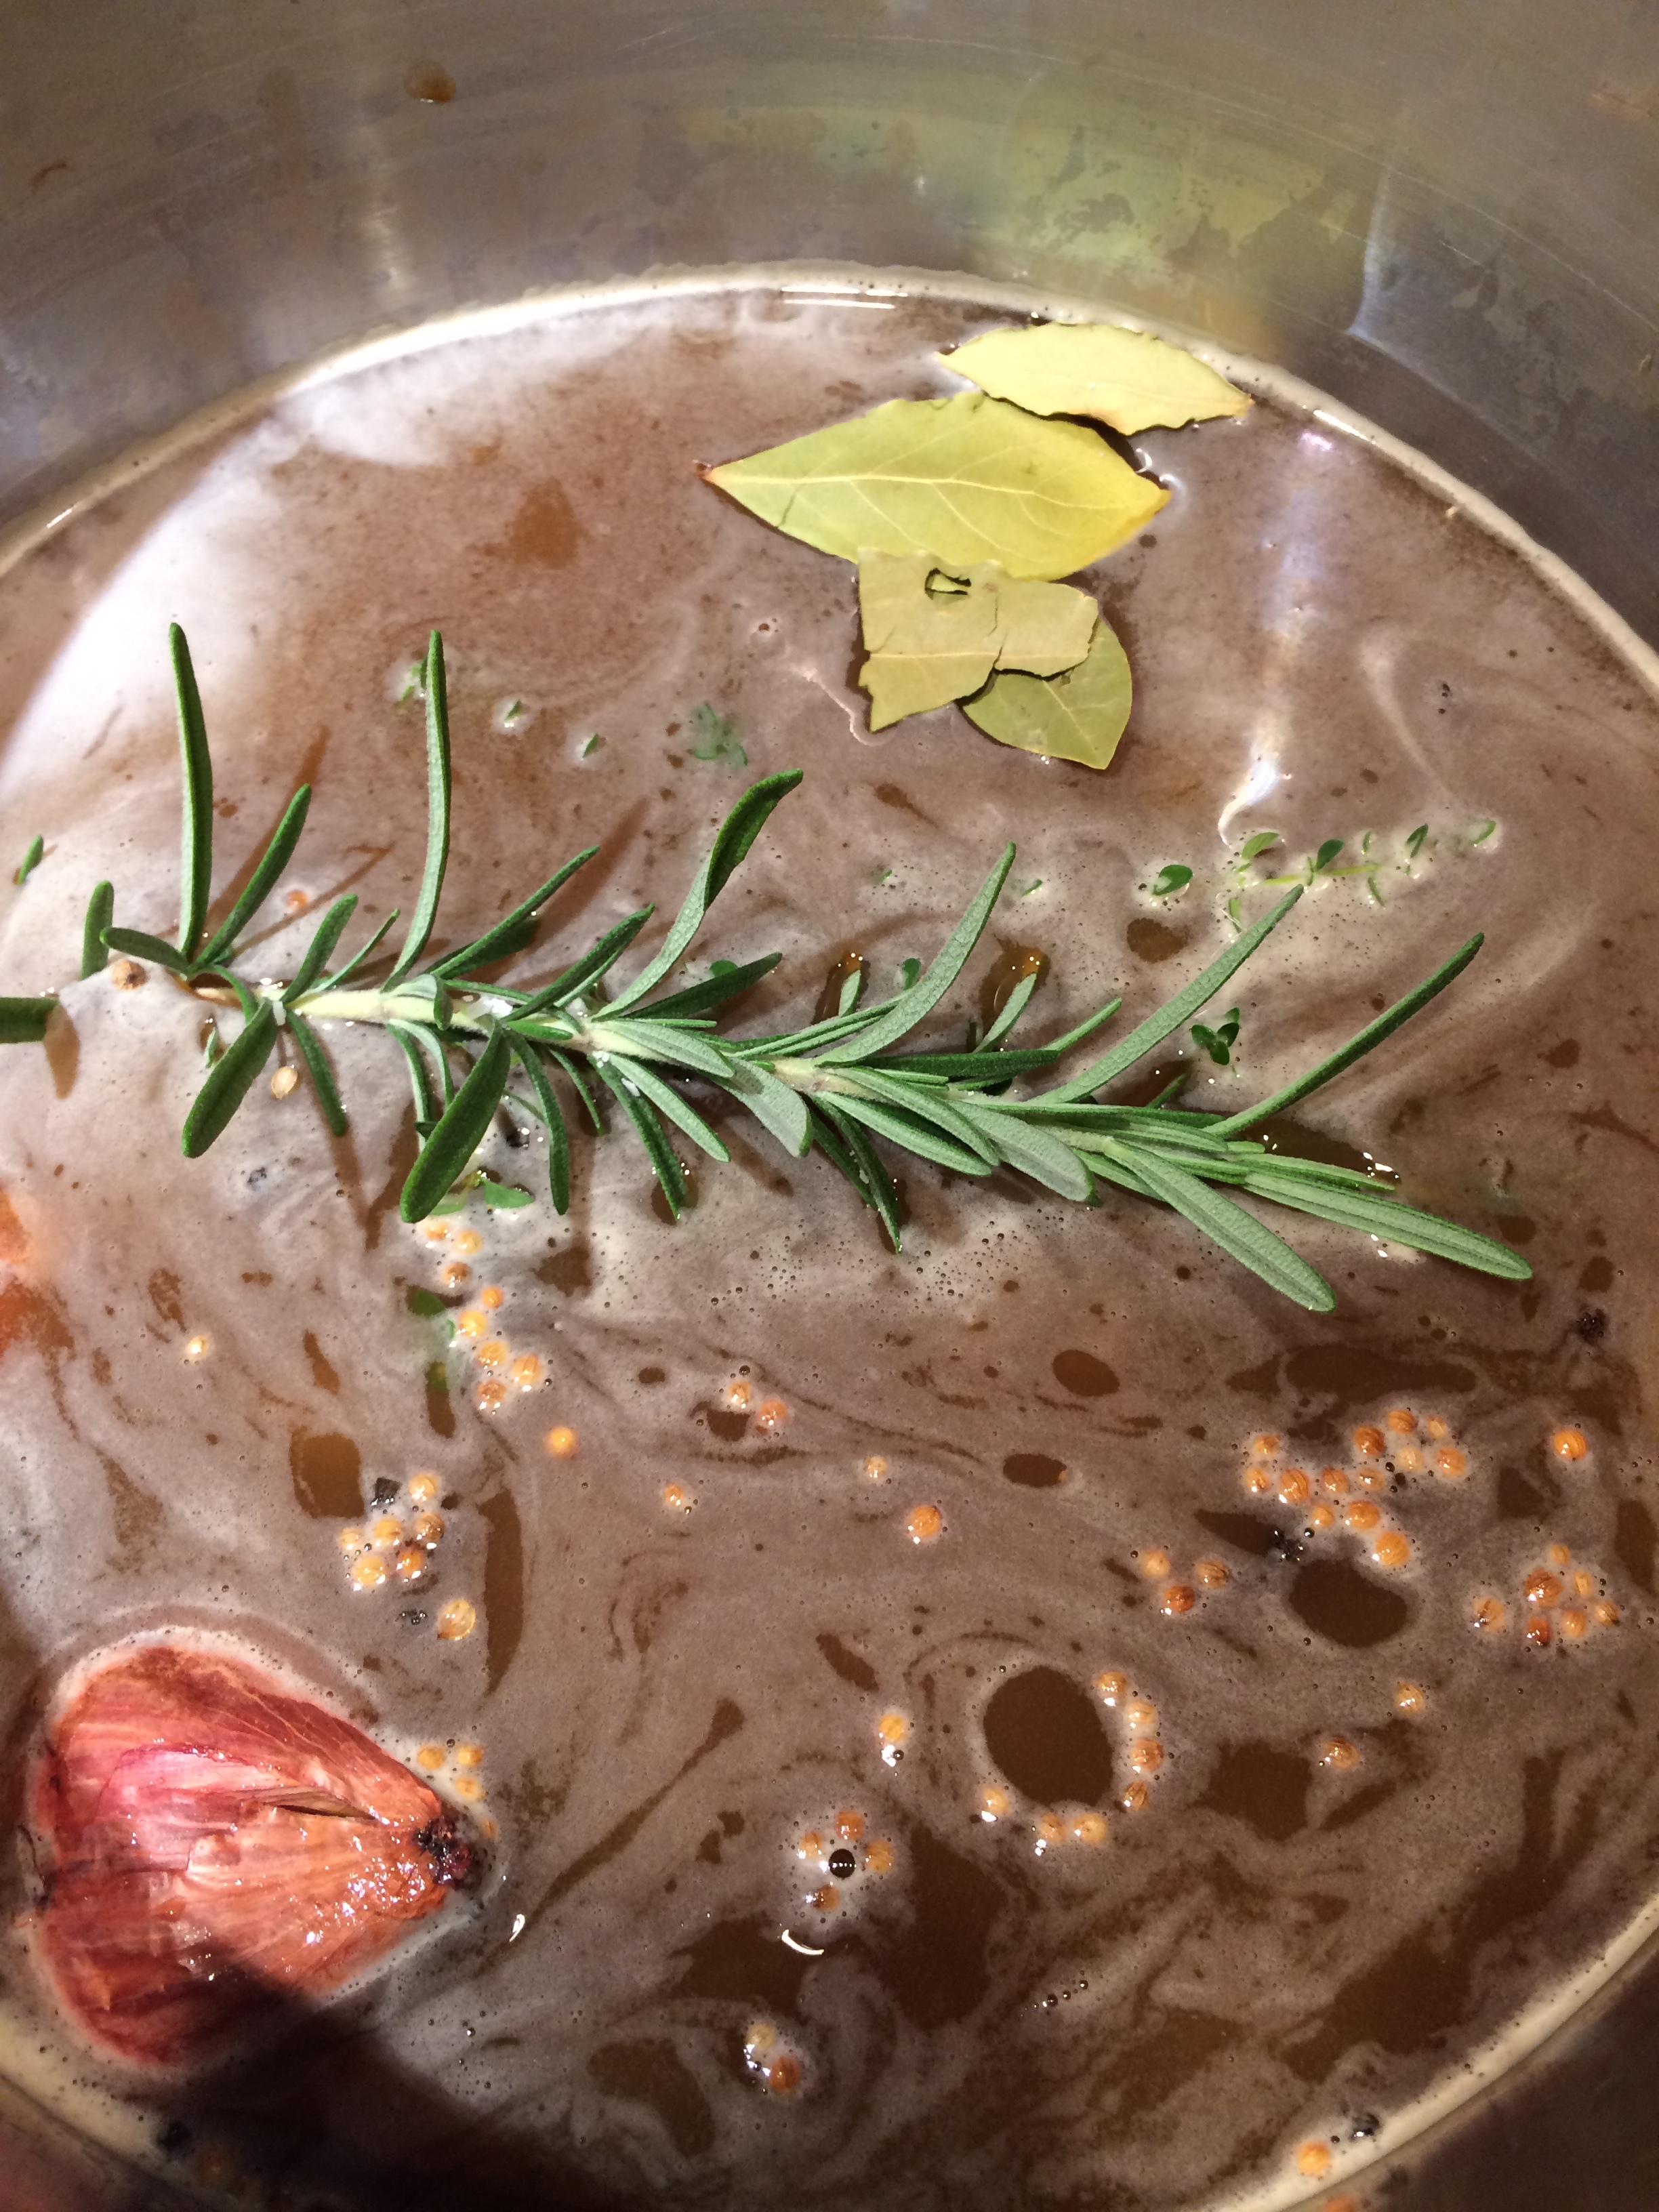
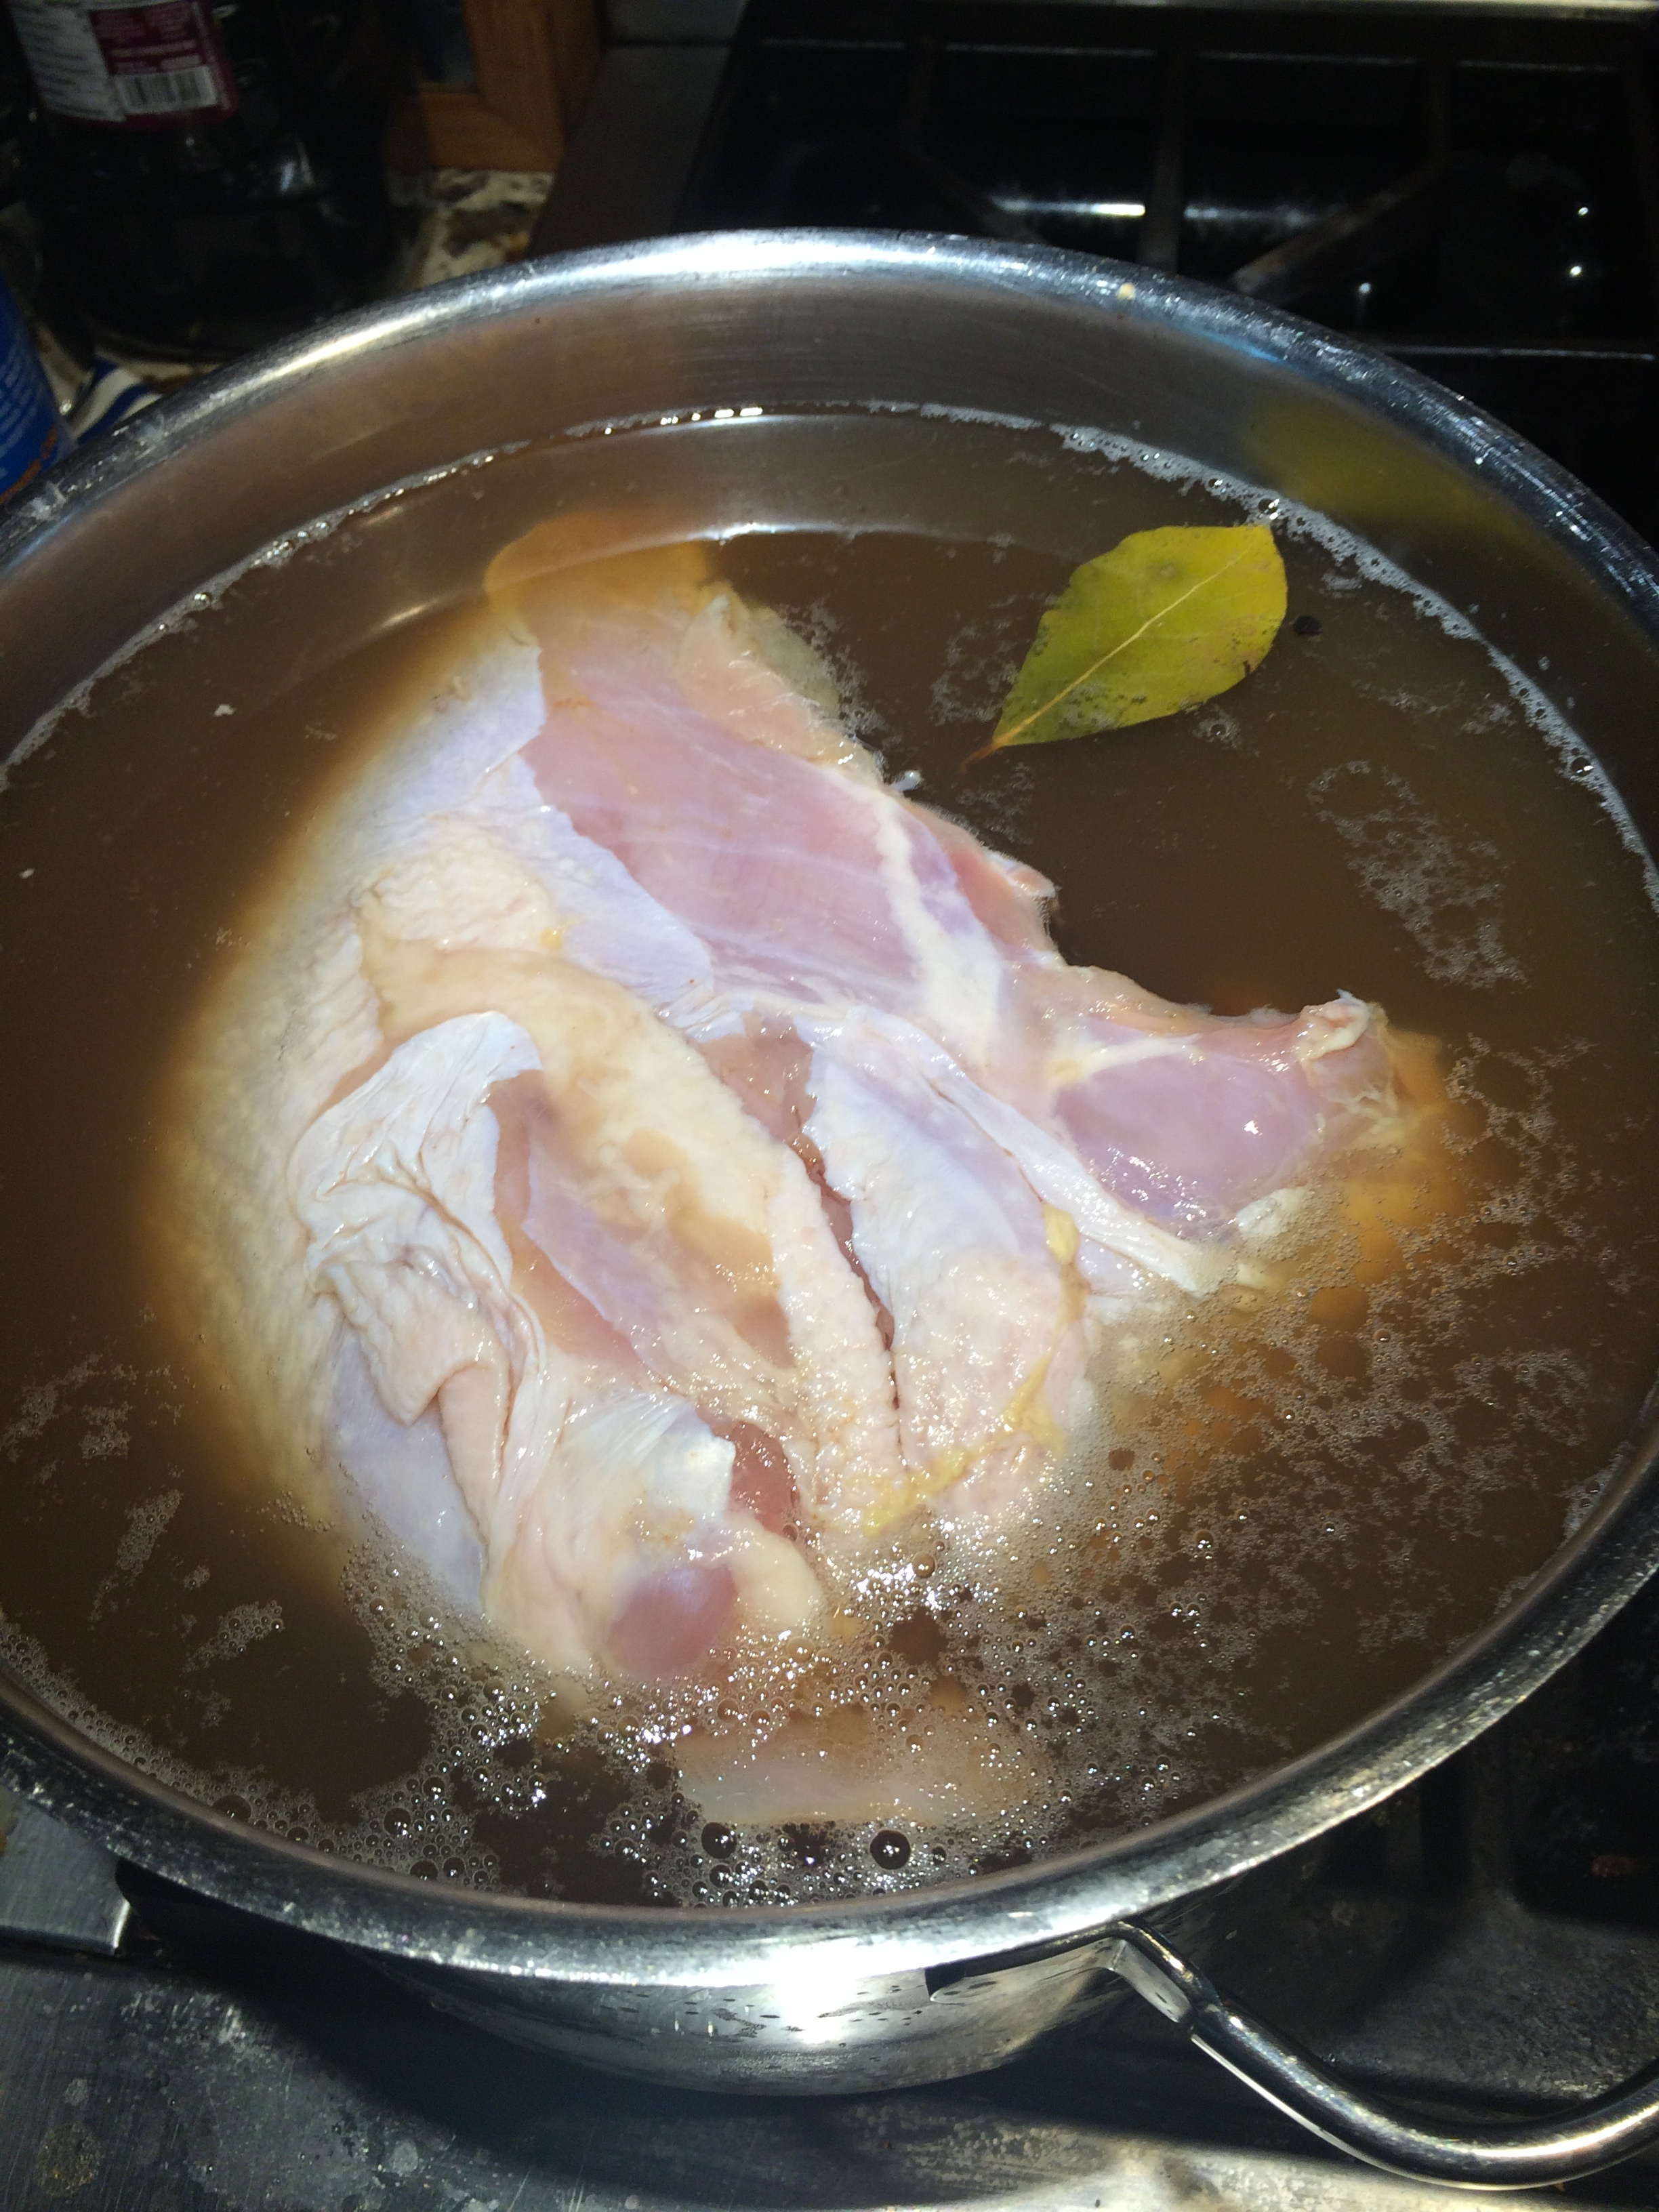
Put first nine ingredients in a pot, stirring occasionally.  Bring to boil.  Turn off an add ice.  Bring to room temperature.  Again, stirring periodically.  When at room temperature add turkey.  Put in fridge for up to 24 hours.  I used stout in this brine instead of a sherry because the malt will add color to the bird later on.  Though I guess a cream sherry or Marsala would do the trick as well.  I like to mix it up occasionally.

After brining turkey for up to 24 hours, remove the bird from the savory liquid.  Rinse the bird under running water and pat dry.  Place on rack on a baking sheet (or roasting pan) and rub with softened butter.  Roast in an pre-heated 350 degree oven for twenty minutes per pound.  Baste periodically.  Cook until an internal temperature of 165. Remove the turkey from the oven and rest for 30 minutes.  Also, I abide by the Alton Brown theory that stuffing = death.  If your bird is moist then your stuffing is undercooked infecting your nearest and dearest with any number deadly bacteria.  Don’t do that.  Cook that stuff in a separate pan covered in tin foil to give that slightly steamed quality without salmonella and that would make your fowl foul.

Wine Pairing:  During prep?  Have a beer.  It is said that it takes a lot of bad beer to make a good wine... I think that is equivalent for a turkey.

At the Feast:  An unoaked Chardonnay for a full fruit flavor or a cool climate Pinot Noir.  

Cranberry Zinfandel

Cranberry Zinfandel by Gretchen Miller Neuman for Qorkz.

Cranberries.  This is a love it or hate it kind of dish.  

Cranberries are very tart berries that grow in bogs but are full of vitamins that would have normally been missing from a colonial diet such as vitamin C and manganese   This protected our pilgrim or separatist ancestors from scurvy and neurological ailments.  Better yet, they dried up beautifully in order to be stored for a long winter.  

Anyone who has had cranberry sauce realizes that there are a couple of ways to get it.  Canned jelly which is delicious and unnatural, showing the the ribs of the can.  This version while considered revolting to many people is awesome in many ways.  First?  It is spreadable.  Like on bread or toast. or shaken into a cocktail.  yes. into a cocktail an instant cosmo in your fridge.

The other type of cranberry sauce is more natural looking.  There are chunks of berry still visible. tastable, chewable.  But when push comes to shove still usable in the same ways as the jellied version, maybe more chewable but still tasty, nutritious and awesome.

Something so ubiquitous for the holiday must be tricky right?  Particularly if it starts in such a foul, astringent manner.   But the simple answer is NO! It is crazy easy.  You couldn’t make a simpler jelly if you prayed to.  So what do you need?

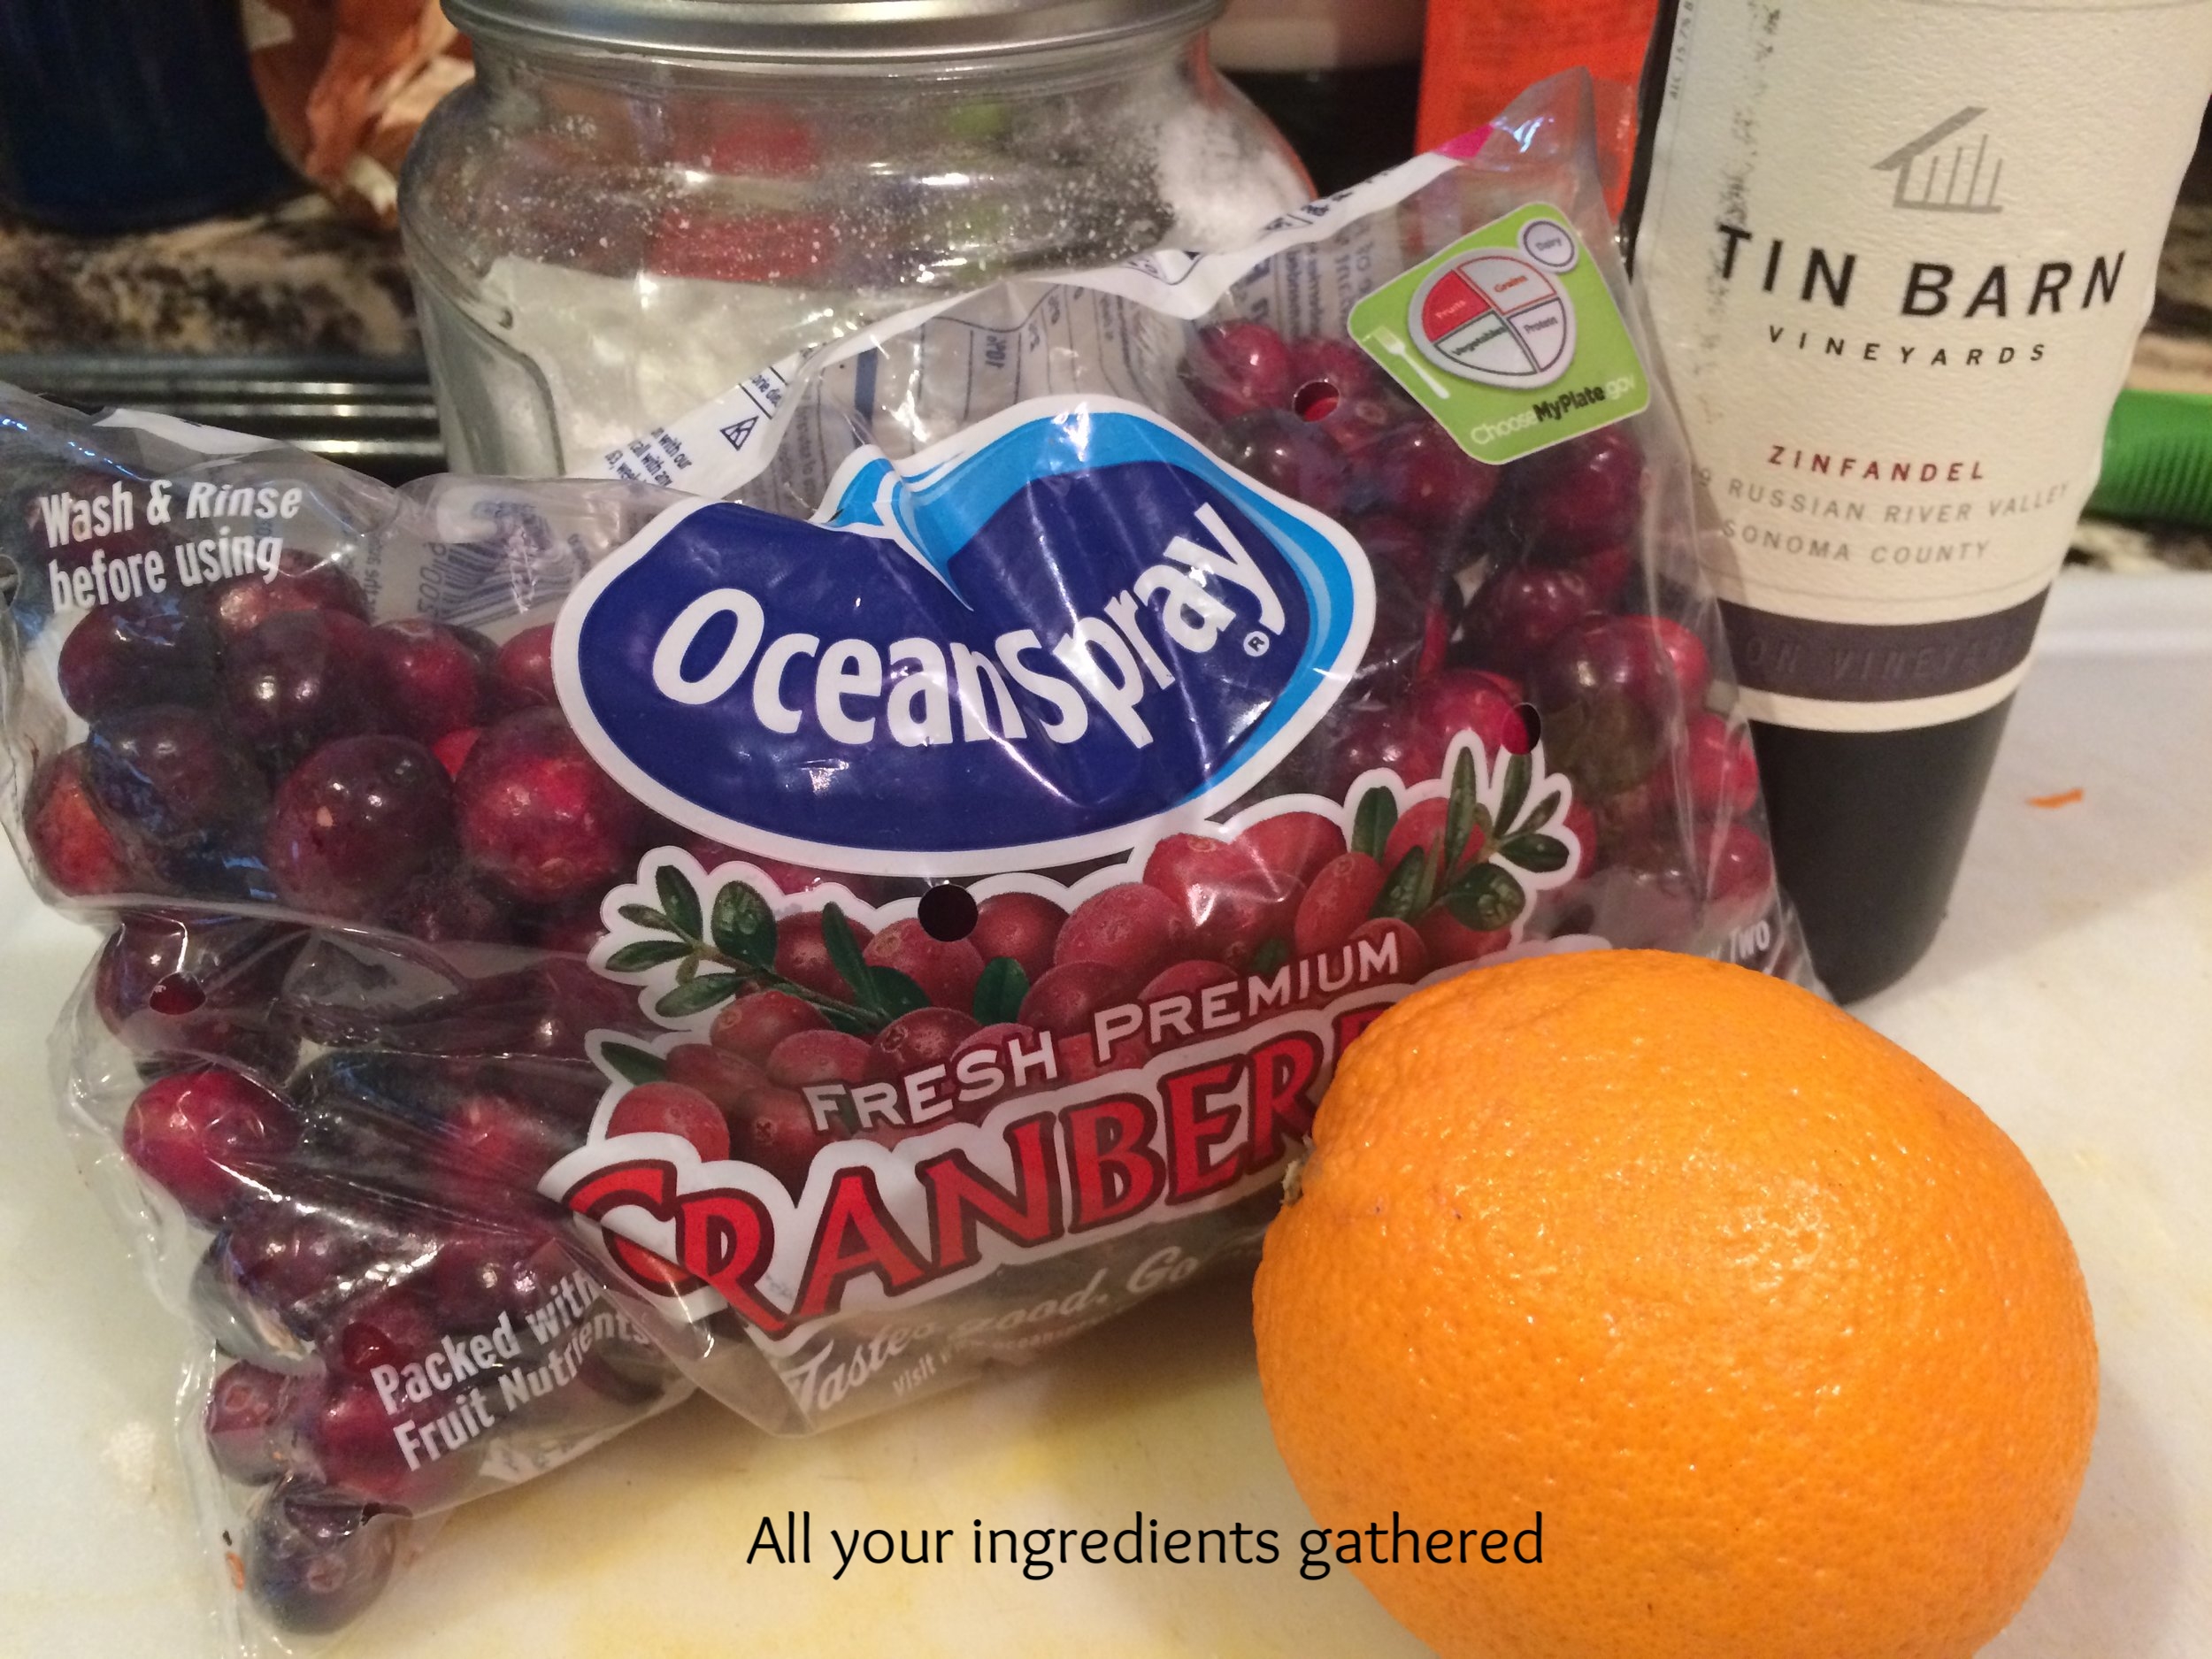
  • 1 bag of fresh cranberries
  • 1 cup of sugar
  • 1 cup of zinfandel wine
  • the zest of half an orange (more if you insist)

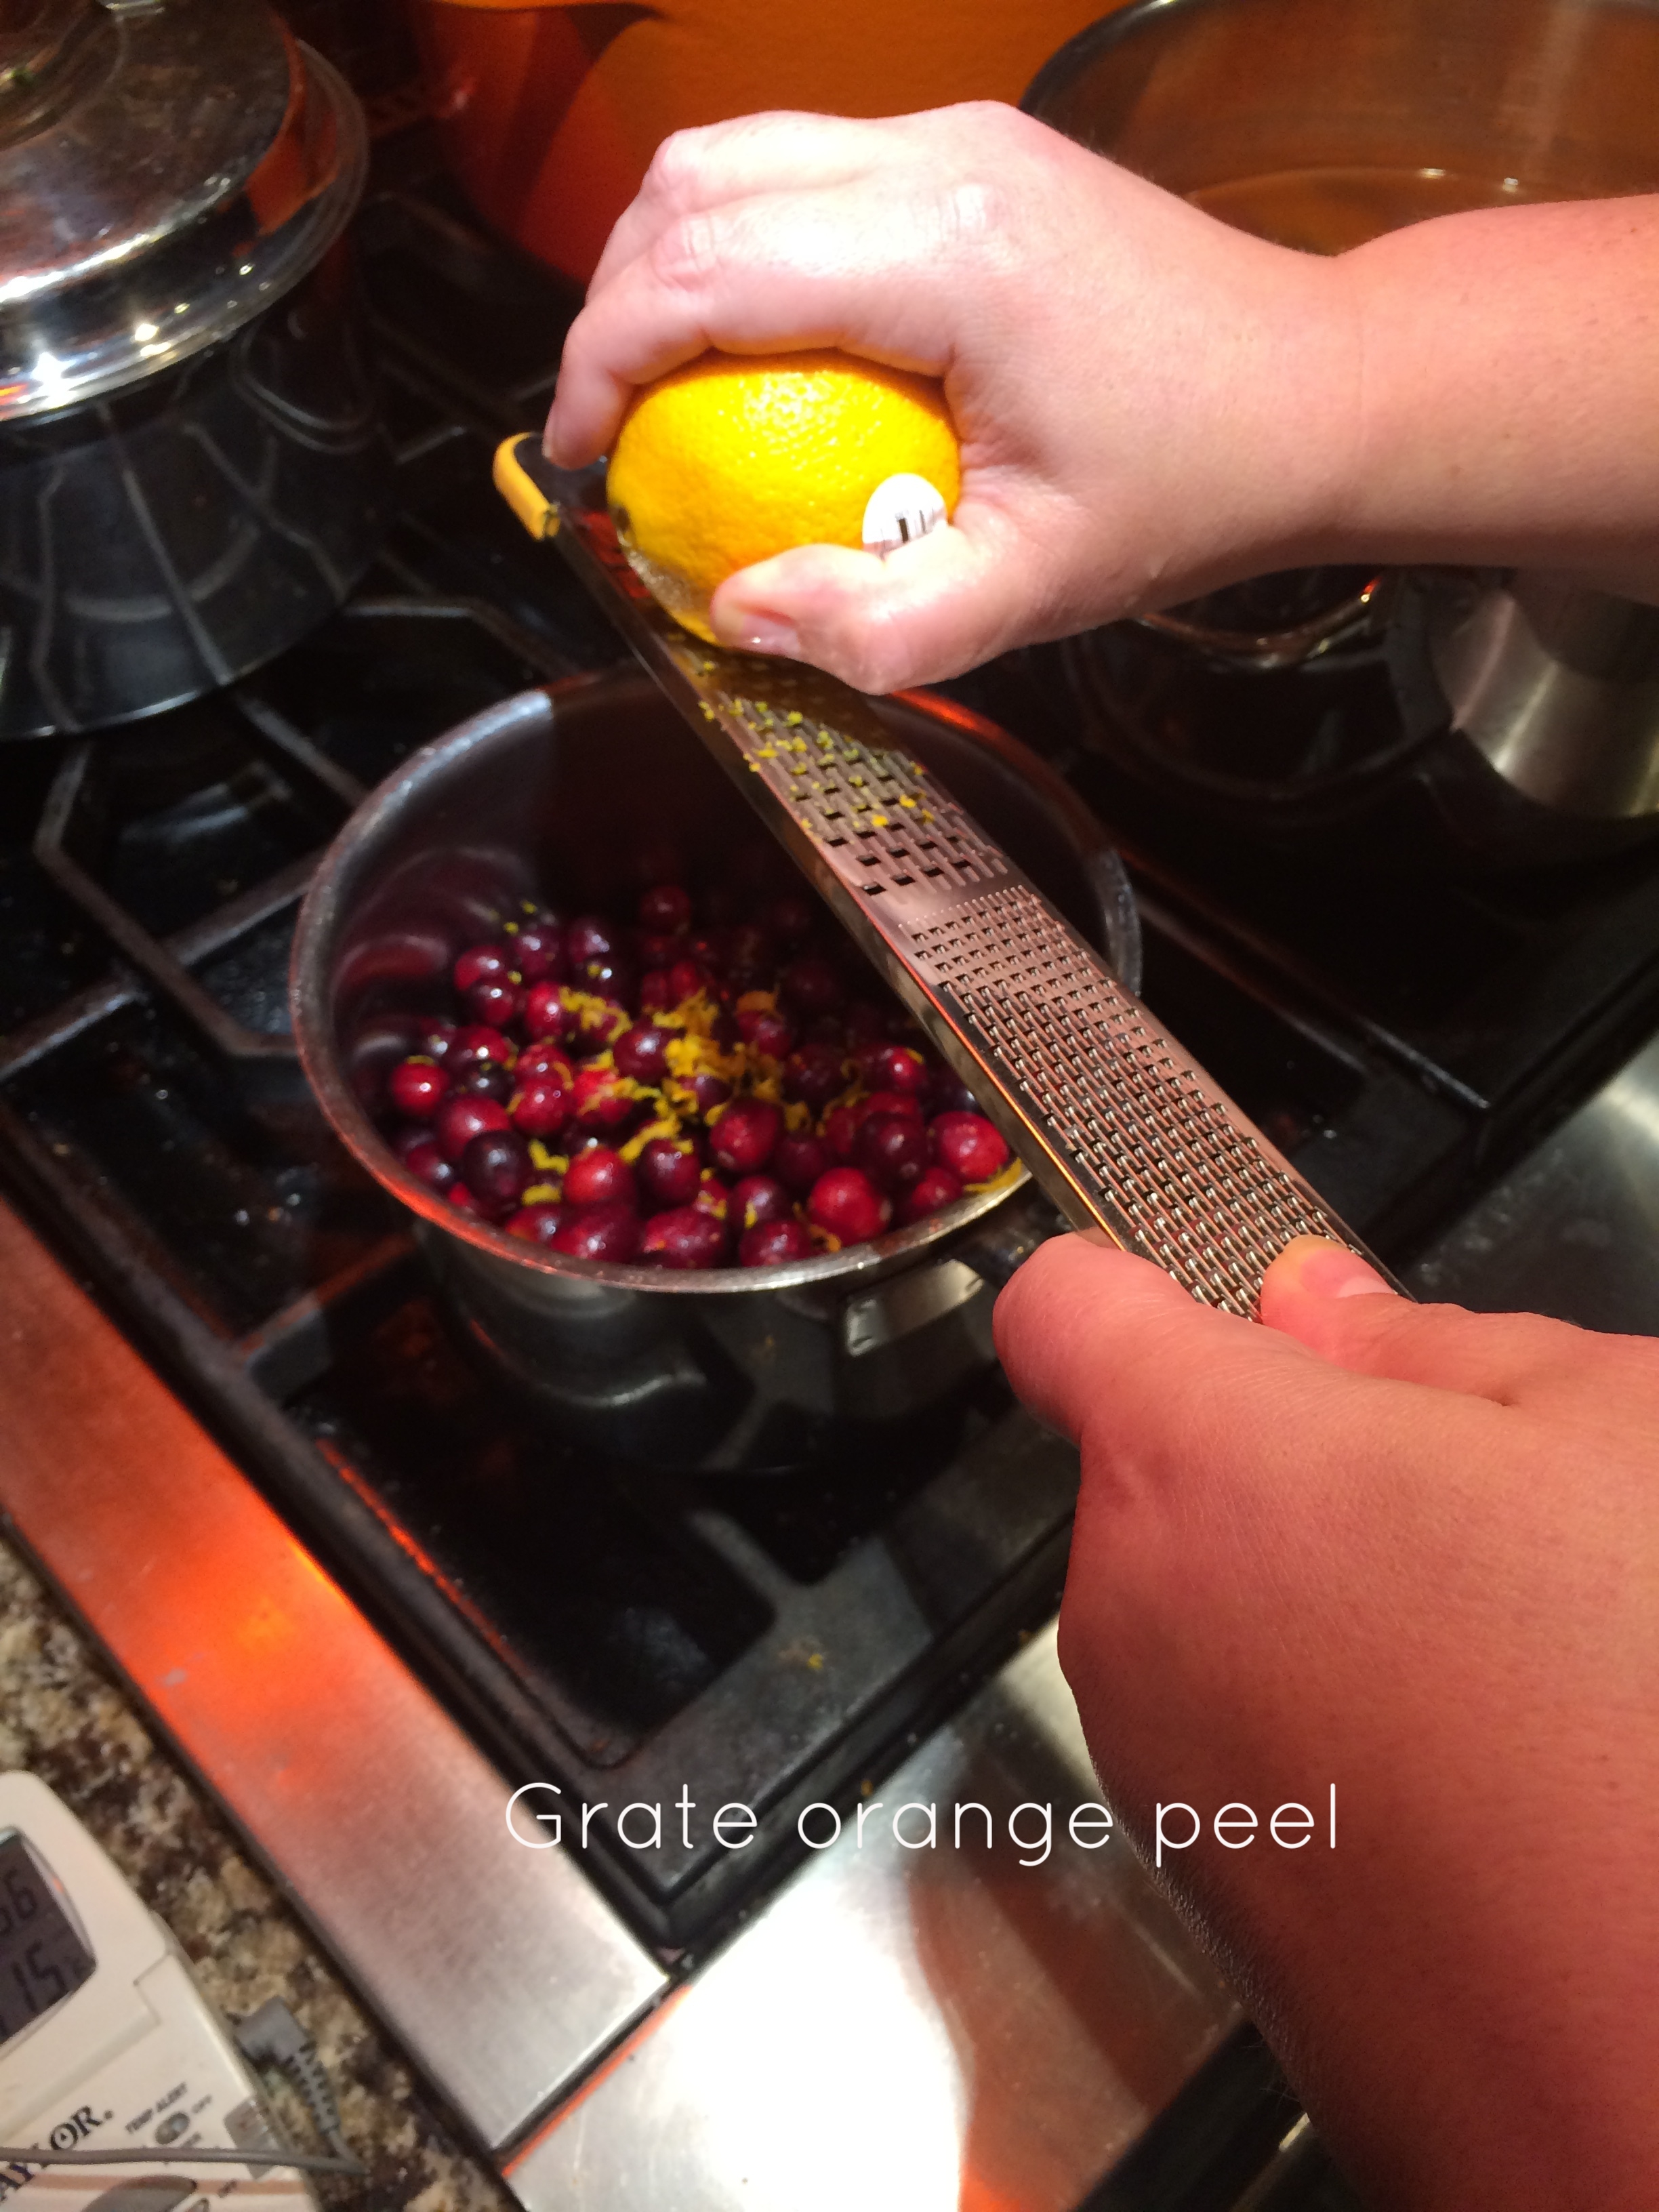
Pick over a bag of fresh cranberries tossing out the creepy ones.  You know.. the ones that are shriveled or pale and bloated.  You don’t want those.  Add one cup of sugar, the zest of half and orange (I like fresh zest but also making it coarse verses fine.  Add one cup of Zinfandel wine.  Why Zinfandel?  That is a wine that has a rich jammy with flavors of dark fruits.  This makes it the perfect accompanimentto fresh tart cranberries.  This being said?  Don’t skip on the sugar.  You will need that sweetness against the astringent tartness of the berries.  Plus, when you are making a sweet sauce you need sugar to thicken this baby up.

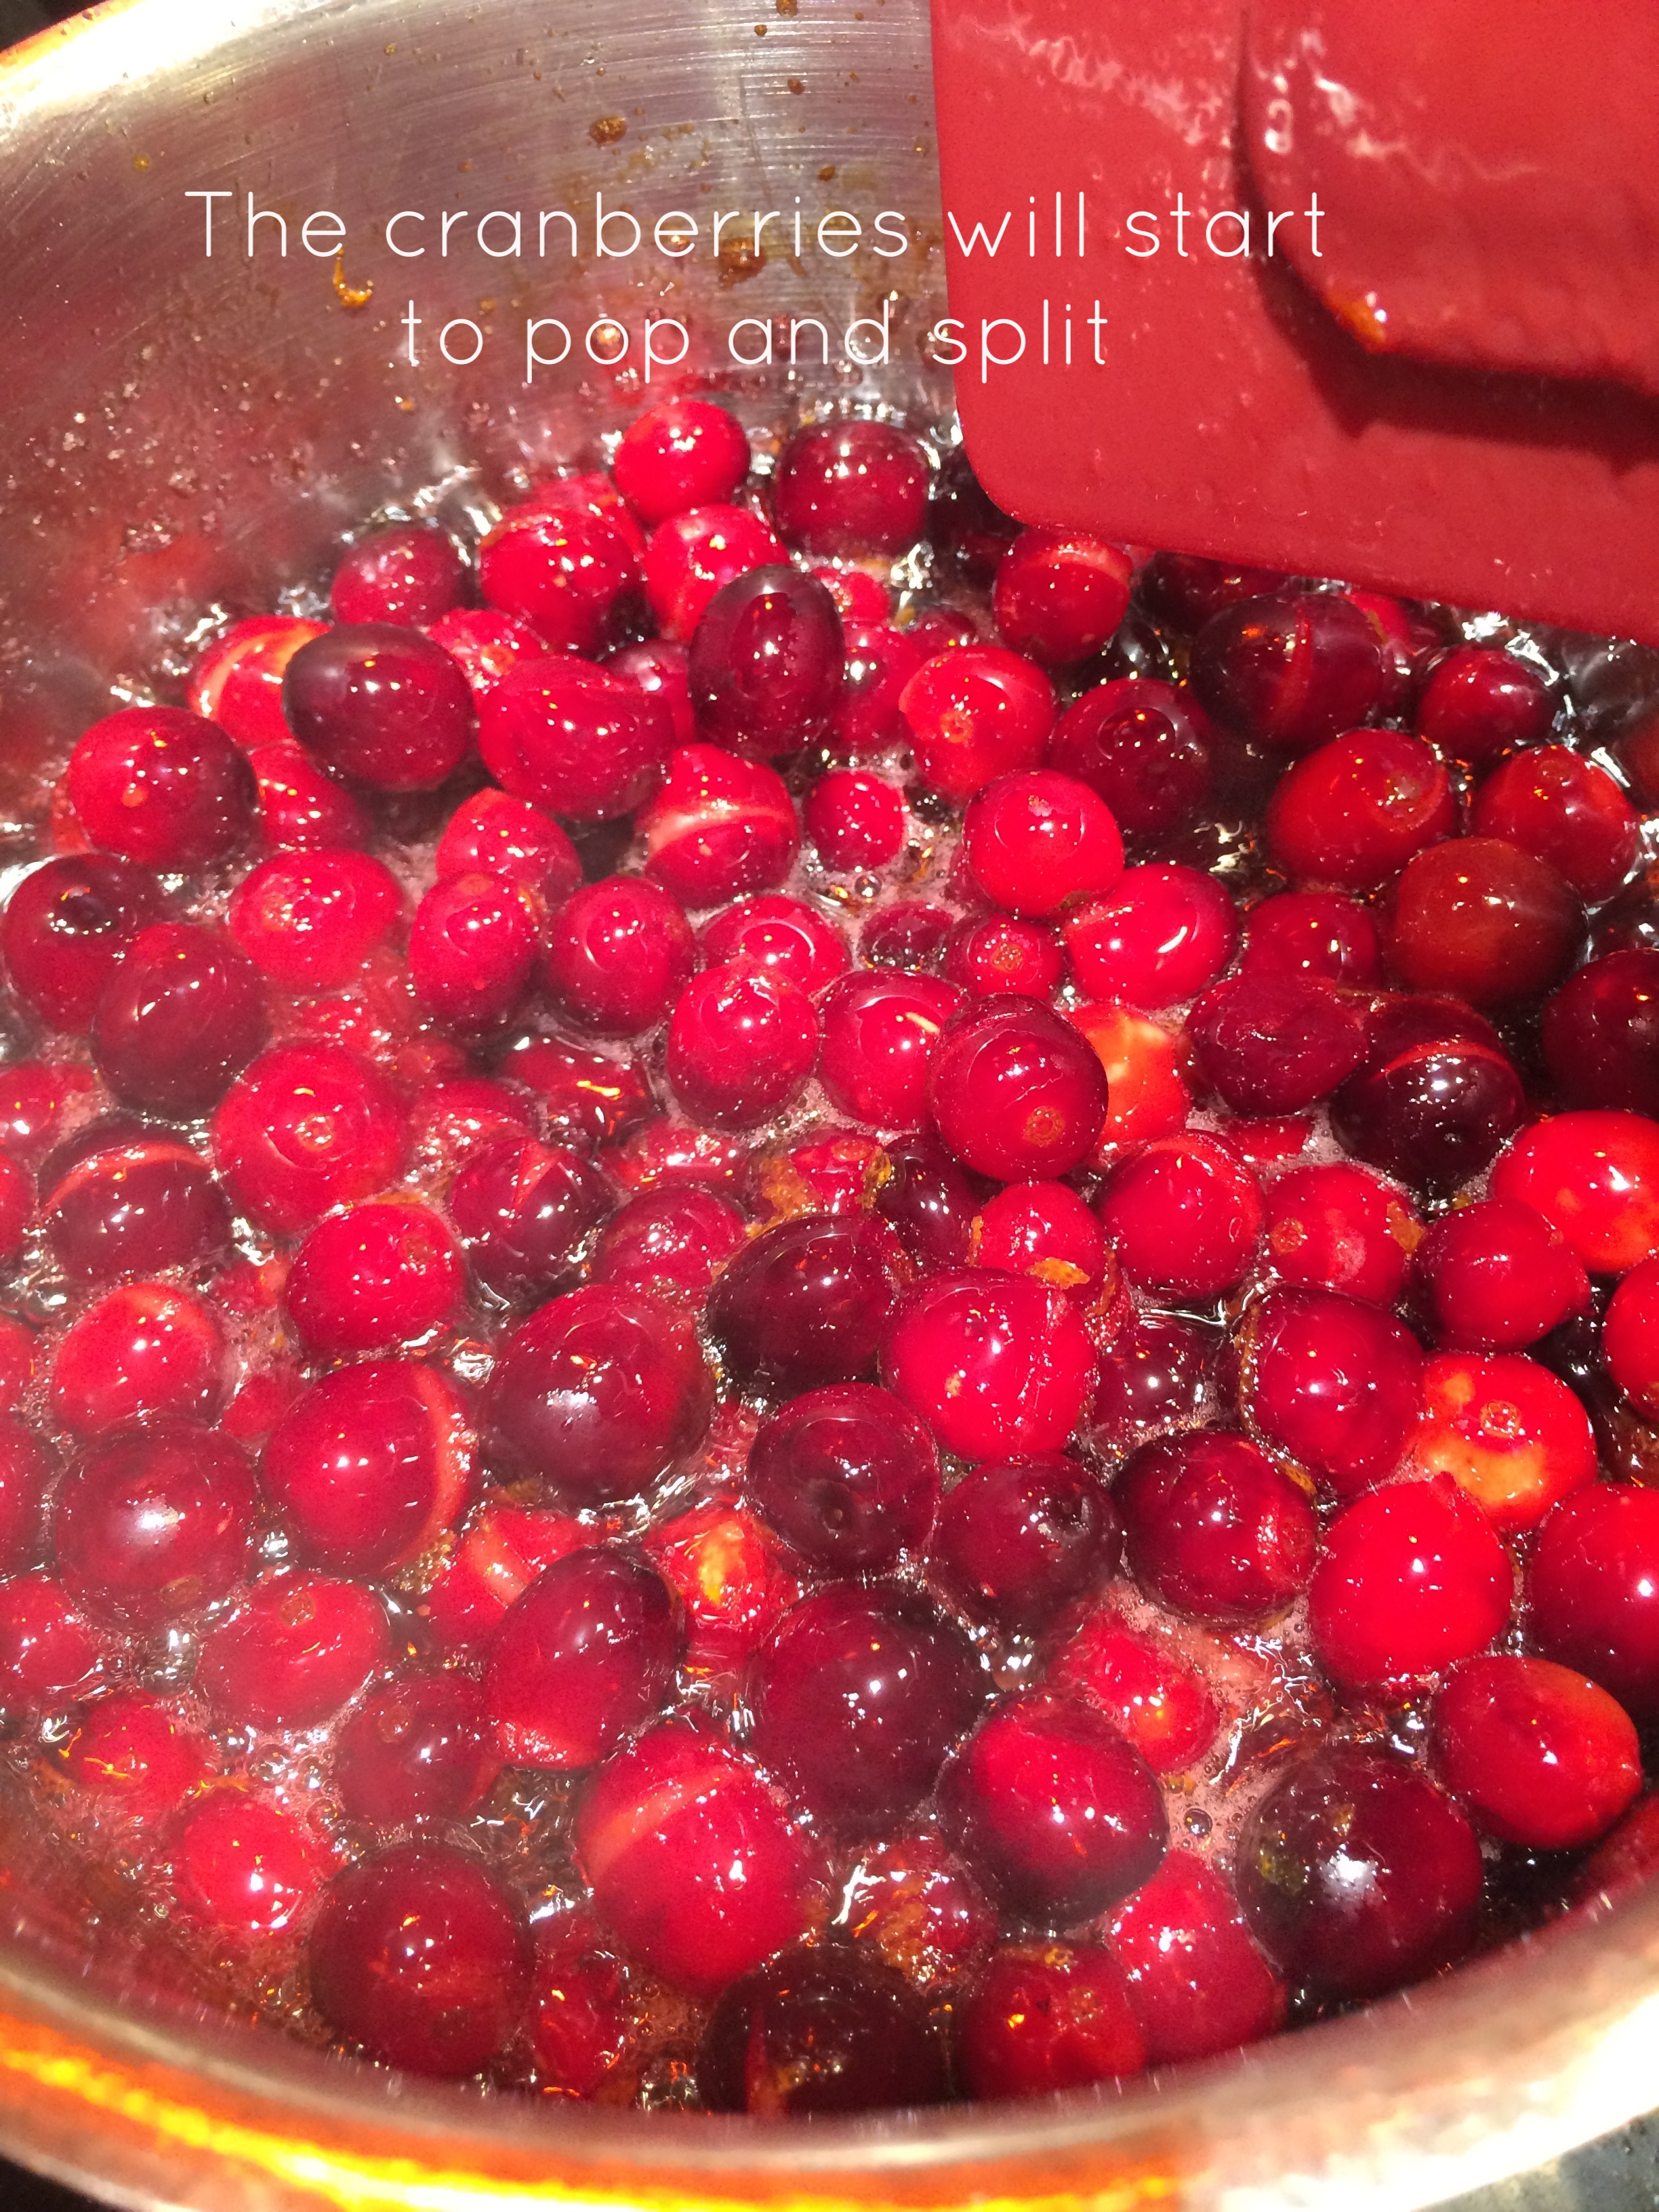
Ok. Ingredients.  We got those.  How do you cook this?  Put everythinginto a pot and bring it into a bowl and stir periodically.  Bring it to a low boil and cook it there for five minutes.  Turn off and let cool until it is cool enough to poor into a lidded container.  Store in the fridge until ready to use on Thanksgiving or using in sandwiches and cocktails until finished.  With that much sugar in it, it will last until at least Christmas.  Maybe longer.  

Wine pairing?  Zinfandel obviously or add some sparkling wine and a bit of cranberry sauce in a glass for a fizzy cranberry cocktail!

You’re welcome.

A Tale of Two Pumpkins - A Qorkzgiving Tale

A Cheese and a Sugar pumpkin by Gretchen Neuman for Qorkz.

Happy Qorkzgiving!  Well, ok.  It is a few weeks off, but the fact is that just like Rome wasn’t built in a day, a feast isn’t just whipped together.  Not even Martha Stewart can pull off that trick.  We at Qorkz have cooked a feast or two, so we thought that over the next couple of weeks to share our tricks of the trade and maybe a recipe or two.  And wine?  There will be wine.

Pie and Thanksgiving go together like peanut butter and jelly or wine and cheese (a perfect appetizer along with crudité, btw).  And what kind of pie do we most imagine?  Pumpkin.  And why?  Nothing is more American than pumpkin pie.  No, no,  you say, that isn’t right!  Nothing is more American than apple pie. Nope.  Why?  Apples.  

The apples native to North America are crab apples which are hard and sour.  Any juicy delicious apple for a pie came from Asia via European settlers.  And Johnny Appleseed?  That dude randomly planted apple seeds ahead of settlements to provide settlers with fruit certainly.  But settlers never knew what kind of apple they were going to get.  It wasn’t like going to the local nursery and buying a tree by its variety.  Why?  Because every apple seed contains the entire genetic code of the species.  Plant a seed from a Granny Smith could give you a Red Delicious… or more likely a crabapple. So scrap that.

Which leaves us the super delicious delightful and crazy healthy pumpkin pie.  Making pie with an actual pumpkin instead of a can is super easy and makes you look like Martha F'ing Stewart. So do it!  But first some gourdian facts.   Pumpkins, like all squashes come from North America.  All of them.  So before 1492, Cinderella didn’t get to the ball in carriage made out of a pumpkin.  And the Jack-o’-Lantern was usually made from a turnip or rutabaga (or swede as it is often called).

But enough Halloween nerdery, back to pie.  Like apples, some varieties are better for making pie.  Baby pumpkins will not work.  Big carving pumpkins?  They can do the job but only if they are thick and full of seeds.  Thump them.  If they sound kind of hollow?  Skip them.  Then there is the sugar pumpkin.  A squash about the size of Chicago 16” softball… with a stem.  These are good choices because they are dense with more wall than gut.  They have less pronounced ribs making them easier to handle.  Heirloom pumpkins are another way to go.  With names like “Cinderella,” “Cheese, “Jarrahdale” or Marina di Chiogga, these pumpkins look a little odd, but were bred for their flavor.  They were not generally sold as whole fruits, but rather in slices in the places that they came from.

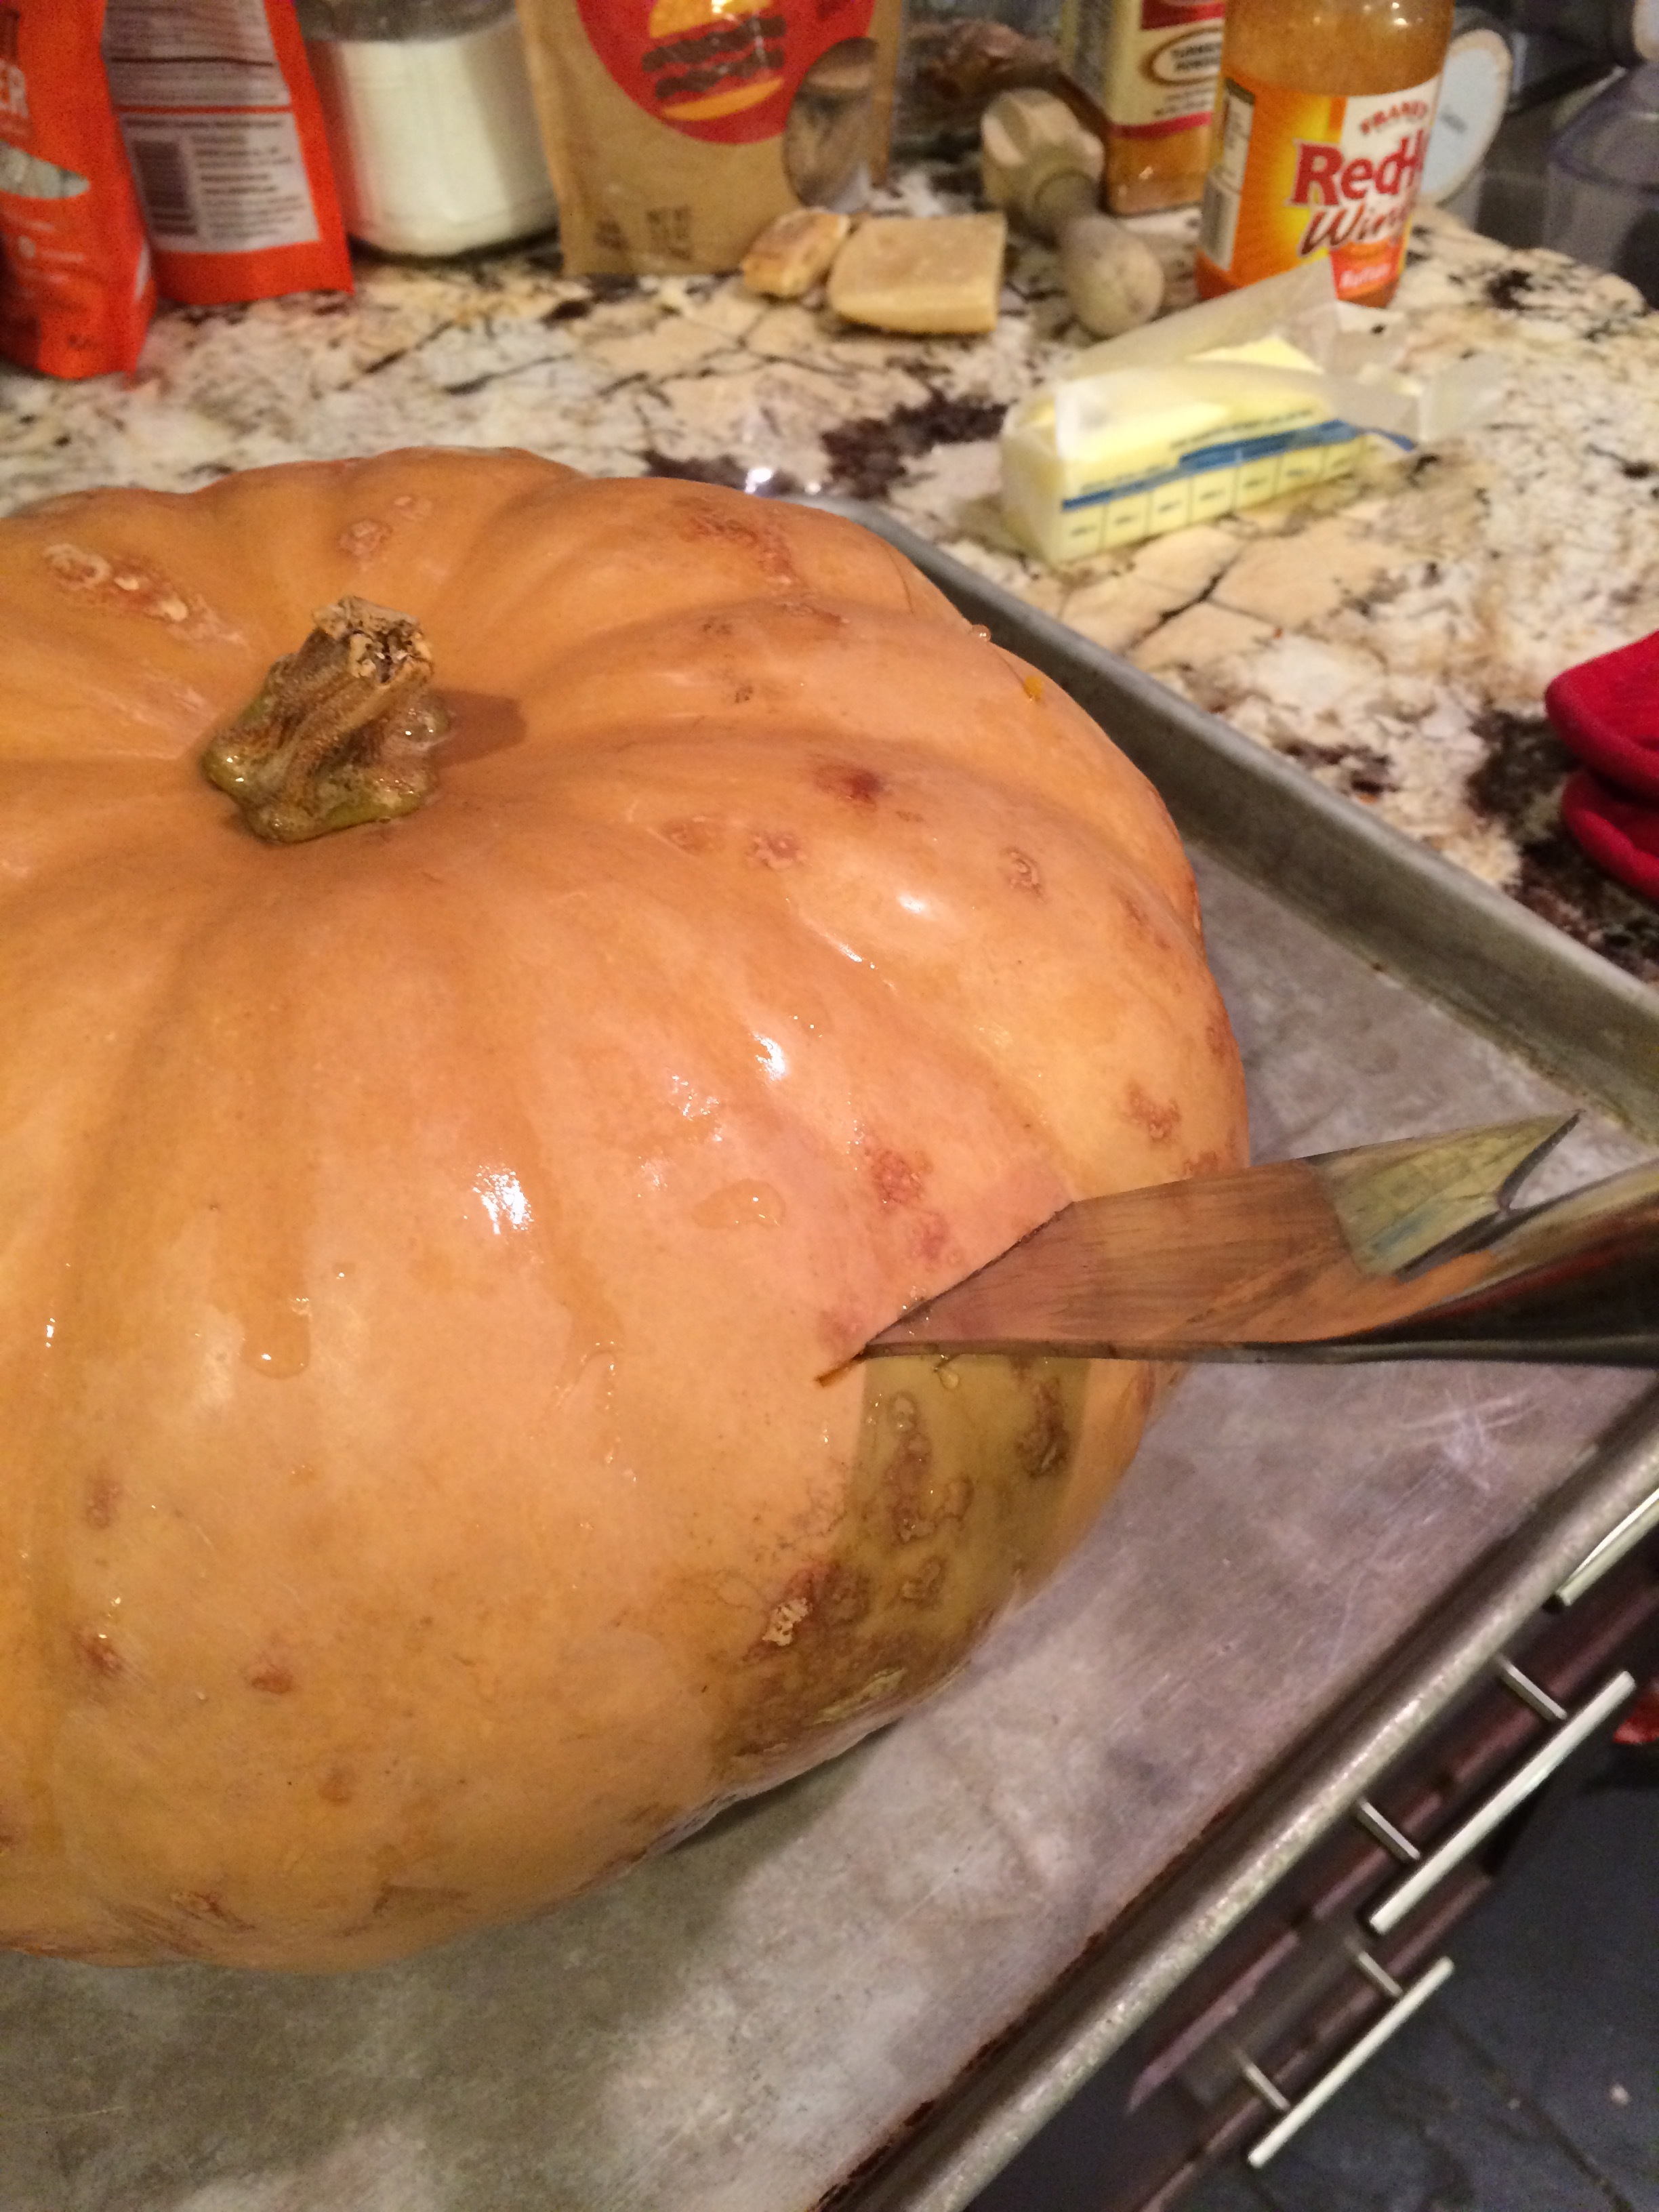
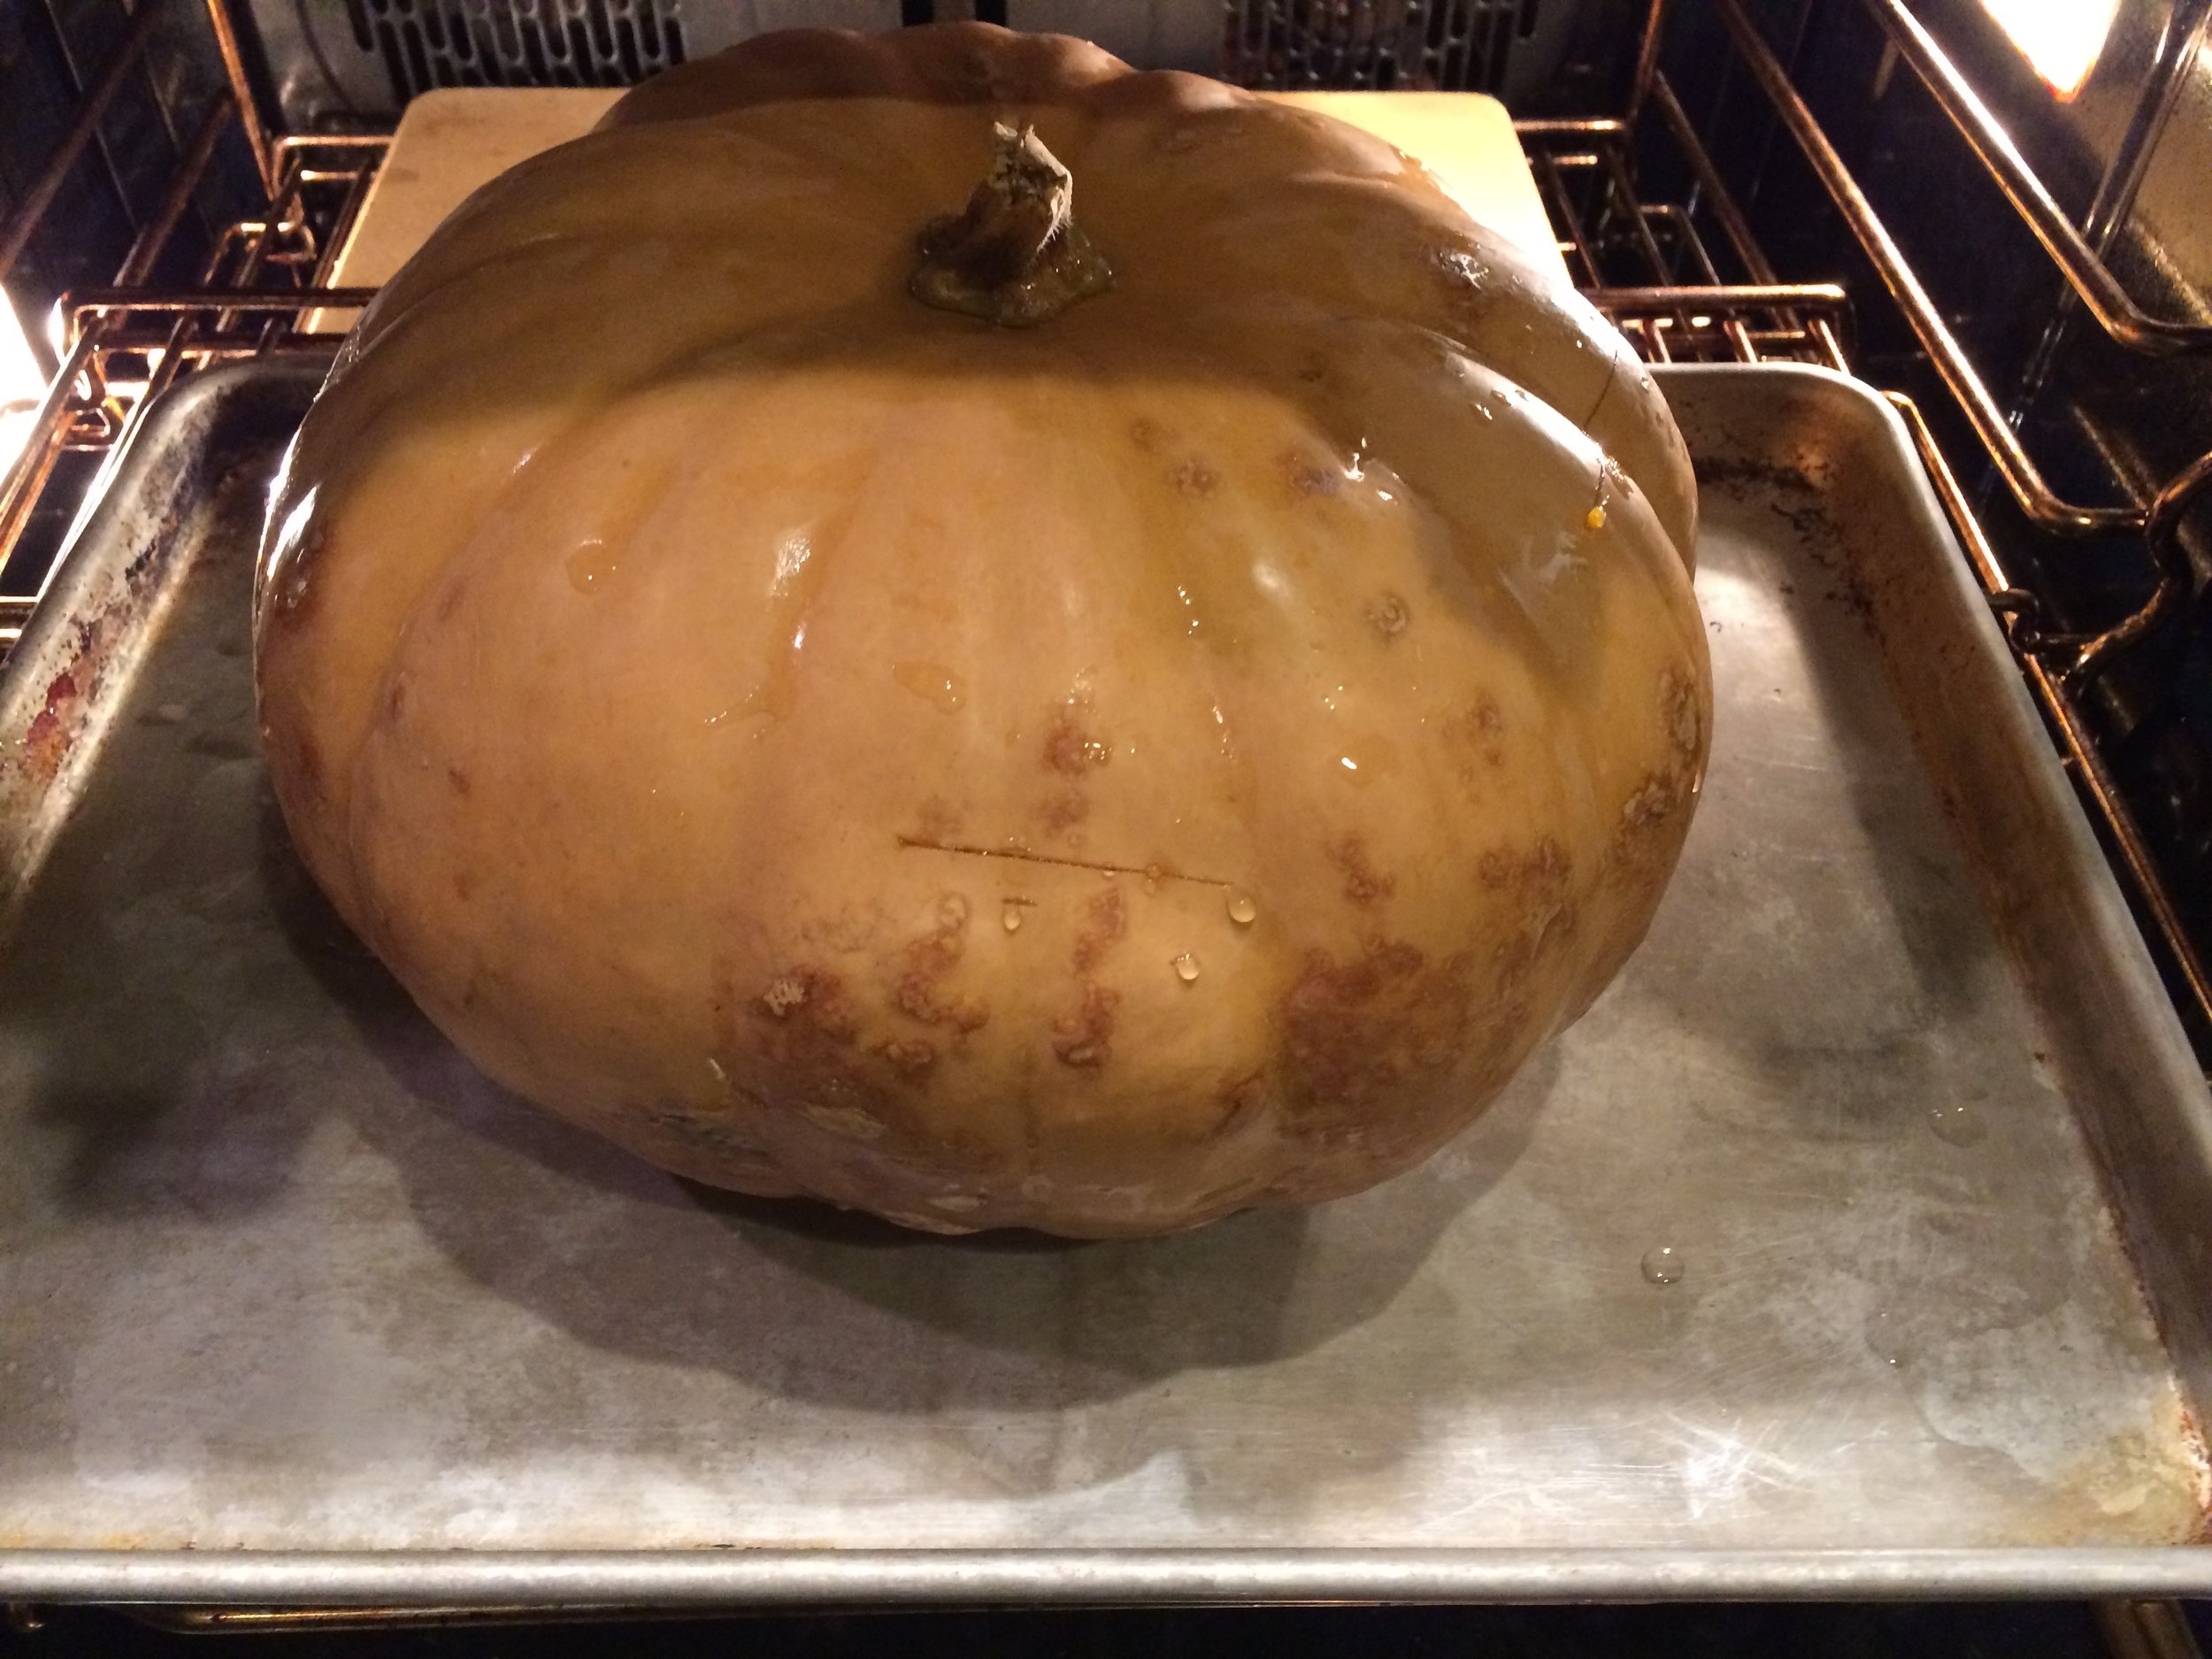
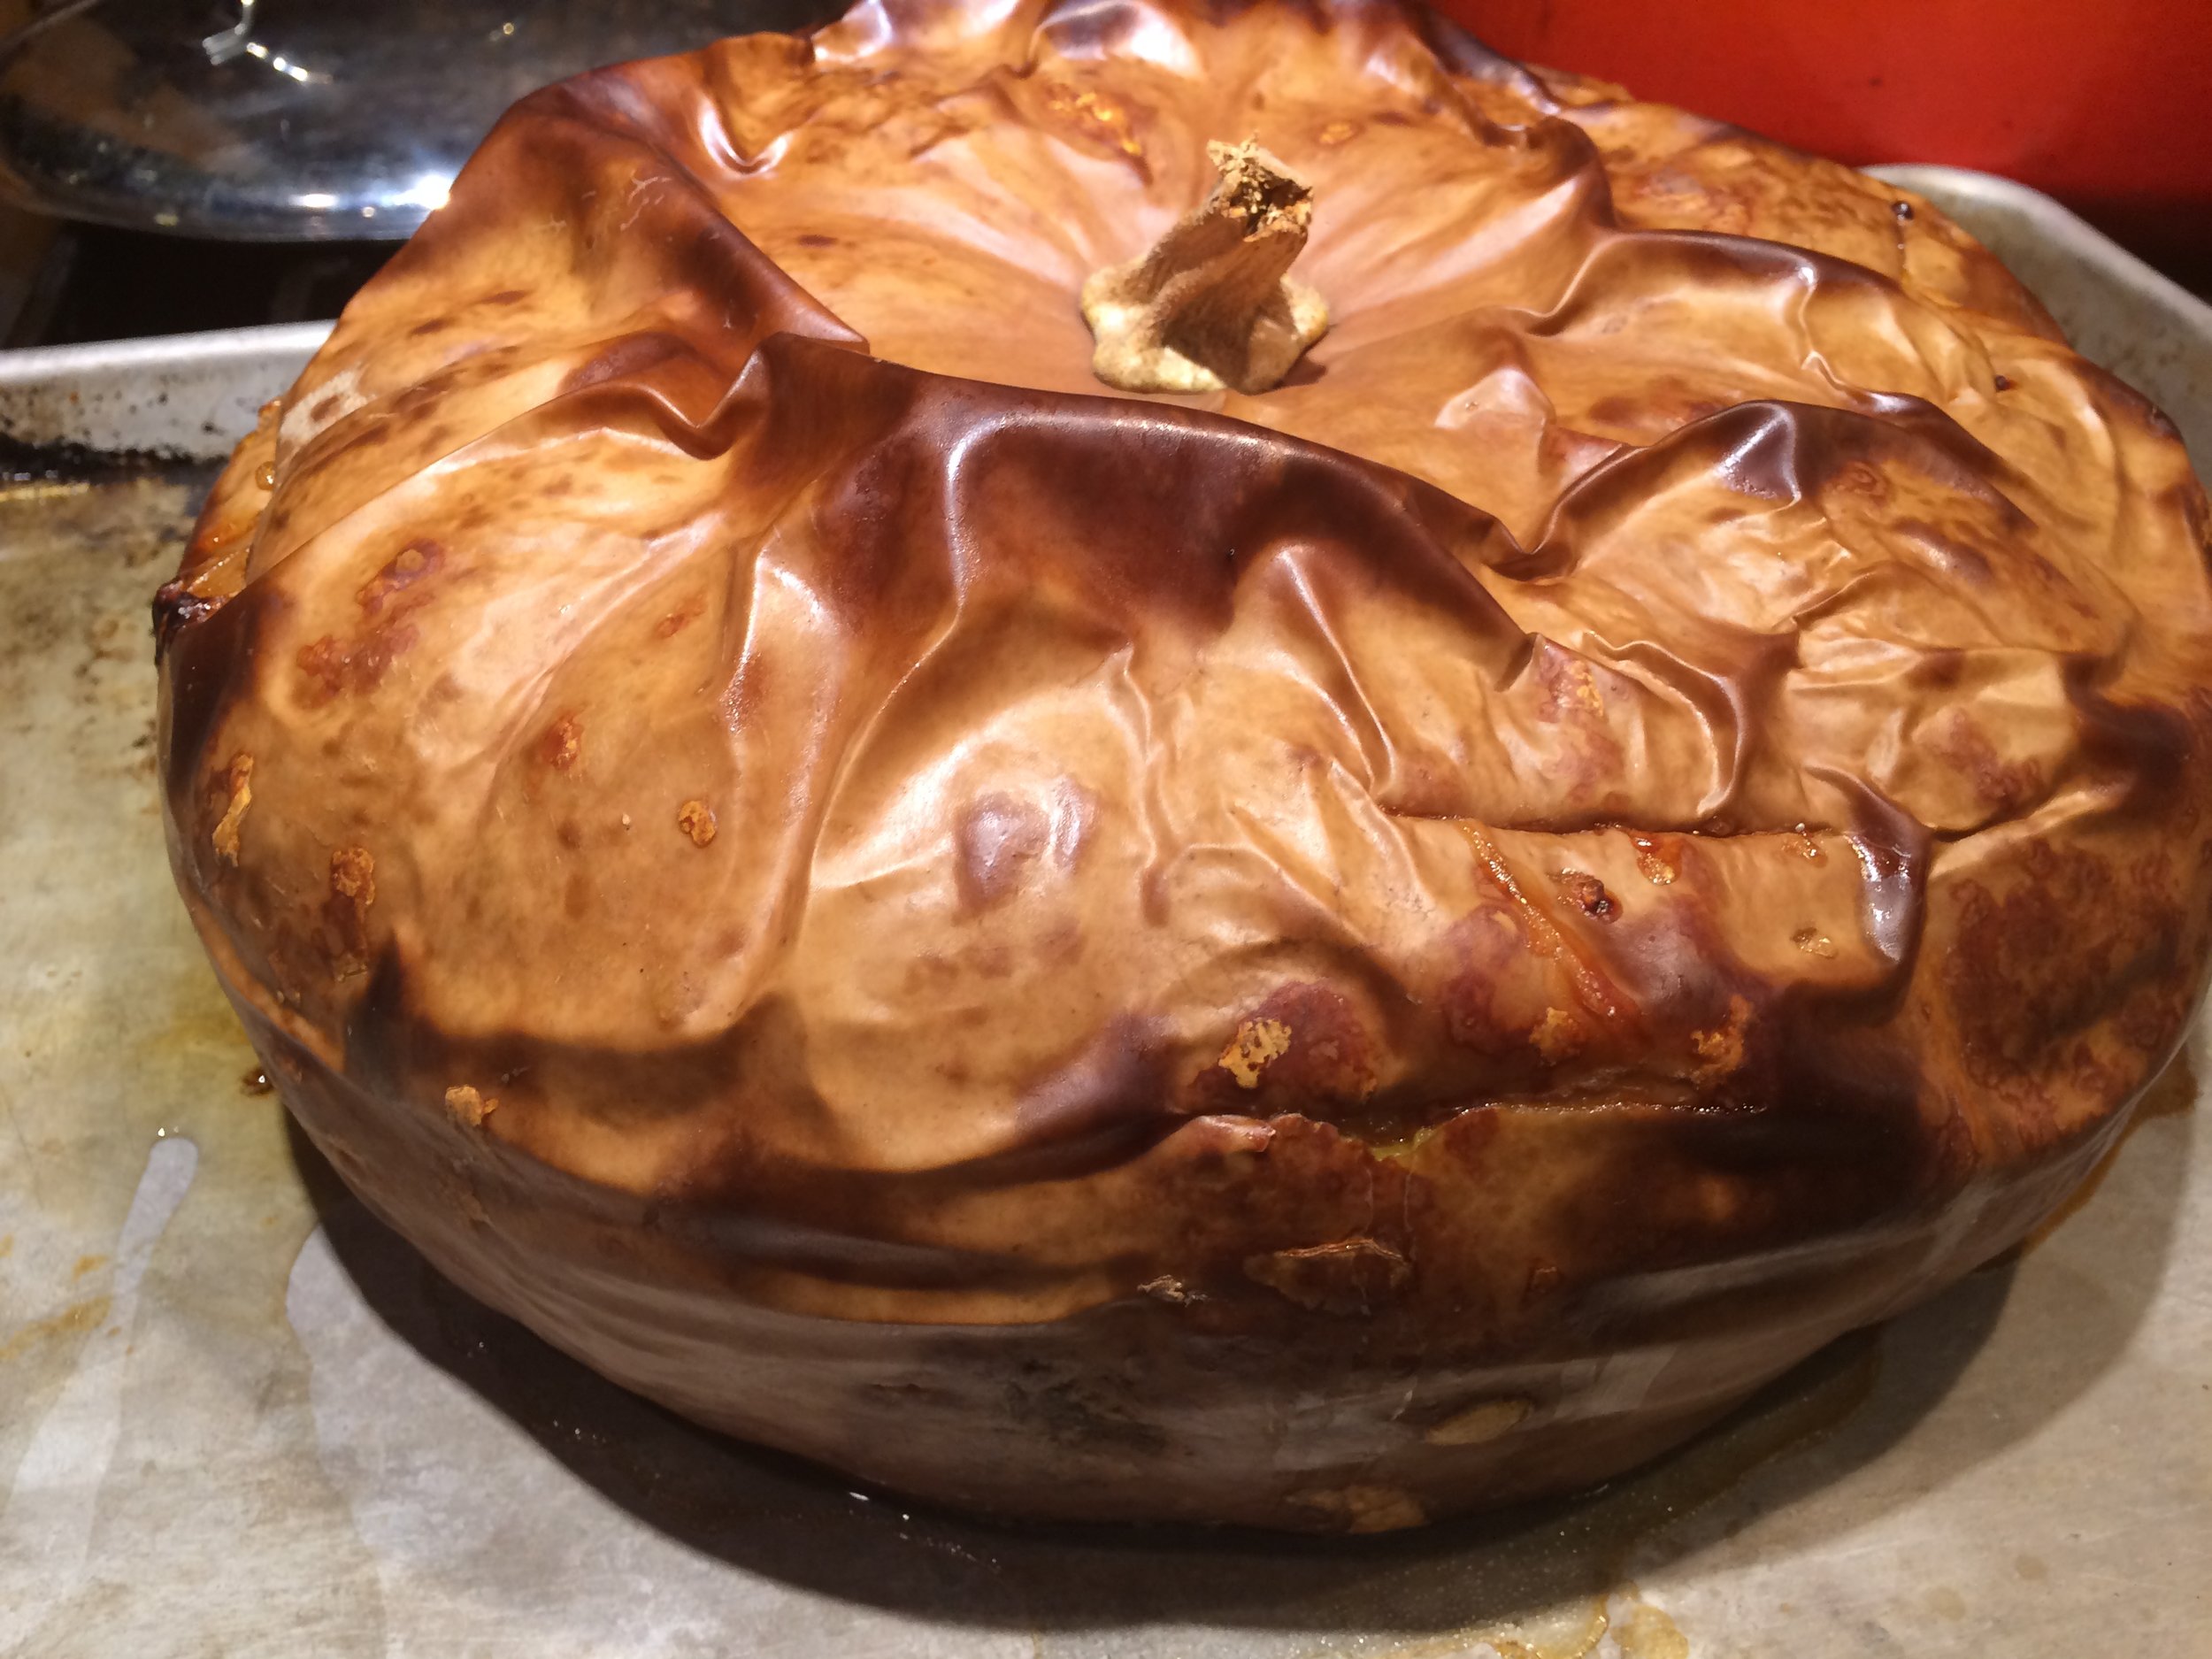
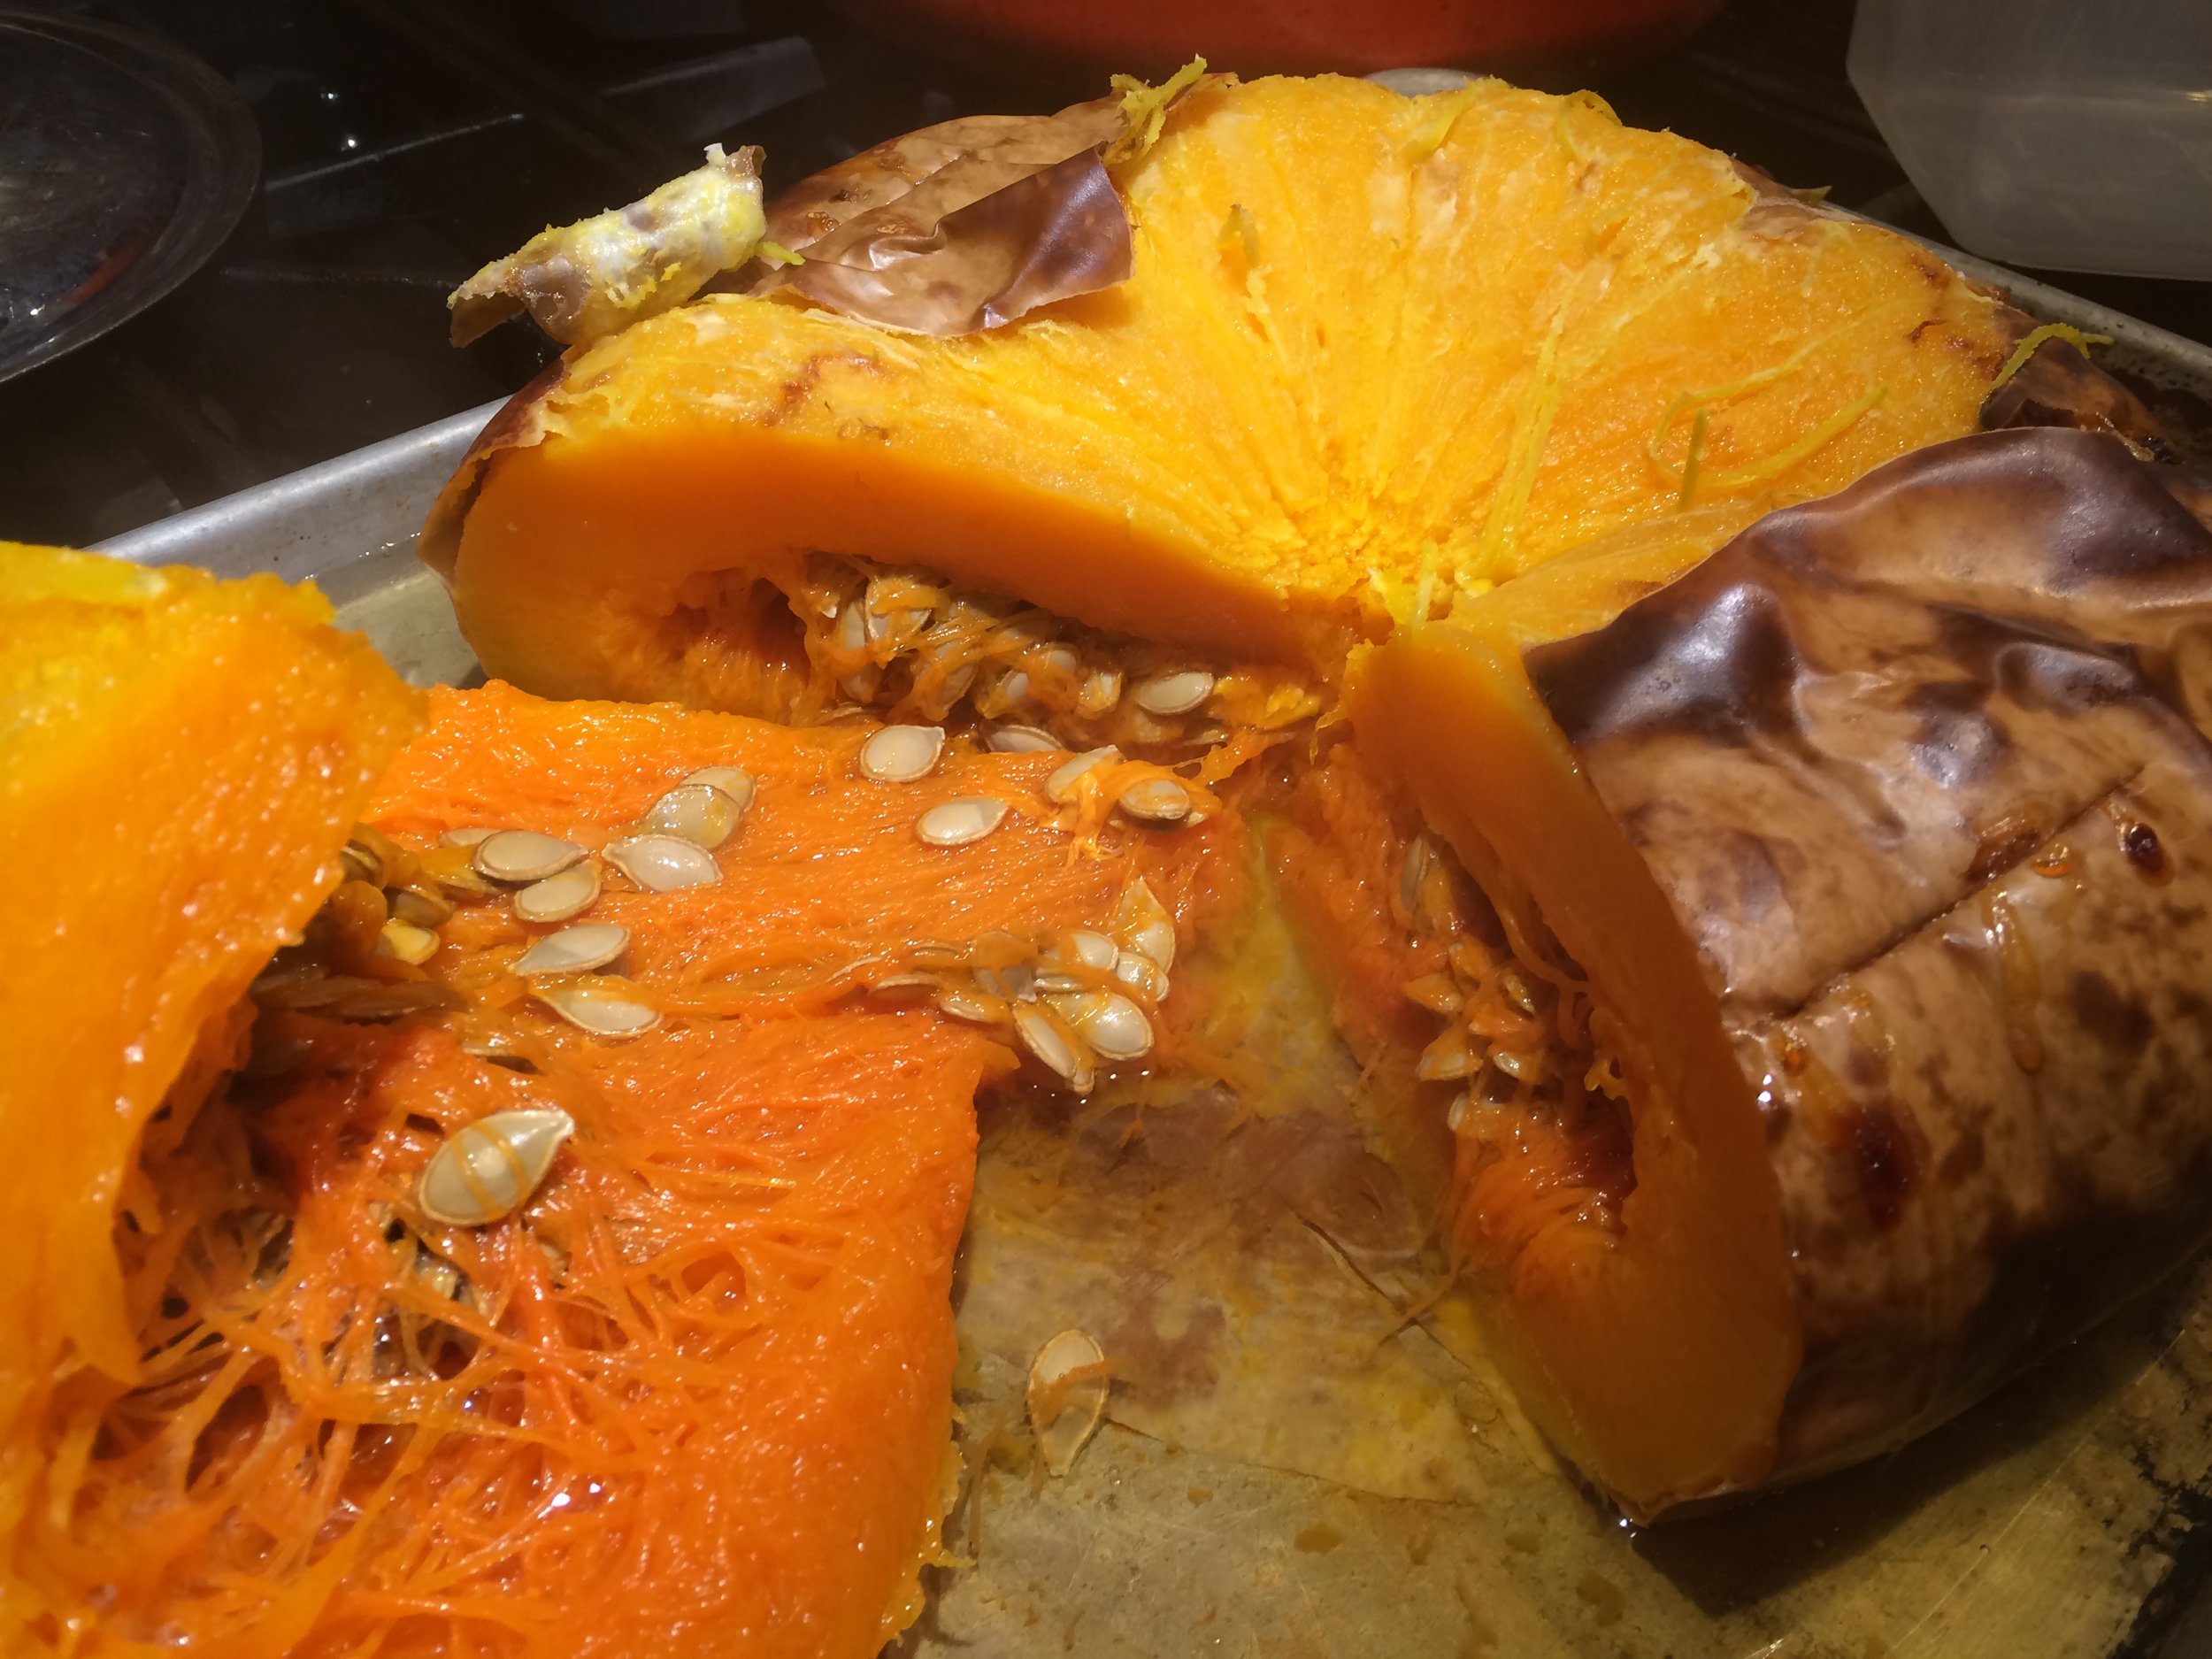
I am going to show you’ll two pumpkins and two ways to cook them.  The first, is a Cheese Pumpkin.  Named thusly because it looks like a wheel of cheese. It is a big squash.  I had to put this one under my arm when I brought it in.  This is only of those babies that was sold in slices.  The slice would be deseeded then roasted.  I, however, have a whole version.  This means I could cut it up and roast the individual pieces, but these pumpkins are hard to cut up unless of course you have one of those knives that cheese mongers tend to have around.  I don’t.  So, while I am roasting this big boy, I am doing it in the cheating kind of way.

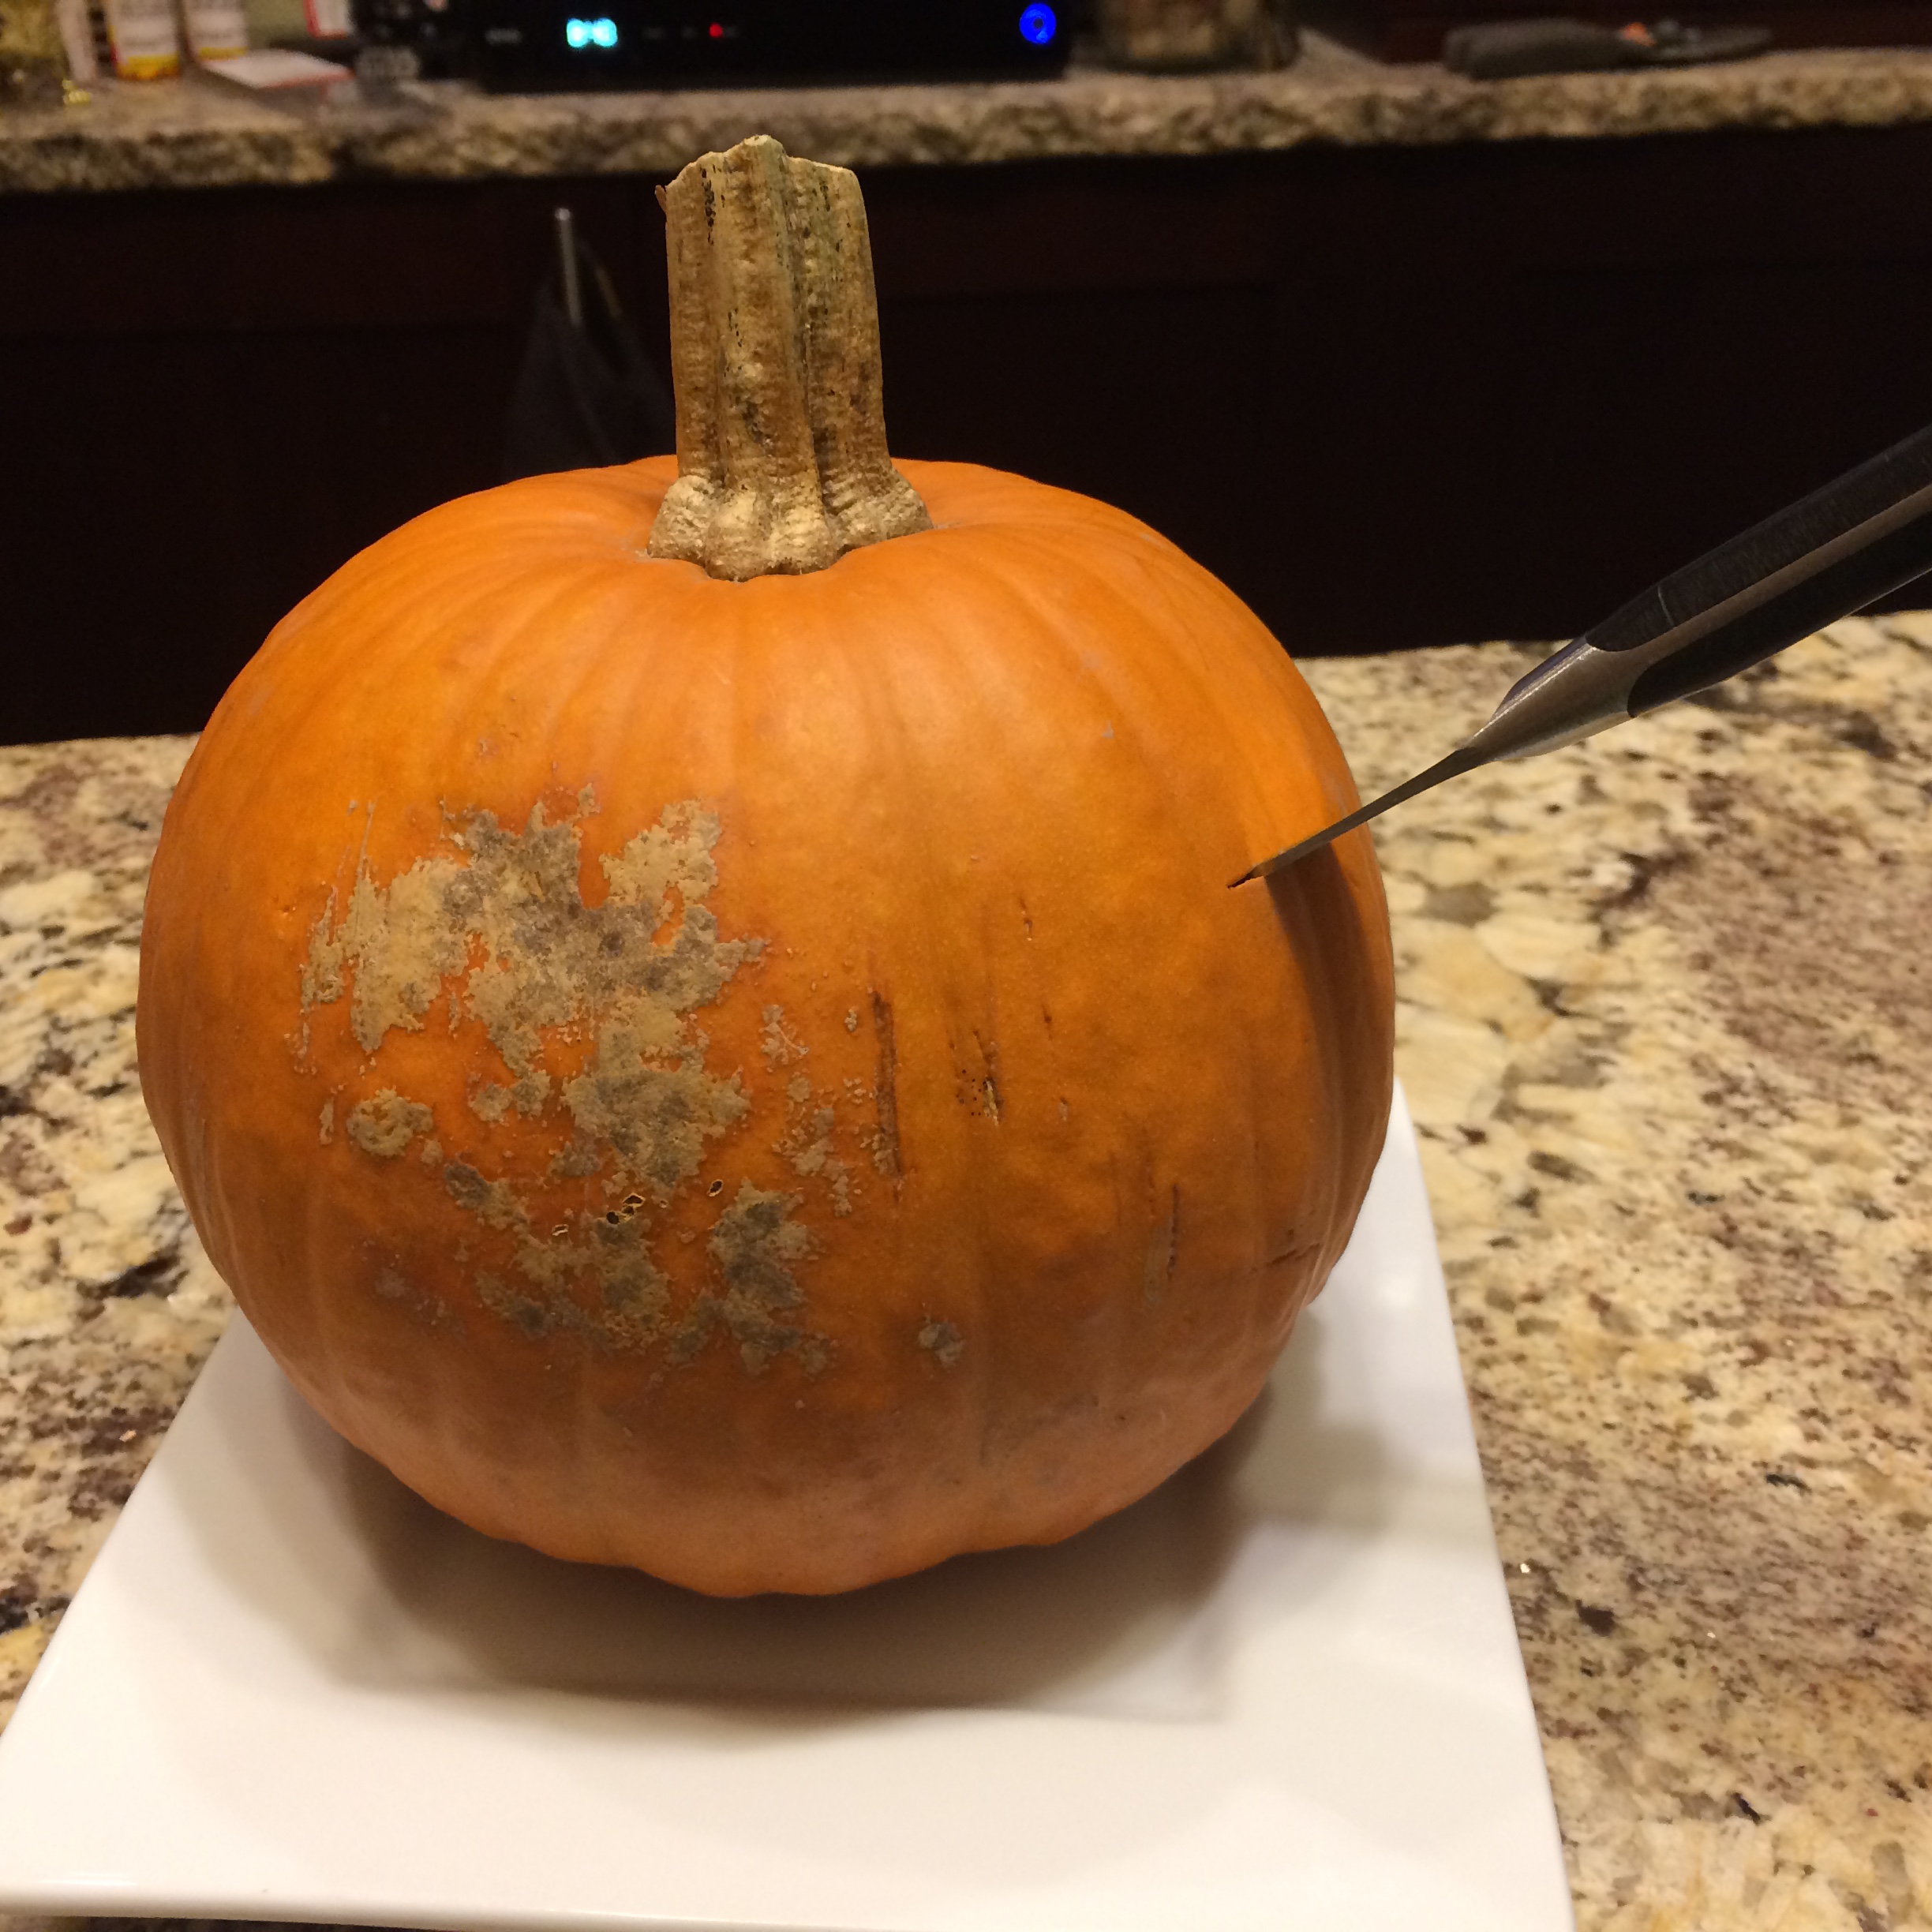
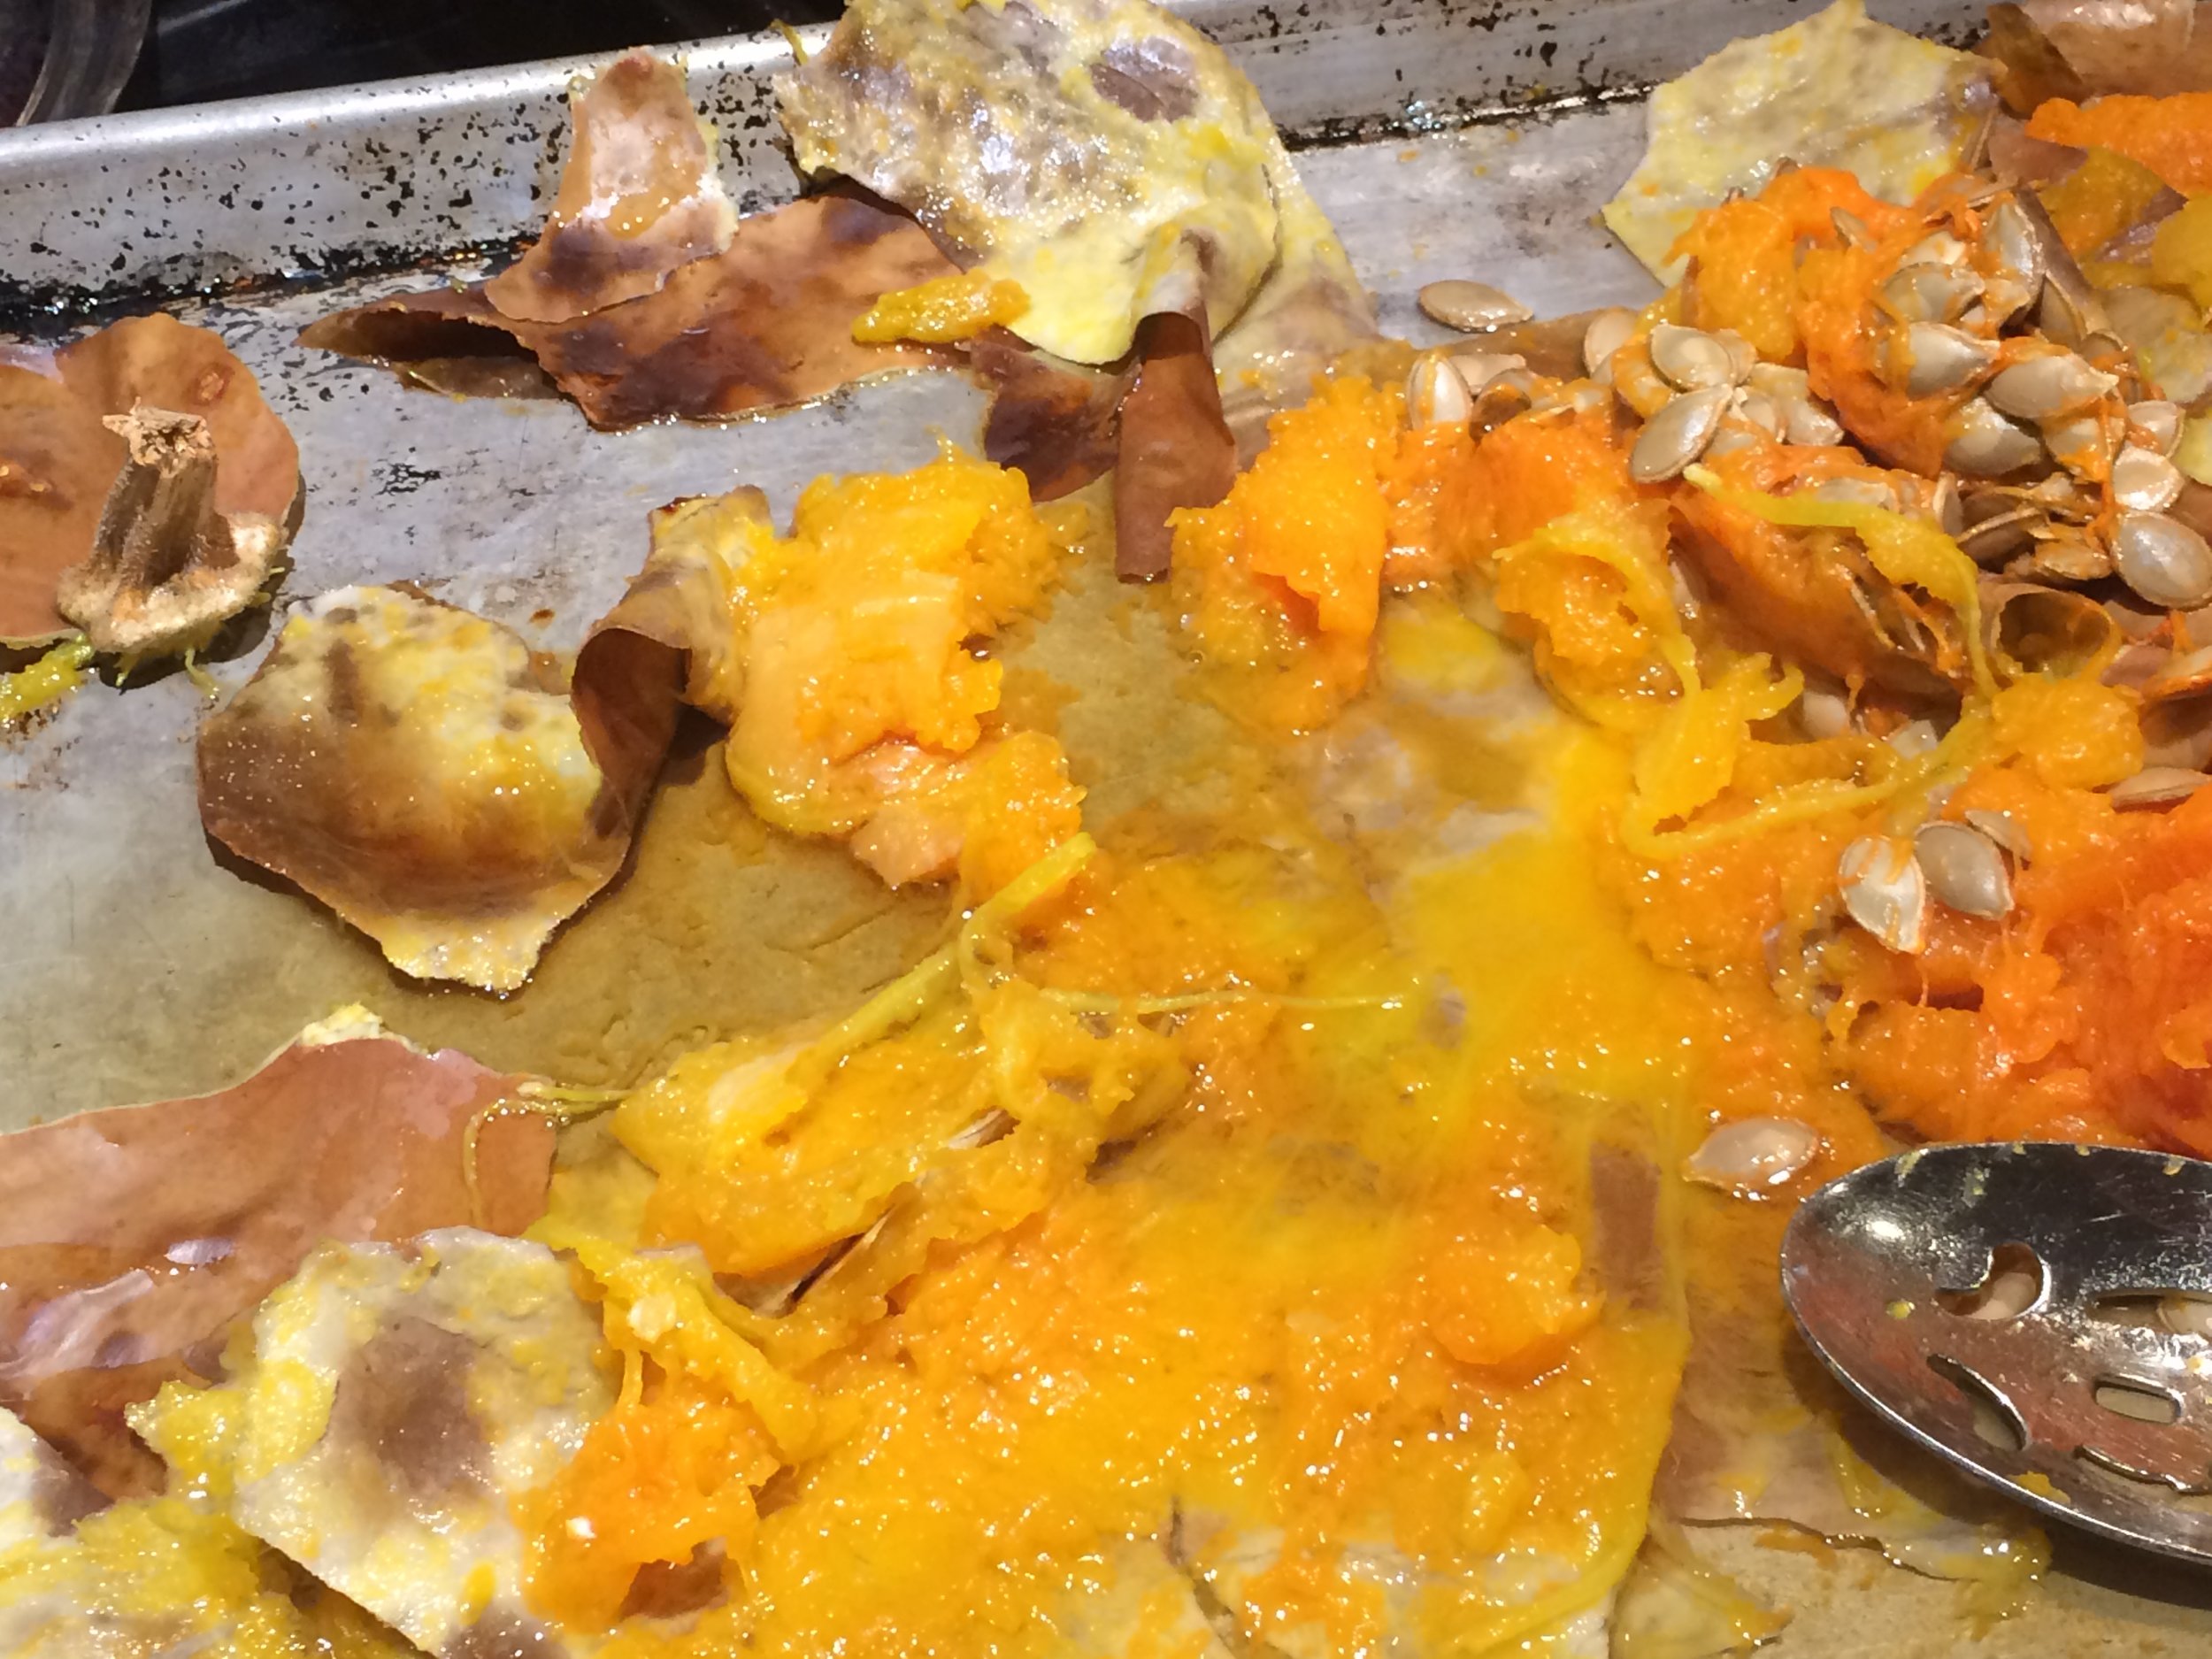
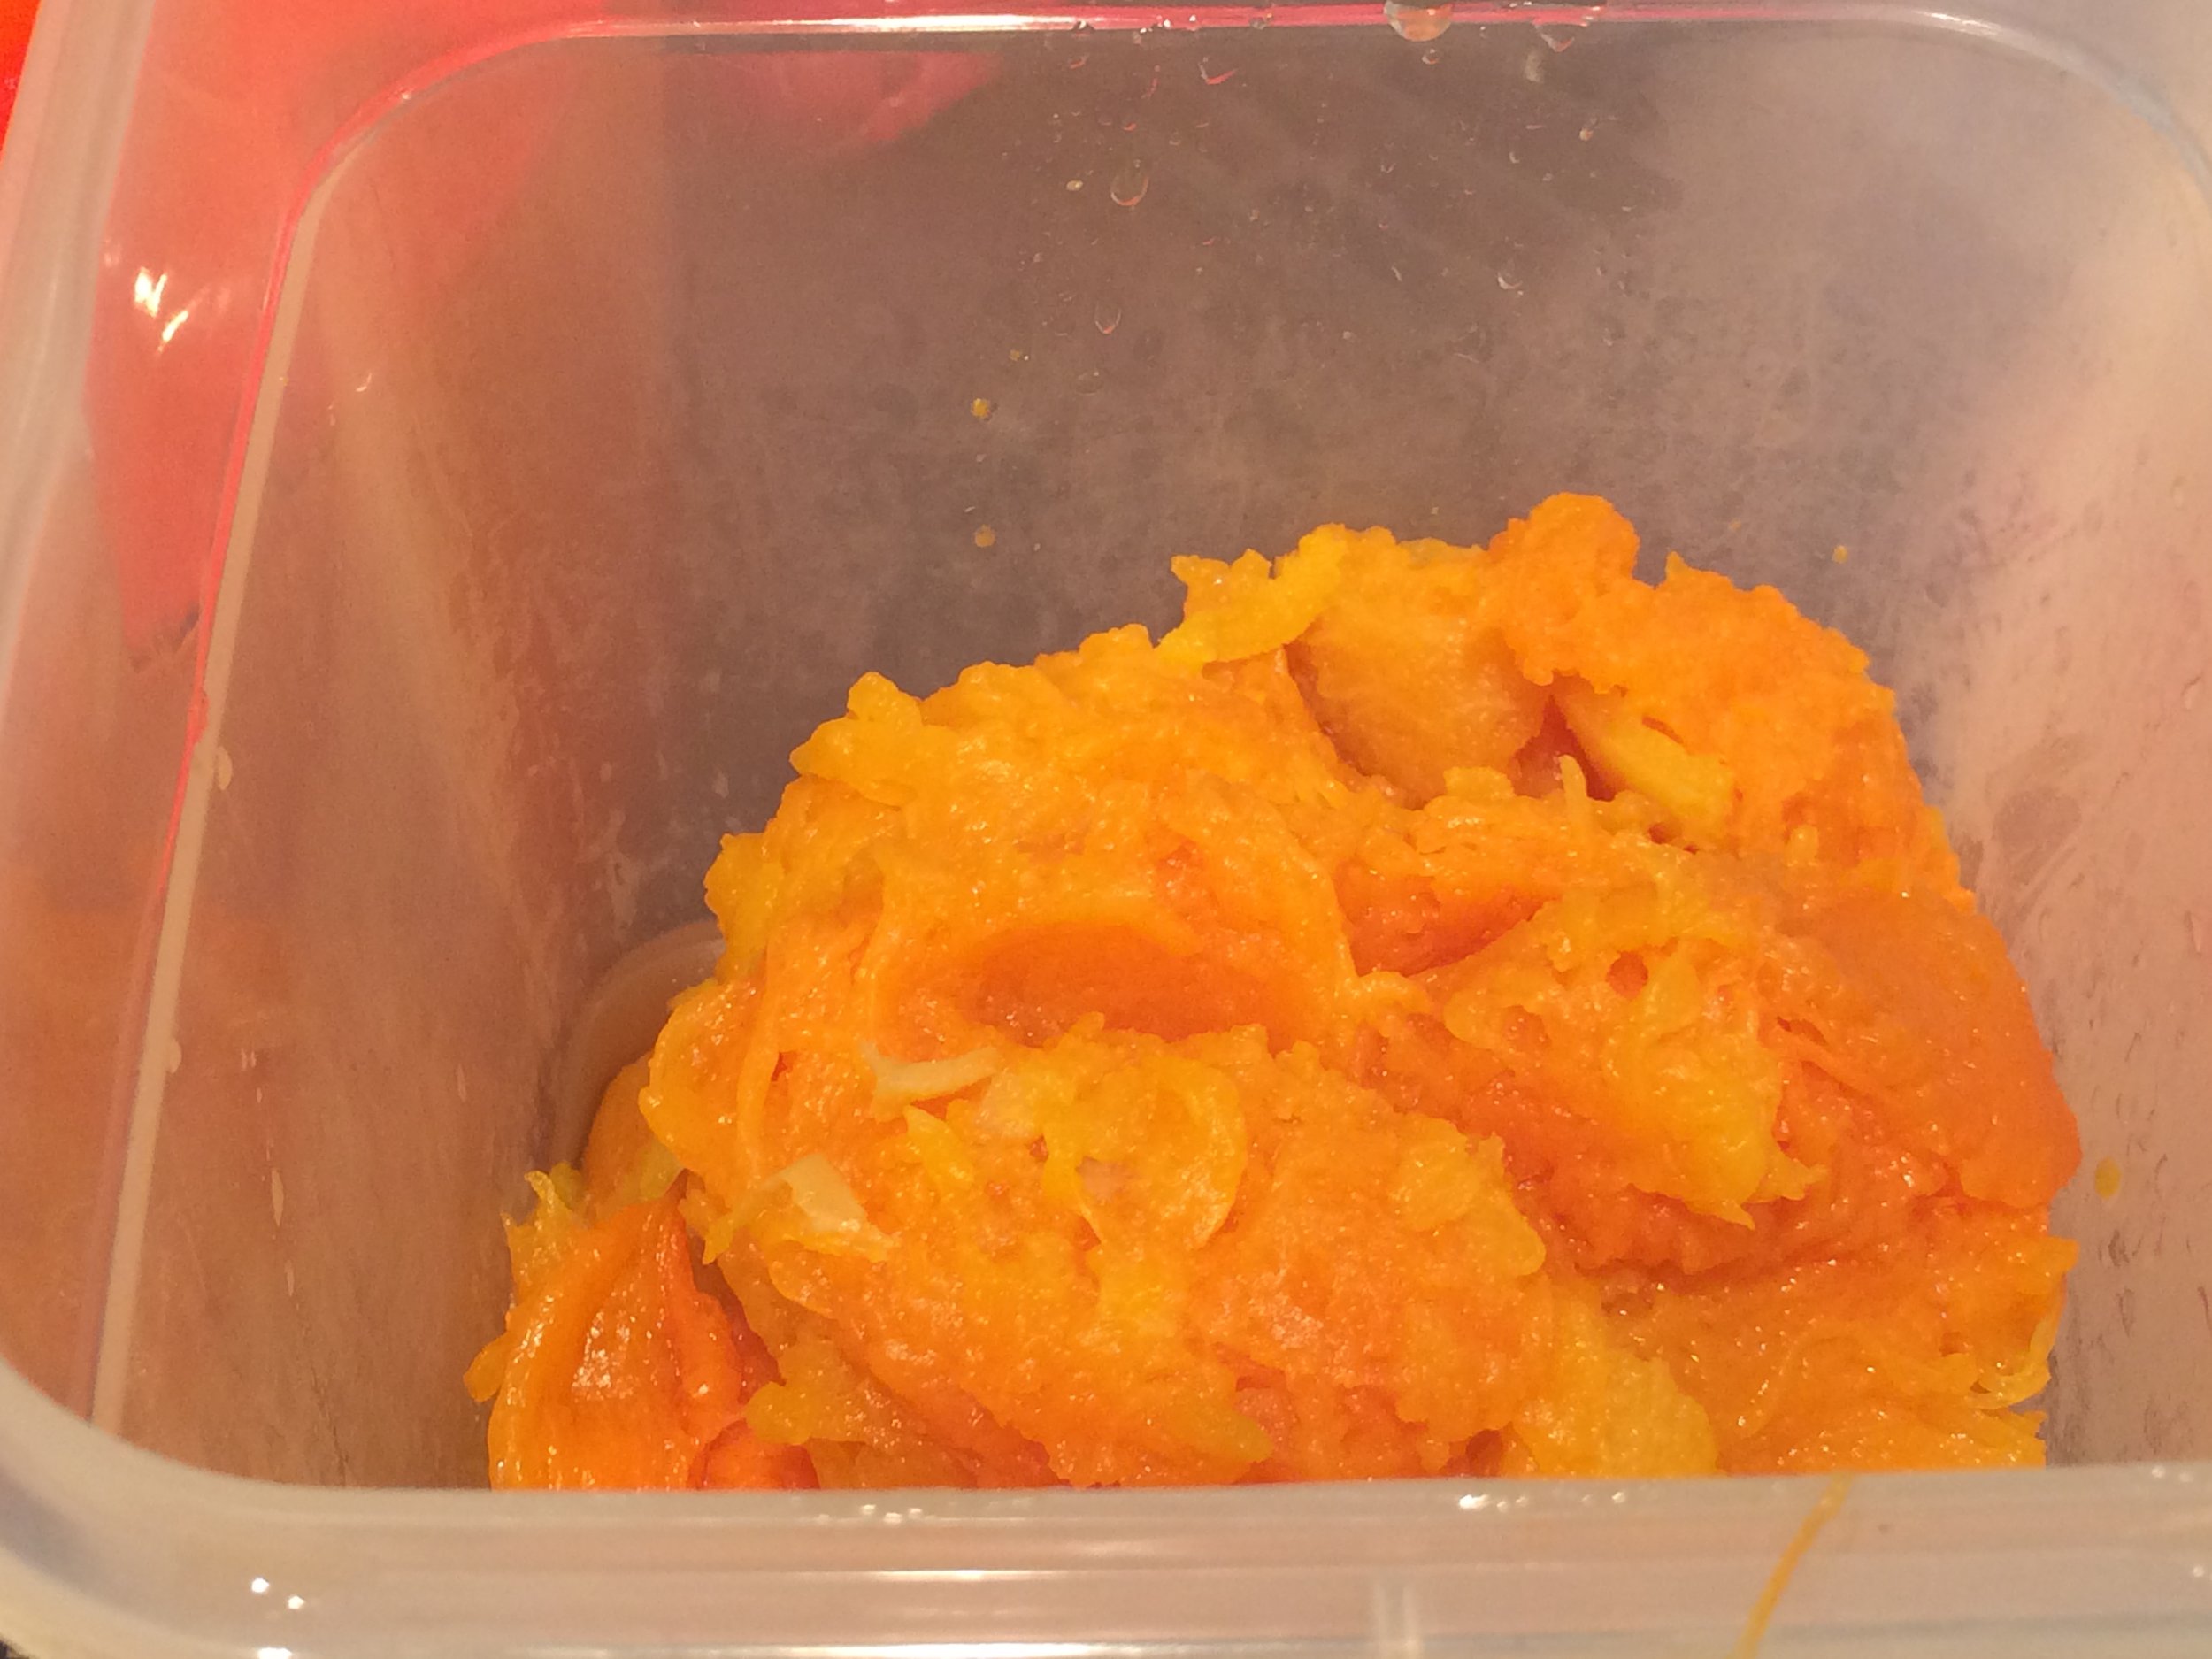
Put your pumpkin onto a baking sheet.  The kind with sides on it.  Trust me.  Then put 4-5 cuts into the fruit. All around.  This cut should go deep into it.  You will feel when you reach the more hollow center.  That is your sweet spot.  Then pop it into a 325 degree oven and roast it for about 90 minutes or until done.  It will start to smell like cooked squash, which of course it is.  The cuts allow steam from the pumpkin to be released, which you want unless you desire being hit by scalding exploding pumpkin when you open the oven.  This would be very bad and quite embarrassing to explain at the Emergency Room.  Turn off the oven and let the pumpkin cool.  For at least an hour but trust me it will be longer.  In fact.  Go ahead and cut it into quarters.  Juice will run free.  This is ok.  Then separate the quarters from each other.  This will help it cool faster. Voilá!  Cooked pumpkin.  Just scrape out the seeds, then put the cooked flesh into a bowl.  But really.  Wait until it is cool to do this.

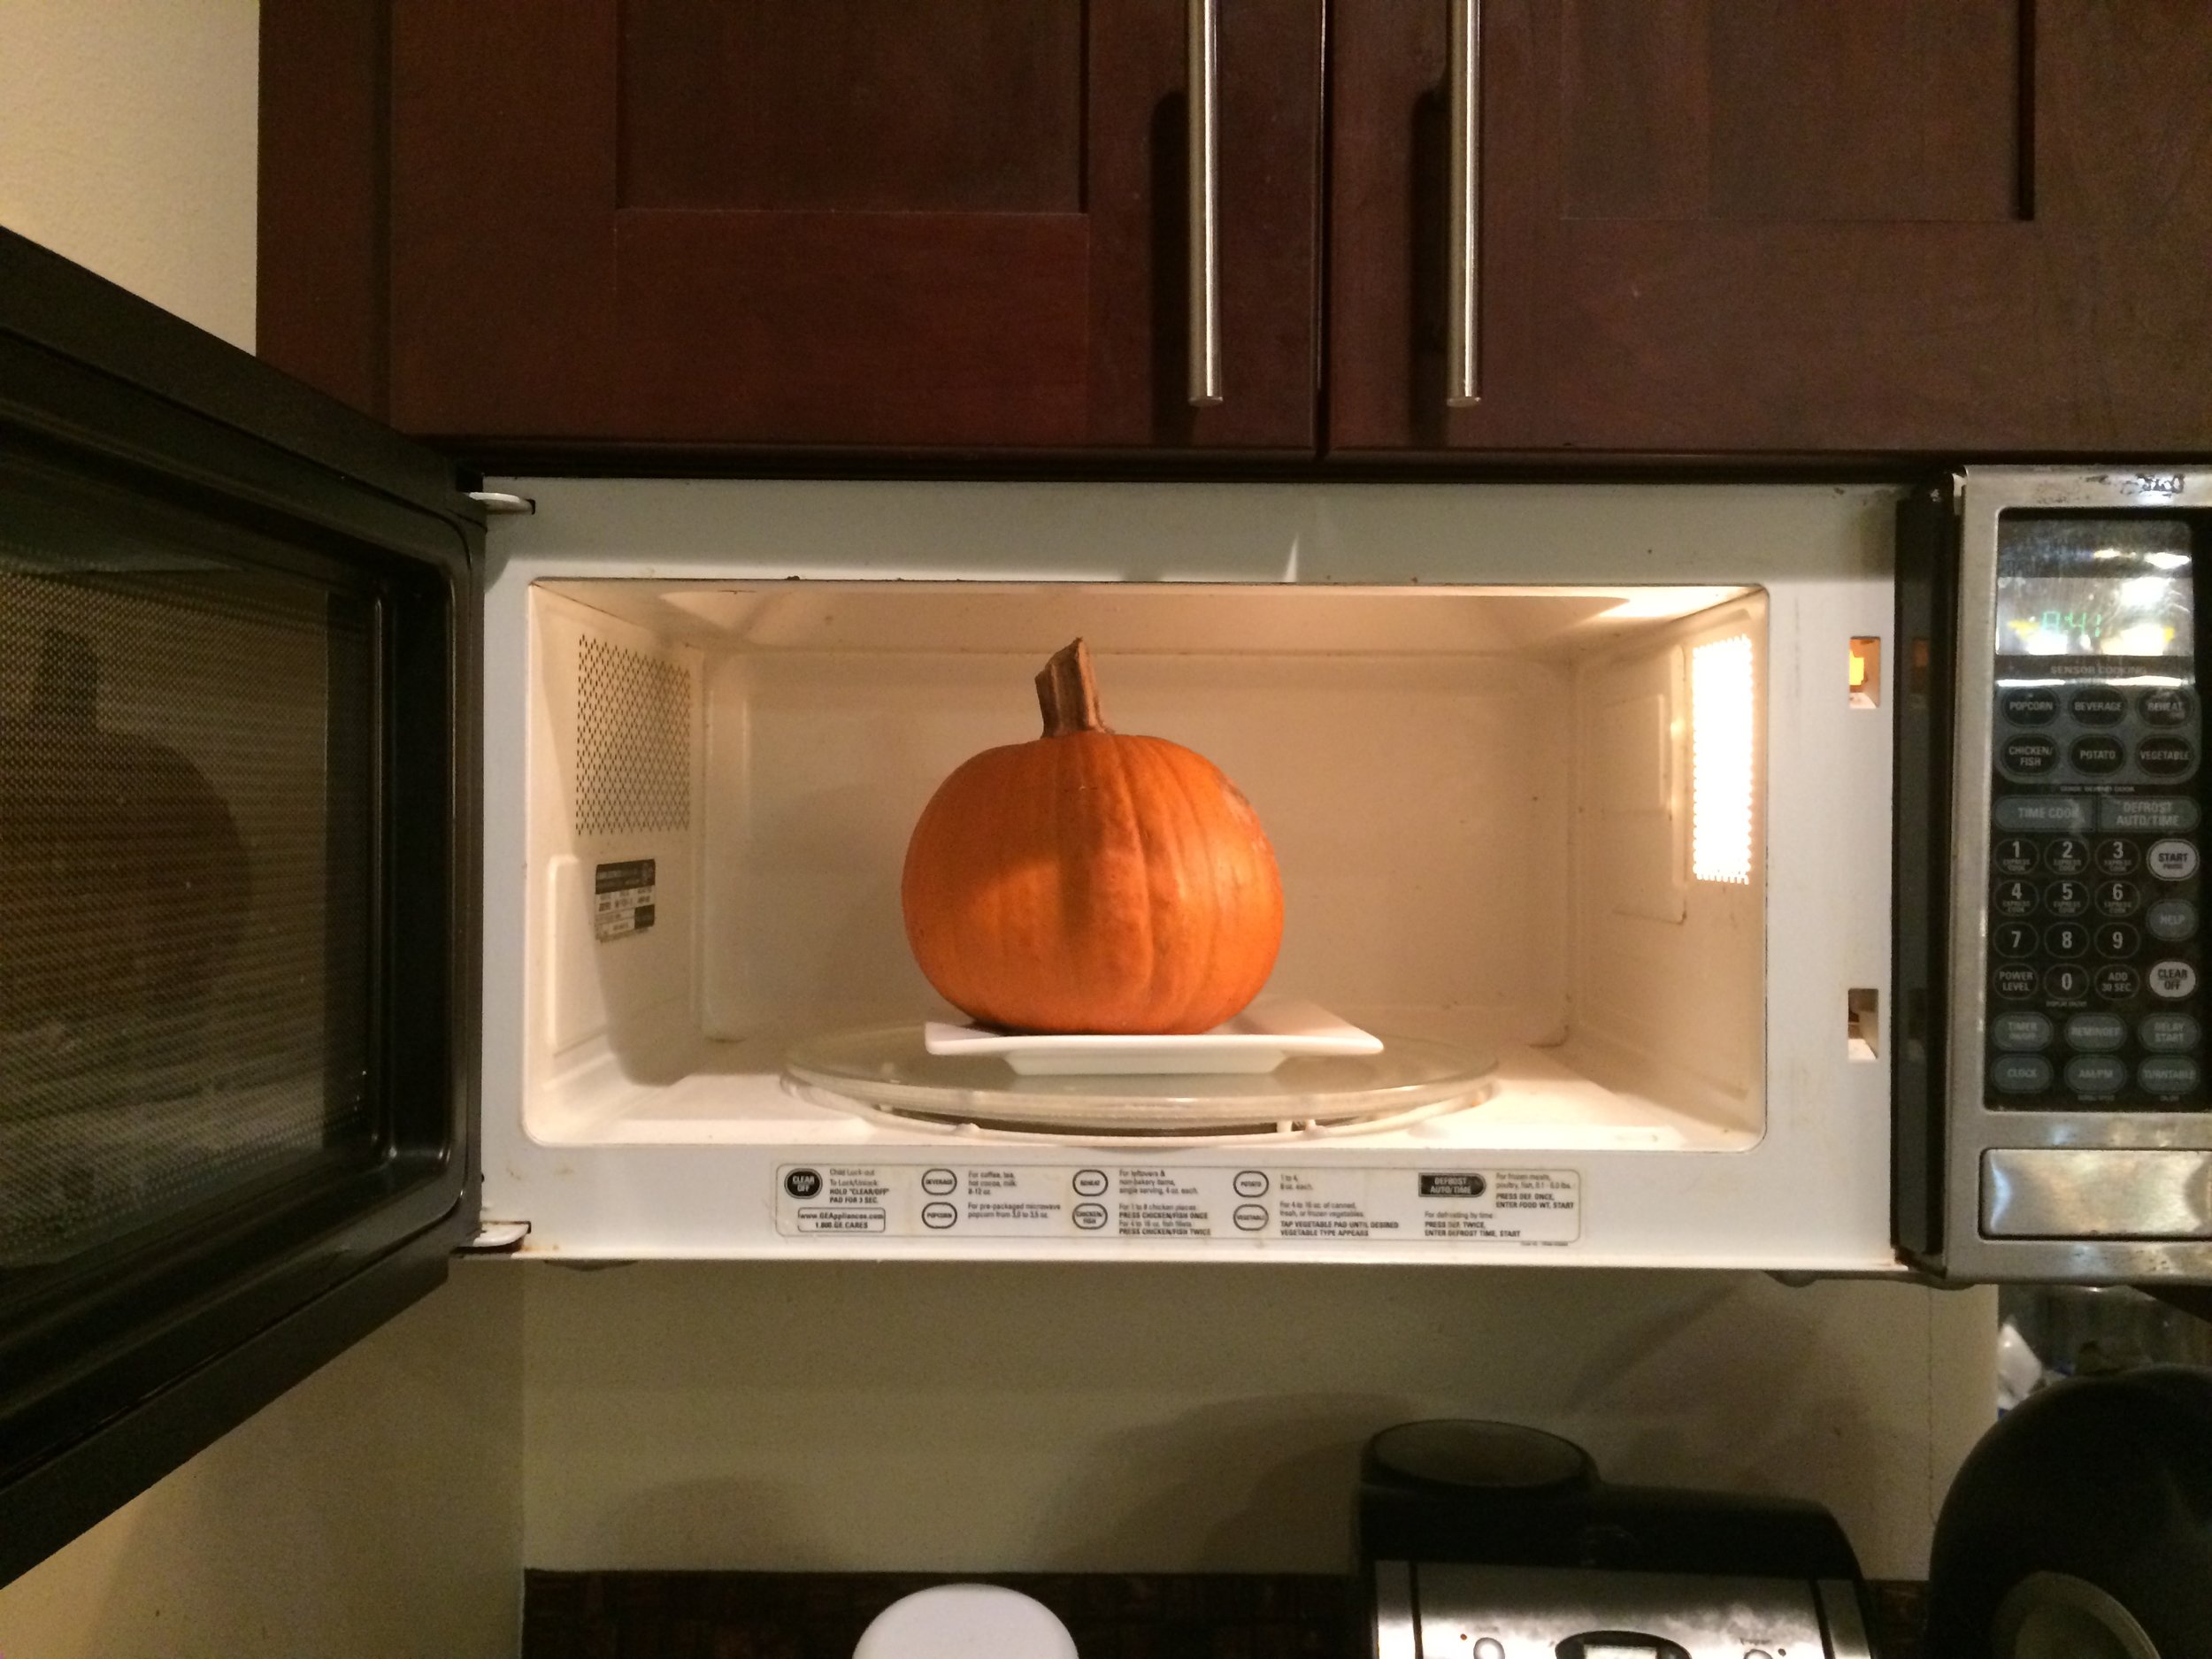
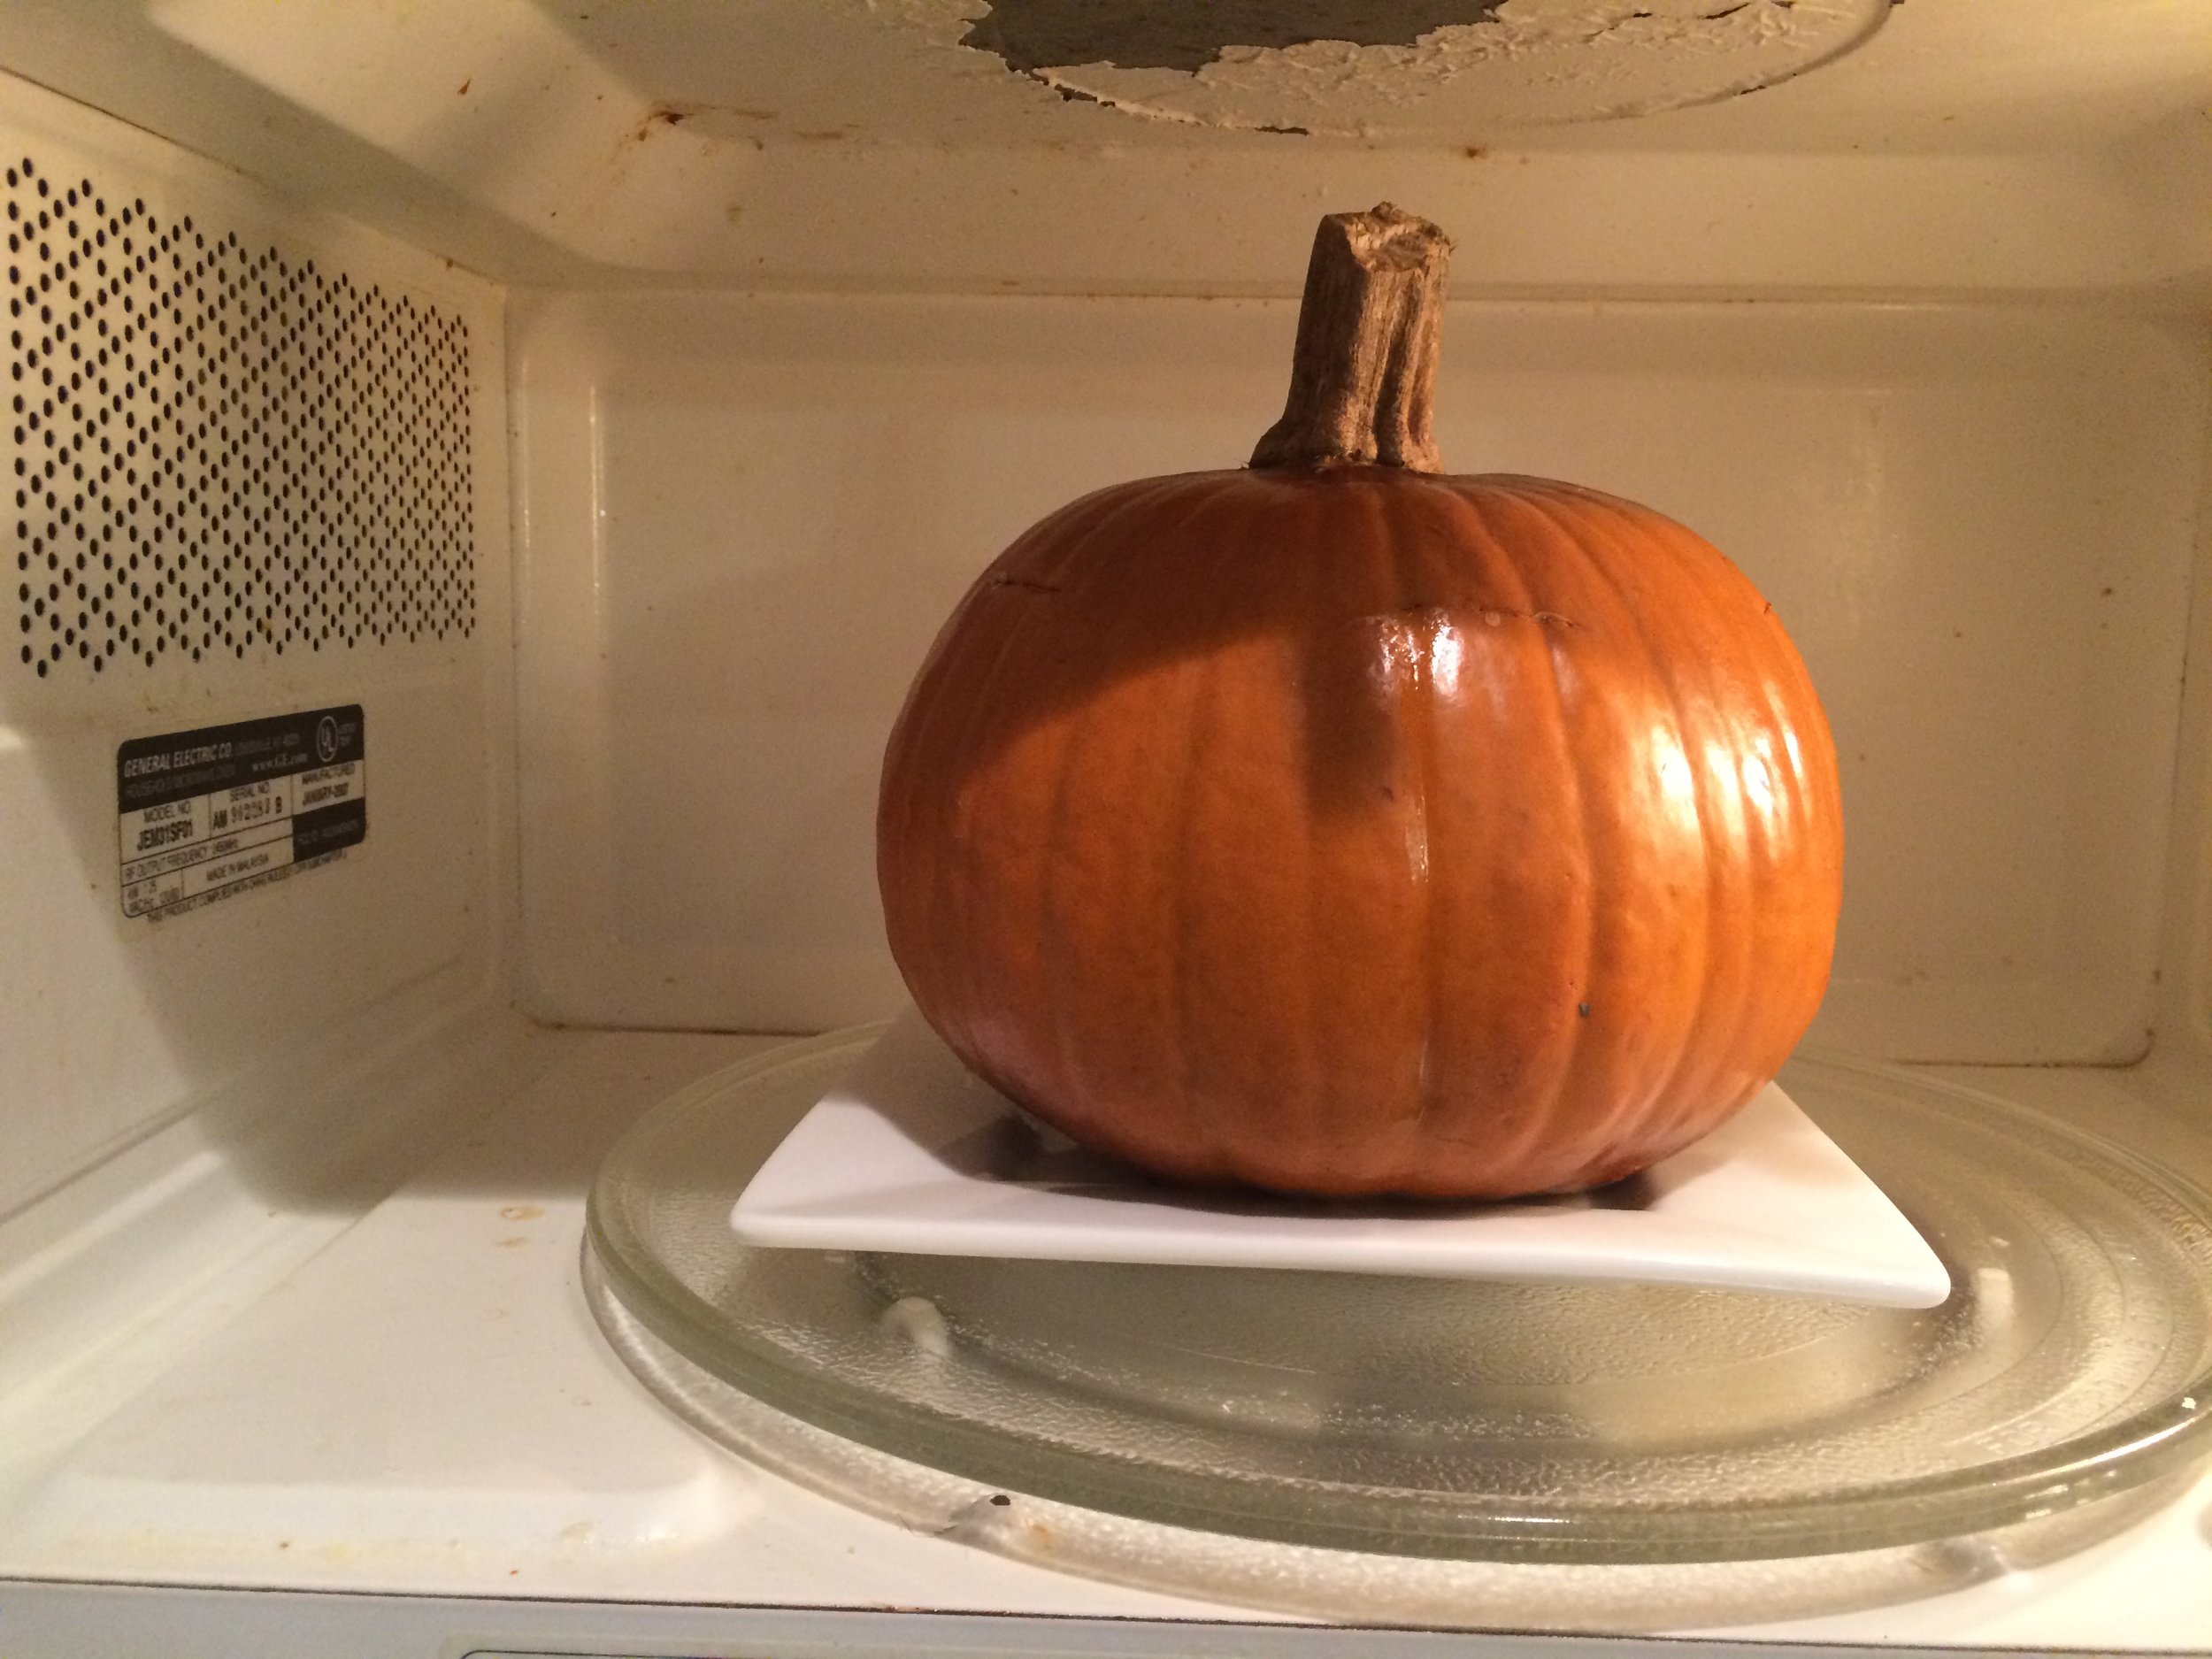
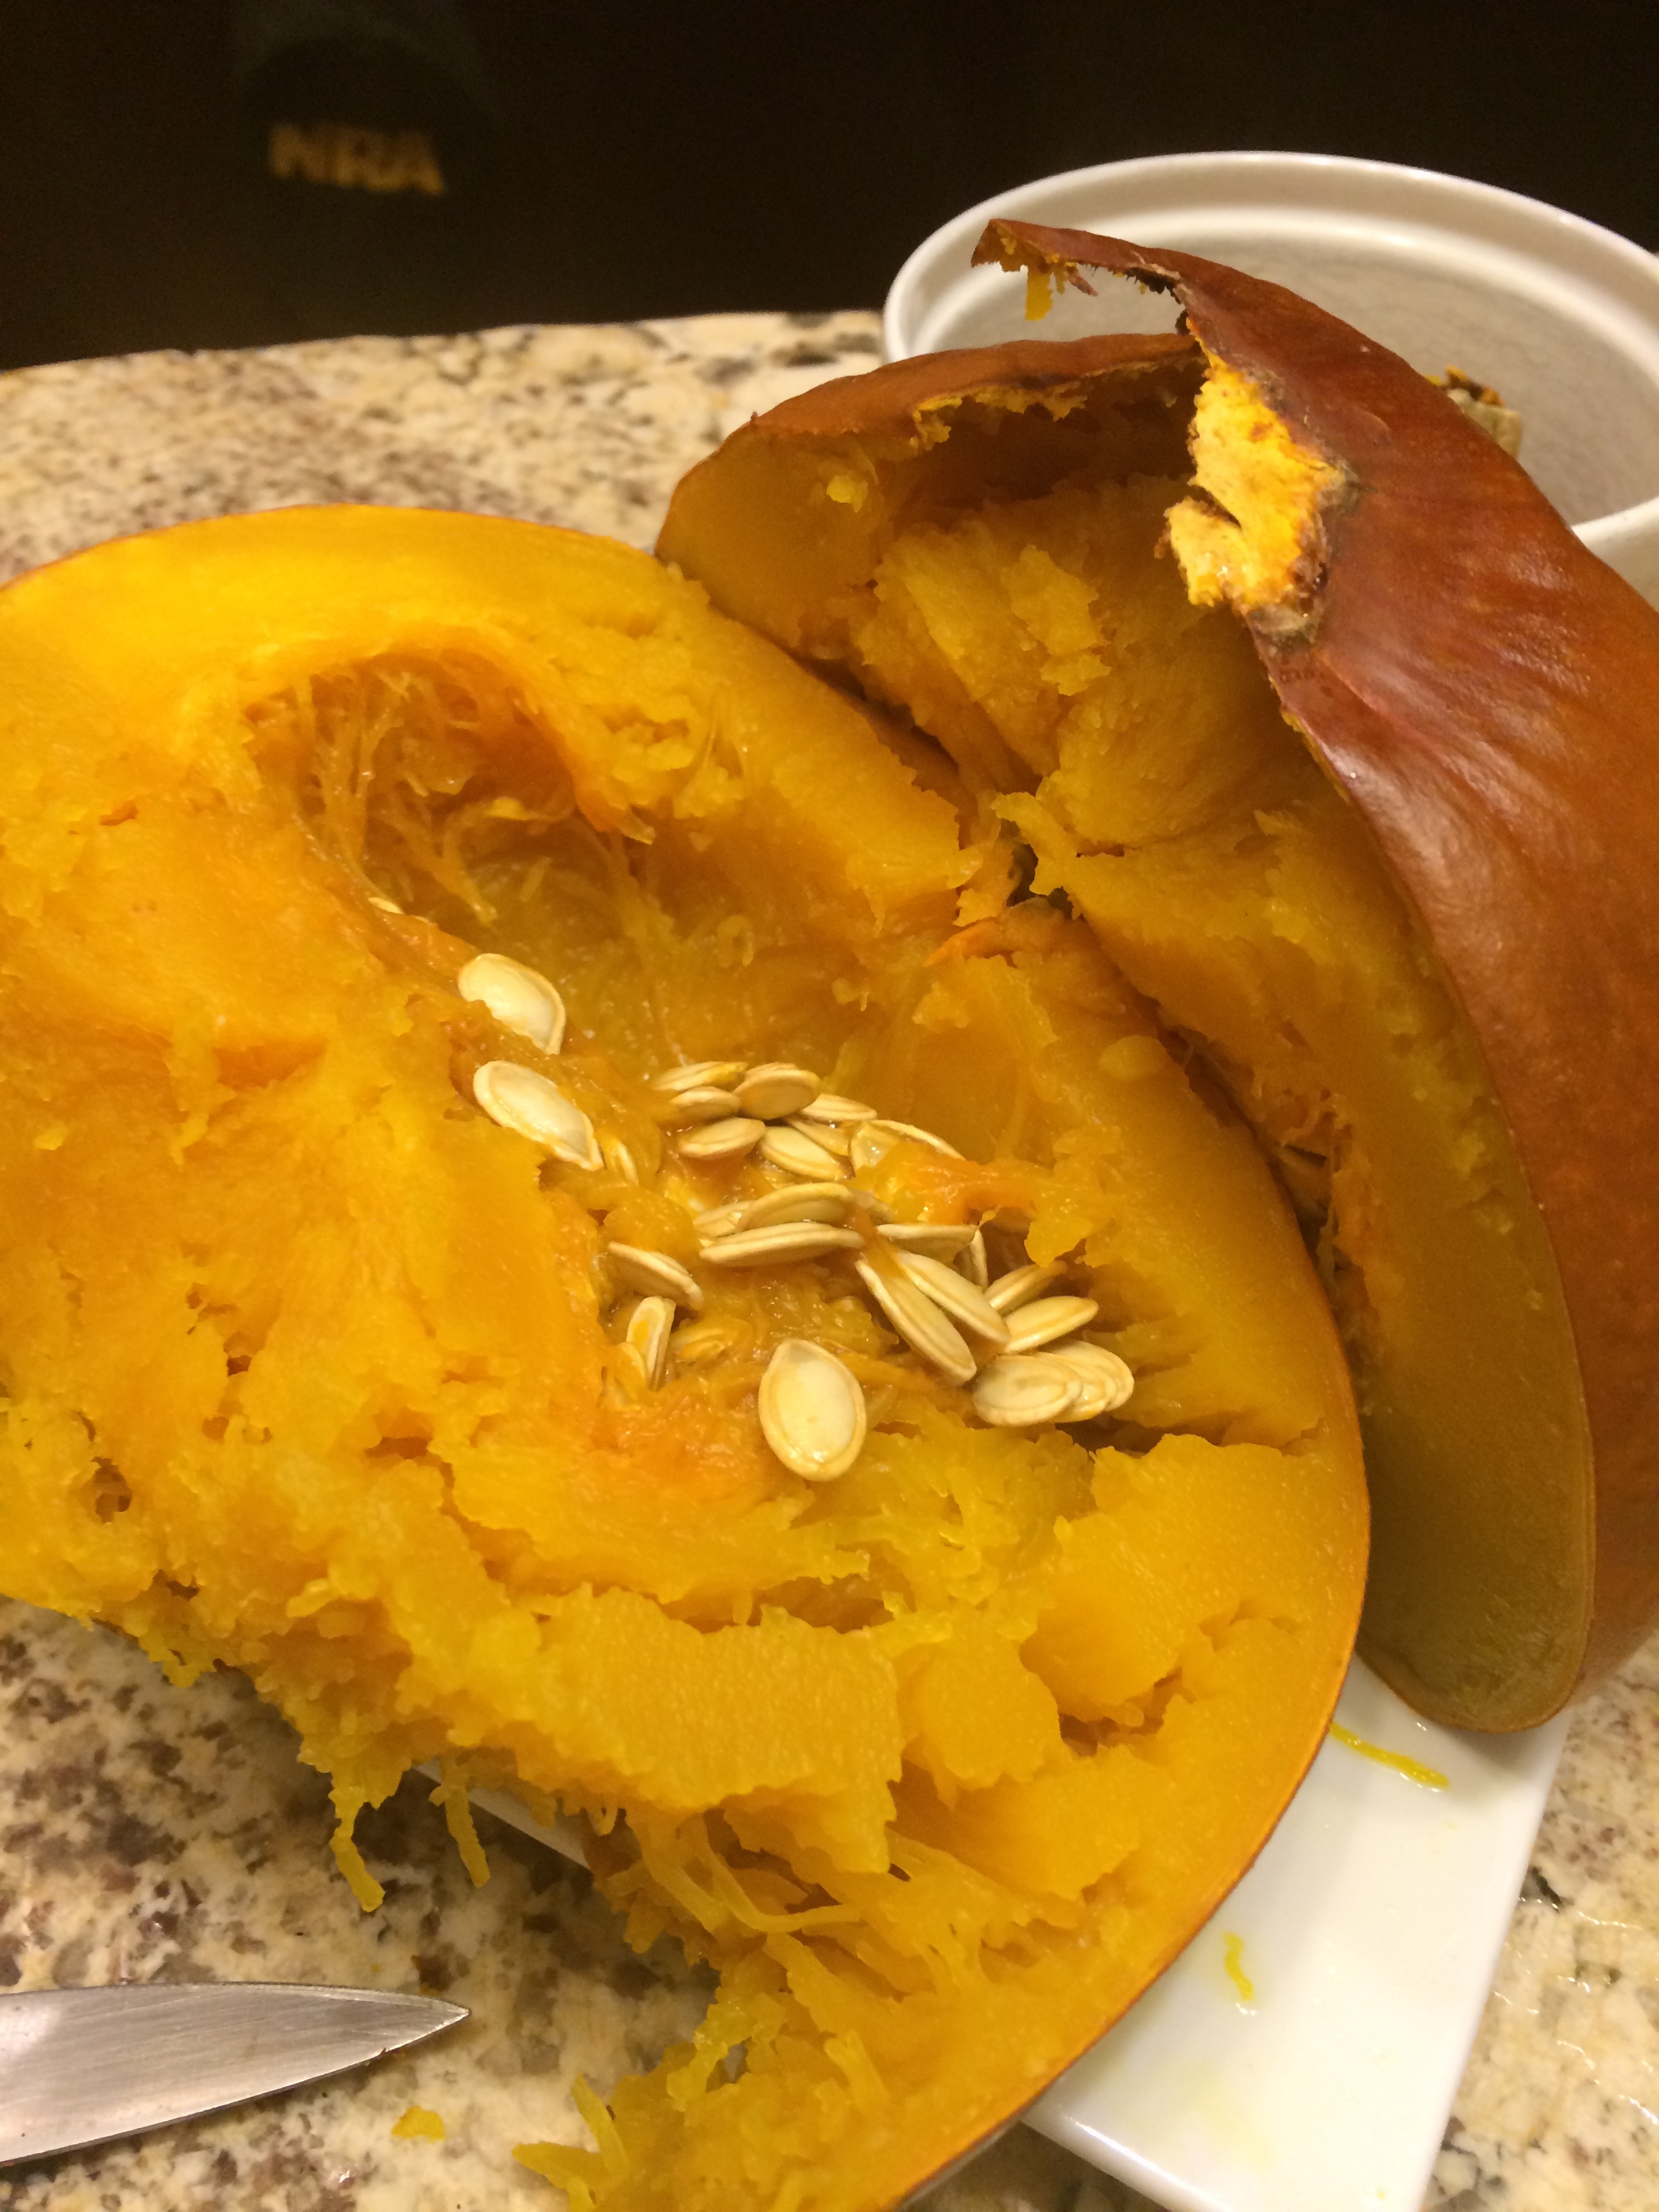
Next up is the Sugar Pumpkin.  It is small and easy to handle.  You could use the same method described above…. or…… You can cook this one super fast.  At least when compared to the big Cheese.  The first thing you do is, again, stab the pumpkin all around.  A much easier task given its size.  Then place it on a plate and place it in the microwave.  Obviously, the plate will have to be microwave safe but that usually isn’t a problem in a modern household.  Set the timer for 5 minutes at high and let her rip!  It won’t be done in the first 5 minutes but rather it gives you the opportunity to check to progress every five minutes or so.  As it begins to soften up, put the timer on progressively short times…  When it is done, you treat it exactly like the big pumpkins above.  Cooling times are shorter, obviously. 

Wine pairing:  Whatever gives you pleasure.  You are drinking this while you prepare this fruit. You deserve bragging rights for starting with a whole pumpkin.  Make sure people know.  They will be impressed.  Trust me. 

Next up?  Making the Dessert….

Qorkz Kitchen

Cochinita Pibil Tacos 

Welcome to Qorkz Kitchen! This week we are making Cochinita Pibil Tacos from the Cindy's Supper Club Cookbook written by favorite Napa chef Cindy Pawlcyn. These tacos are a representation of the famous slow-roasted pork of the Yucatan where the pork is wrapped in a banana leaf and buried in a fire pit. We are sticking with the banana leaf but instead using a dutch oven with a touch of cervesa. We make homemade tortillas, and housemade pickled red onions complete the dish.  We pair the tacos with a Humanitas Zinfandel where the bright fruit and spices complement the sweet smokey pork. We hope you enjoy!


Achiote Paste Ingredients

5 Tablespoons Annatto Seeds
2 Teaspoons Cumin Seeds
1 Tablespoon Black Peppercorns
8 Whole Allspice Berries
1/2 Teaspoon Whole Cloves
3 Habanero Peppers (Seeded) 
1/2 Cup Orange Juice
1/2 Cup White Vinegar
8 Cloves Garlic
2 Tablespoons Salt
5 Lemons Juiced
1 Tablespoon Tequila


Directions 

With a spice grinder, grind the annatto seeds, cumin seeds, peppercorns, allspice berries, and cloves to a fine powder.

Juice the lemons and set aside 

Cut the habanero peppers in half and remove the seeds. Be VERY careful not to transfer any of the oil from the peppers to your hands as it will burn if you get it in your eyes. Wash your hands and any tools used throughly after this process. 

In a blender or food processor, mix the ground spices, habanero peppers, orange juice, vinegar, garlic, and salt.

Mix in the lemon juice and tequila and blend until smooth

Set aside the achiote paste for use later. 


Wine Pairing 

For the smokey, spicy and sweet pork we recommend a Zinfandel with big fruit flavors, spice, and subtle cola flavors. The Humanitas Zinfandel $45 is a perfect balance for the heat and sweet of the tacos. 


Pork Marinade Ingredients 

8 - 10 Cloves Garlic
1 1/2 Teaspoon Salt
3 Tablespoons Cider Vinegar
Juice And Zest Of 1 Lime
1/2 Cup Achiote Paste
3 Tablespoons Dried Mexican Oregano
1 Teaspoon Cumin Seeds Toasted
1 Teaspoon Allspice Berries
2 Teaspoons Black Peppercorns
3 Pounds Boneless Pork Butt
2 Banana Leaves
1 Cup Cervesa


Directions 

Using a mortar and pestle or the back of a knife, smash together the salt and garlic to form a paste. 

Zest and juice one lime. Set aside for later use. 

Set a small frying pan to medium heat. Add the cumin, allspice, and peppercorns. Toast until fragrant stirring constantly so as not to burn the spices. 

Combine the oregano and toasted cumin, allspice, and peppercorns in a spice grinder and grind to a fine powder. 

Transfer the garlic paste to a bowl, add the vinegar, lime juice, lime zest, achiote paste, oregano, cumin, allspice, and pepper. Mix well to combine. 

Wash the pork butt and pat dry with paper towels. Cut the pork into 4 equal sized pieces. 

Place the pork into the bowl of marinade and stir to completely coat. Remove the pork and marinade and place into a zip top bag. Store in the refrigerator for 2-24 hours to fully incorporate. 


A Note On Banana Leaves 

Banana leaves can be a challenge to find depending on where you live. If you live near a Mexican mercado or Asian market you can find them in the frozen section. Some markets will have fresh ones in the produce section. It doesn't matter which ones you use for this recipe. If using the frozen kind, allow to thaw prior to use. Over a warm burner or in an oven set to 200 degrees F., warm the leaves prior to use to make them pliable. 


Assemble The Pot For Cooking 

Using a heavy bottomed pot (I'm partial to my favorite dutch oven) line the bottom with the banana leaves allowing the excess to hang over the sides. Remove the meat and marinade from the bag and place into the center of the banana leaves. 

Fold the tops of the leaves over to form a pouch for the pork. 

Pour the cup of Cervesa around the outside of the leaves and seal the top with the lid. 

In an oven set to 275 degrees F., roast the pork for 3.5 hours. Check the liquid level every hour and add more been if necessary. 

After 3.5 hours, remove the pork to a cutting board and let sit for 5 minutes. Using thongs or two forks, shred the pork by pulling it apart. 


Pickled Red Onion Ingredients 

2 Red Onions
2 Tablespoons of Salt
2 Tablespoons Dried Mexican Oregano
1 Cup Water
3 Tablespoons Cider Vinegar

Cut the red onion into strips. 

Combine the onion in a bowl with the salt, oregano, and vinegar. Stir to combine and squeeze together to incorporate. 

Add the water to the bowl to cover the onions. 

Set aside to pickle. This can be done in as little as 1 hour for a light pickle or 12 hours for a heavier pickle. 


Tortilla Ingredients 

1 Cup Maseca Masa
1 Pinch Salt
1 Cup Water


Directions

Combine the masa, salt, and water in a non-reactive bowl and stir to combine. Depending on the humidity you may need to add up to another 1/3 cup of water. 

Using either a spatula or dough hook, stir the ingredients together to fully incorporate the liquid. When the dough comes away from the sides of the bowl cleanly, the dough is finished mixing. 

This next step is the most important when making tortillas. Just walk away for 30 minutes and let the dough fully hydrate. If you try and make tortillas without this step the dough will crack and fall apart. 

After 30 minutes, remove the dough from the bowl and knead it on a work surface lightly dusted with masa.  Work the dough for 5-10 minutes. This will make the dough elastic and soft. The dough should not be sticky. If the dough sticks to your hand or the surface, add a tablespoon more masa and continue to work the dough until it is smooth. Roll the dough into balls of dough roughly the size of a golfball. 

Take a zip top bag and cut away the top. Cut the bag to roughly the size of your tortilla press to use as a liner. 

Taking the dough balls one at a time, place them inside the tortilla press and flatten into a tortilla. 

Set a non-stick flat bottomed pan or cast iron pan over medium-high heat. When it comes to temperature, add the tortillas one at a time to cook. The tortillas should sizzle when you put them on the pan. If they don't sizzle then up your heat. Cook on one side for about 20 seconds until the sides start to curl. Flip the tortilla and cook on the other side for one minute or until the middle begins to bubble. Flip the tortilla again and using your pointer finger, gently push down on the middle of the tortilla. This should cause the tortilla to briefly inflate with steam. Allow to cook for another ten seconds or so and remove the tortilla from the heat.  Flatten and cook all of the tortillas the same way. 

This next step is equally important in ensuring your tortillas are delicious when you go to eat them. You must create a warm environment in which to store your finished tortillas. If you don't store them in a warm environment they will become brittle and crack when you fold them. There are tortilla warmers available on the market but I made my own using a pot with a lid and a few kitchen towels. 


Finish The Dish

Add some of the pork onto a warm tortilla. Top with pickled red onion and some shaved queso fresco cheese. Pour a glass of Zin and enjoy! 

Qorkz Kitchen

Gnocchi With Red Sauce 

Welcome to Qorkz Kitchen! This week we are making one of our favorite Winter dishes. This gnocchi is light and pillowy, and the addition of cinnamon to the sauce makes gives it a sweet start and the chili flake brings a spicy finish. It is the perfect dish to keep you warm on a cold night. We hope you enjoy! 


Sauce Ingredients

2 Cans Roma Tomatoes
1 Tube Tomato Paste
1 Bulb Garlic
1 Bunch Basil
1/2 Cup Red Wine
1/4 Cup Balsamic Vinegar
1 Tablespoon Dried Basil
1 Tablespoon Dried Thyme
1 Tablespoon Dried Rosemary
1 Tablespoon Black Pepper
1 Tablespoon Red Chili Flakes
1 Tablespoon Cinnamon
1 Tablespoon Salt
1/4 Cup Olive Oil


Directions

Slice all the cloves of garlic and set aside. Fill a deep bottom pot with the olive oil and set on a burner set to medium. Place the basil in the pot and sauté for five minutes to infuse the oil with basil flavor. 

Remove the basil from the oil and insert the garlic. Sauté the garlic in the oil for five minutes.  

Add the tomato paste and fry in the oil for three to five minutes or until it starts to brown the bottom of the pan. Move the paste to the sides of the pan and pour in the red wine to deglaze the bottom. Stir the mixture together and add the balsamic vinegar. Stir for five minutes to fully combine and to keep the mixture from burning. 

Pour the tomatoes into a blender and pulse four times to break up the tomatoes. You don't want to purée it into a thin sauce as the sauce should be thick and chunky. 

Add the tomatoes to the sauce and stir to combine. 

Add the salt, cinnamon, basil, thyme, rosemary, black pepper, and (optional) red chili flakes to the sauce and stir to combine. 

Simmer the sauce together for an hour prior to serving. 


Wine Pairing

For a sweet and spicy red sauce, you can't go wrong with Merlot, and for this dish, we recommend the Chateau Lane Merlot $50. It has a nose of cola and mint and a bright fruit flavor that is sure to please. 


Gnocchi Ingredients 

3 Pounds Russet Potatoes
2 Cups All-Purpose Flour
1 Egg
1 Tablespoon Salt
1 Tablespoon Nutmeg
1/4 Cup Olive Oil (For Use Only If Storing Gnocchi For Later Use)

Directions 

Using a sharp knife, cut slits in the middle of the potatoes prior to baking. Place them in an oven set to 400 degrees F. Bake for one and a half hours or until a knife can be inserted cleanly. 

Remove the skins from the potatoes and discard. Using a food mill or a ricer, process the potatoes into fine strands. 

Place the potatoes onto a workspace and make a well in the middle. Sprinkle the flour over the potato mixture. Sprinkle the salt over the mixture and place an egg into the center of the well. 

Using a pastry scraper, fold the mixture together to form a rough dough. 

Grate one tablespoon of nutmeg over the top of the dough. Kneed the dough for five minutes to incorporate the nutmeg. When the dough becomes dry to the touch it is done. 

Place more flour on your work surface and cut the dough into four equal size pieces. 

Roll each piece of the dough into a long roll 3/4 of an inch in diameter. 

Cut the dough into one inch sections and set aside. 

Using a gnocchi board or a fork, roll grooves into each piece of gnocchi and set aside. 

Set a pot of salted water to boil on a stovetop. Place all the gnocchi into the pot and cook until it floats to the surface. 


Bring The Dish Together

Place the cooked gnocchi into the sauce and cook together on low heat for ten minutes to combine. 


Finish The Dish 

Place the gnocchi and sauce in a bowl. Grate some parmesan cheese over the top and sprinkle with fresh cut basil prior to serving. 

Qorkz Kitchen

Welcome to Qorkz Kitchen! Thanksgiving is just around the corner, and in anticipation we have put together some of our favorite Thanksgiving side dishes which would be welcome at any Thanksgiving table. We hope you enjoy them while celebrating the season with your family this holiday season.


Rustic Sourdough Stuffing with Green Apples and Sausage


Ingredients 

1 Batard Sourdough
1 Pound Breakfast Sausage
2 Tablespoons Italian Parsley
1 Tablespoon Rosemary
3 Leeks
1 Sweet Onion
2 Tablespoons Sage
3 Ribs Celery
1 Cup Dried Cranberries
1 Cup Chicken Stock
1 Stick Butter
1 Tablespoon Salt
1 Teaspoon Black Pepper
2 Green Apples


Directions 

Preheat the oven to 300 degrees F. Cut the sourdough batard into 1 inch cubes. 

Line a baking sheet with aluminum foil. Add the bread cubes to the pan and bake at 300 degrees F., for 8 - 10 minutes or until the croutons are hard. 

Using an apple corer, core out the middle of the green apples and slice into a rough chop. 

Cut away the rough green tops of the leeks. 

Be sure to wash the dirt out of the different layers of the leeks before you cut them. Slice them into thin ribbons. 

Roughly chop both the sage and the rosemary and set aside.

Cut the Italian parsley into a fine dice and set aside.

Cut the celery ribs into a rough dice and set aside.

Cut the onion into a fine dice and set aside. 


Wine Pairing

This stuffing has the sour flavor from the bread and the bright tartness from the cranberries. Try a wine with a bright crisp flavor to bring your meal together. Try the Petrified Forest Sauvignon Blanc $23. The balanced acidity and melon flavors are sure to please!  


Melt the butter into a deep Dutch oven or skillet. Add the onion, celery, leeks, parsley, sage, rosemary, apples, salt, and pepper to the pot and cook over medium heat for 10-15 minutes. 

Cut away the casings from the sausage links and discard. 

Remove the vegetable mixture from the heat and transfer to a bowl. In the same pot, add the sausage and cook for ten minutes or until cooked all the way through. 

Once the sausage is cooked through, return the vegetable mixture, dried cranberries, croutons, and chicken stock to the pot and stir to combine. 

Preheat the oven to 350 degrees F.  Transfer the stuffing mixture to a 9x12 baking sheet.   

Bake the stuffing for 30 minutes or until the top starts to brown. 


Finish The Dish 

Serve this stuffing alongside your turkey for a nice sour and tart contrast to the bird. Enjoy! 

Qorkz Kitchen

Thanksgiving Side Dishes

Welcome to Qorkz Kitchen! Thanksgiving is just around the corner, and in anticipation we have put together some of our favorite Thanksgiving side dishes which would be welcome at any Thanksgiving table. We hope you enjoy them while celebrating the season with your family this holiday season.


Roasted Brussels Sprouts With Pancetta 


Ingredients 

1 Stalk Brussels Sprouts (2 pounds)
1 Inch Thick Cut Of Pancetta
1/4 Cup Maple Syrup
1/4 Cup Stone Mustard
1/4 Cup Balsamic Vinegar
1 Tablespoon Salt
1 Tablespoon Ground Black Pepper


Directions 

Cut the Brussels sprouts away from the stalk. Wash them under cold water and pat dry. Next, cut away the hard bottoms and tough outer leaves. Cut the sprouts in half and set aside.

Preheat the oven to 425 degrees F. Mix the sprouts with the mustard, salt, pepper, maple syrup, and balsamic vinegar.


Wine Pairings 

The red fruit flavors and earthy notes Rio Vista Pinot Noir from Humanitas,  pairs perfectly with the sweet Brussels sprouts and meaty pancetta. $55


Take the Pancetta and unroll it across a plastic cutting board. Cut the Pancetta into strips approximately equal in width. Next, cut the Pancetta horizontally into cubes.

In a frying pan over medium-high heat, cook the Pancetta for about 6-8 minutes stirring frequently. Once cooked add the Pancetta to the Brussels sprout mixture. 

Place the baking pan containing the Brussels sprouts and the Pancetta into the oven at 425 degrees F.

Roast the Brussels sprouts for 40 minutes stirring occasionally. Once finished, remove the Sprouts from pan and set aside on a platter. 


Finish The Dish 

Place the sprouts in a serving dish and serve while still warm. 

Qorkz Kitchen

Welcome to Qorkz Kitchen! Thanksgiving is just around the corner, and in anticipation we have put together some of our favorite Thanksgiving side dishes which would be welcome at any Thanksgiving table. We hope you enjoy them while celebrating the season with your family this holiday season.


Baked Acorn Squash


Ingredients

1 Large Acorn Squash
2 Tablespoons Butter
2 Tablespoons Brown Sugar
1 Tablespoon Maple Syrup


Directions

Preheat your oven to 425 Degrees F. Using a sharp knife, cut the acorn squash in half. Cutting the squash can be a challenge so be very careful. 

Screen Shot 2015-11-13 at 8.13.59 AM.png

Next, using a scoop or a mellon baller, remove the seeds from the inner cavity of the squash. There are stringy pieces under the seeds, try and remove as much of this as possible. 

Using a pairing knife, score the inside of the squash vertically and then horizontally. 


Wine Pairings

The blackberry and clove flavors of Mourvedre are the perfect pairing for the this sweet and nutty squash dish. Try this Oak Cliff Mourvedre $32 with your Thanksgiving meal as it also goes great with stuffing and turkey! 


Place the squash flesh side up in a baking pan. Fill the pan with enough water to cover the bottom of the pan. Bake at 425 Degrees F. for an hour or until the squash is starting to soften. 

Take 1 tablespoon of butter and use it to coat the inside of each half of the squash. Next, pour the maple syrup over both halves. Use a pastry brush to paint the syrup and butter on the surface of the squash. Sprinkle the brown sugar over the top of the squash and bake for another twenty minutes. 

Remove the squash from the oven and drain out the puddle of syrup into a bowl. 


Finish The Dish 

Serve each person one half of the squash with the accompanying bowl of the cooked syrup.